Wildlife pictures is inextricably linked with lengthy telephoto lenses. Most wildlife photographers dream of getting a quick, skilled lens of their arsenal. Is it only a want to personal one thing lovely and costly? In no way. There’s a rational motive to personal an unique lens: the quick most aperture.
It’s normally attainable to seek out lengthy telephoto lenses for good costs today. Contemplate lenses just like the Nikon Z 180-600mm f/5.6-6.3, the Tamron 150-500mm f/5-6.7, and even the Canon 600mm and 800mm f/11 lenses. These lenses provide you with a number of attain as a wildlife photographer with out breaking the financial institution. And considerations about sharpness are largely a factor of the previous.
The remaining concern is one among aperture. A sooner most aperture enables you to focus extra simply in low gentle, shoot at a decrease ISO, and make use of a shallower depth of area. However the distinction between, say, f/4 and f/6.3 doesn’t appear that large. Actually not as large because the distinction in value.
That gave me the concept for this text. How a lot of an impact does your aperture have on depth of area in wildlife pictures? Is the distinction between f/4 and f/6.3 sufficient to justify a a lot heavier and costly lens? And what about lenses with a most aperture of f/11 – are they even price contemplating? On my current journey to Ecuador, I met a number of affected person birds who have been form sufficient to cooperate with me in answering these questions.
Totally different Aperture Values and Depth of Discipline
Many issues might be simulated within the lab underneath managed situations. Nonetheless, my favourite laboratory is nature with its wild inhabitants. There are extra dynamic environments and situations which are unattainable to copy. Nonetheless, it reveals how one thing like depth of area actually seems in a photograph and the way it impacts the artistry of pictures.
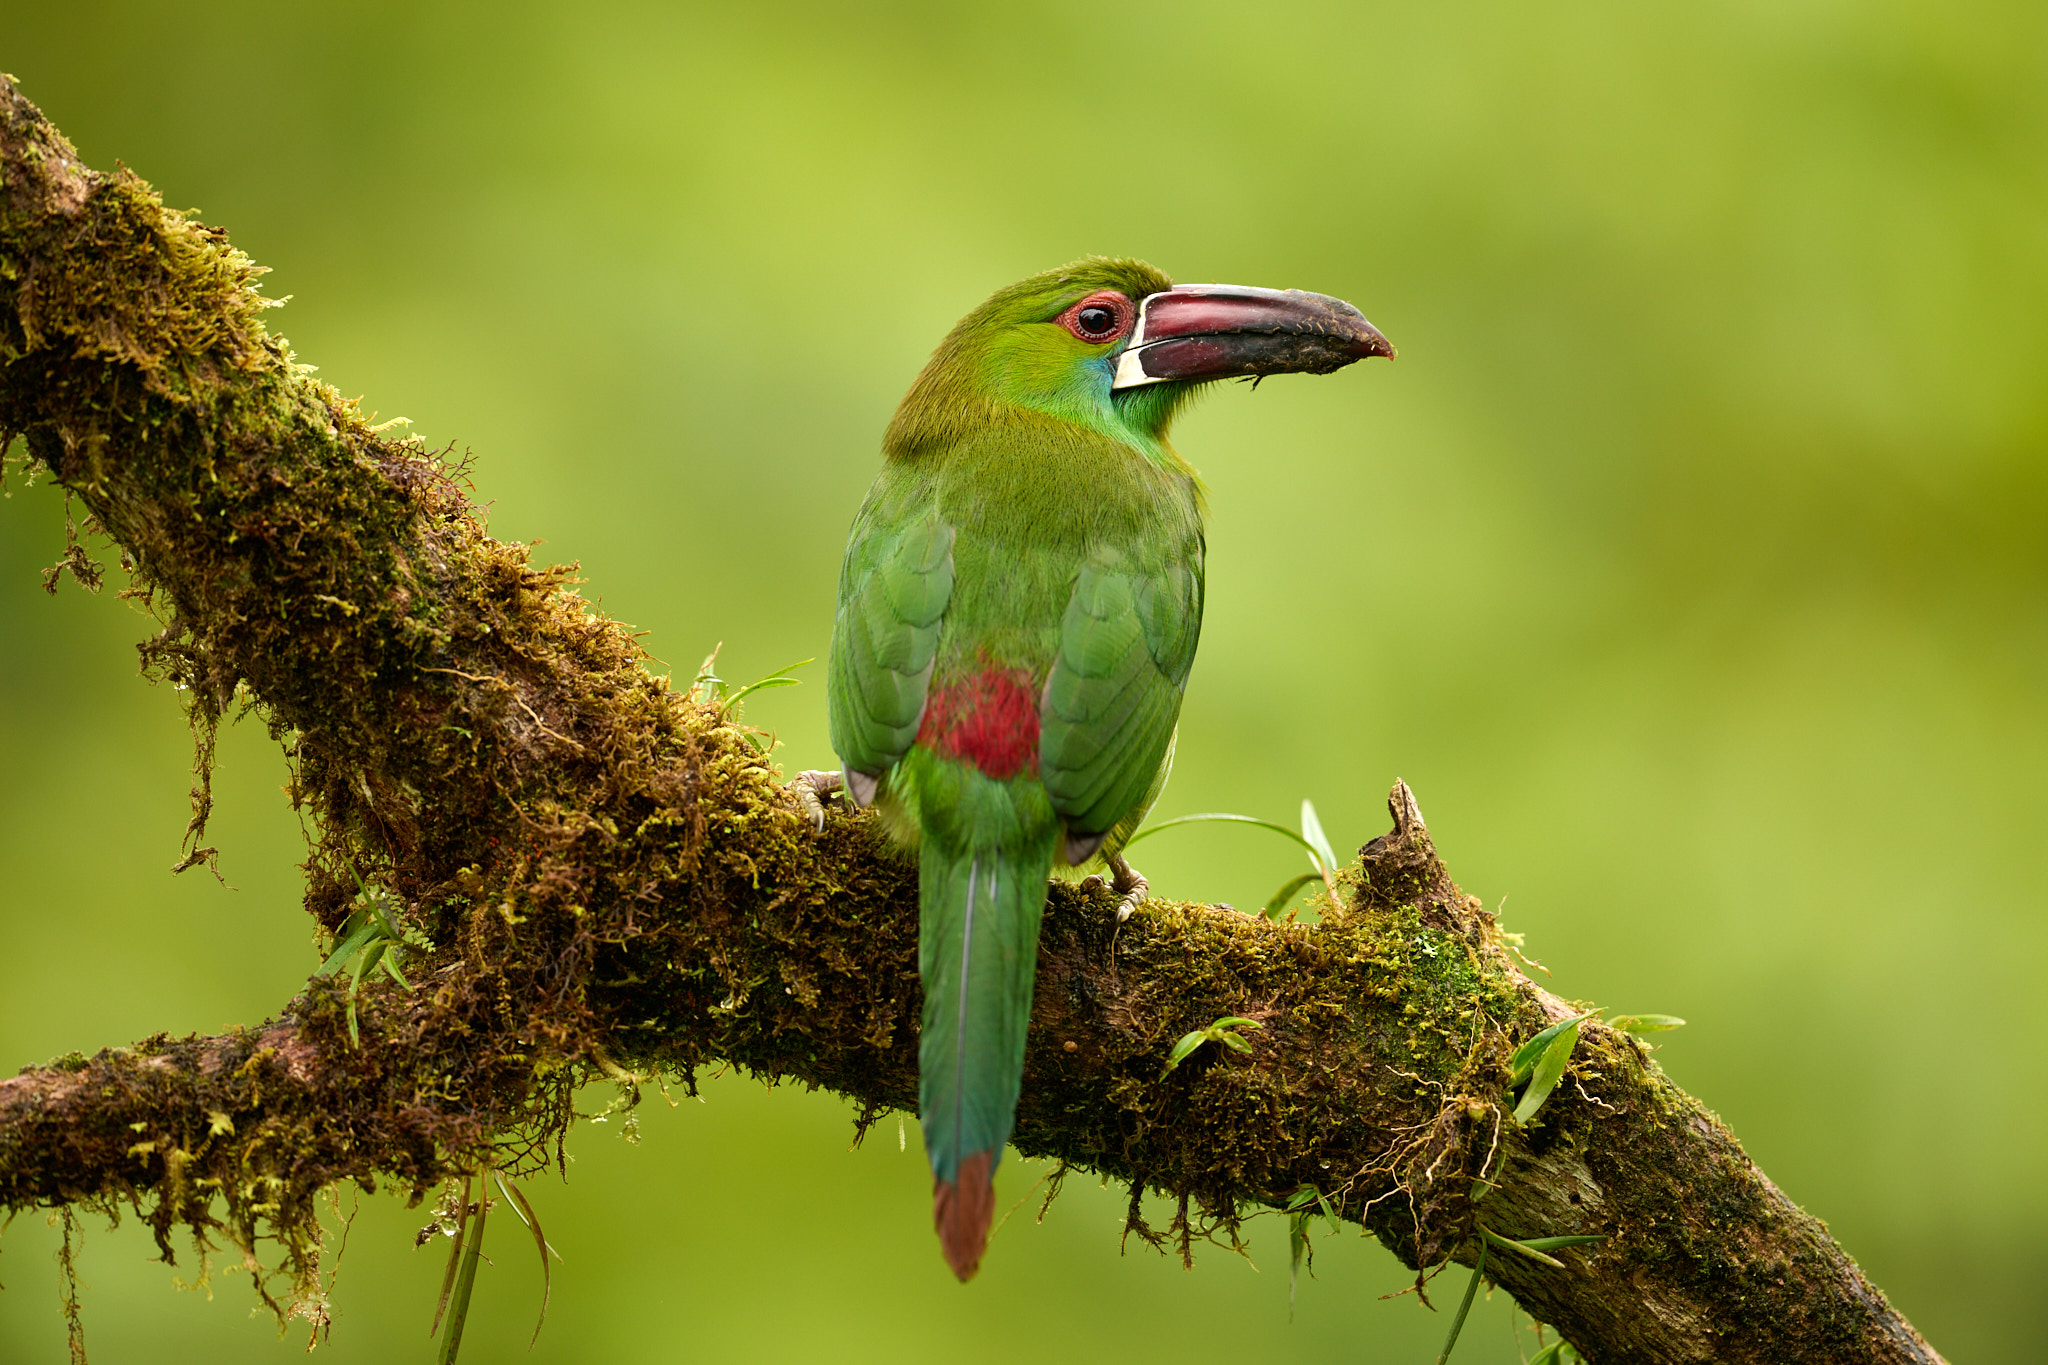
Once I took the images beneath, I attempted to maintain the variety of variables to a minimal in order that you may deal with how every totally different aperture seems. I photographed every hen from a tripod and subsequently from the identical distance, with the identical 500mm f/4 lens, and in opposition to an an identical background. The one main change was the aperture used. All images are with out cropping and, except in any other case famous, with out denoising and native changes.
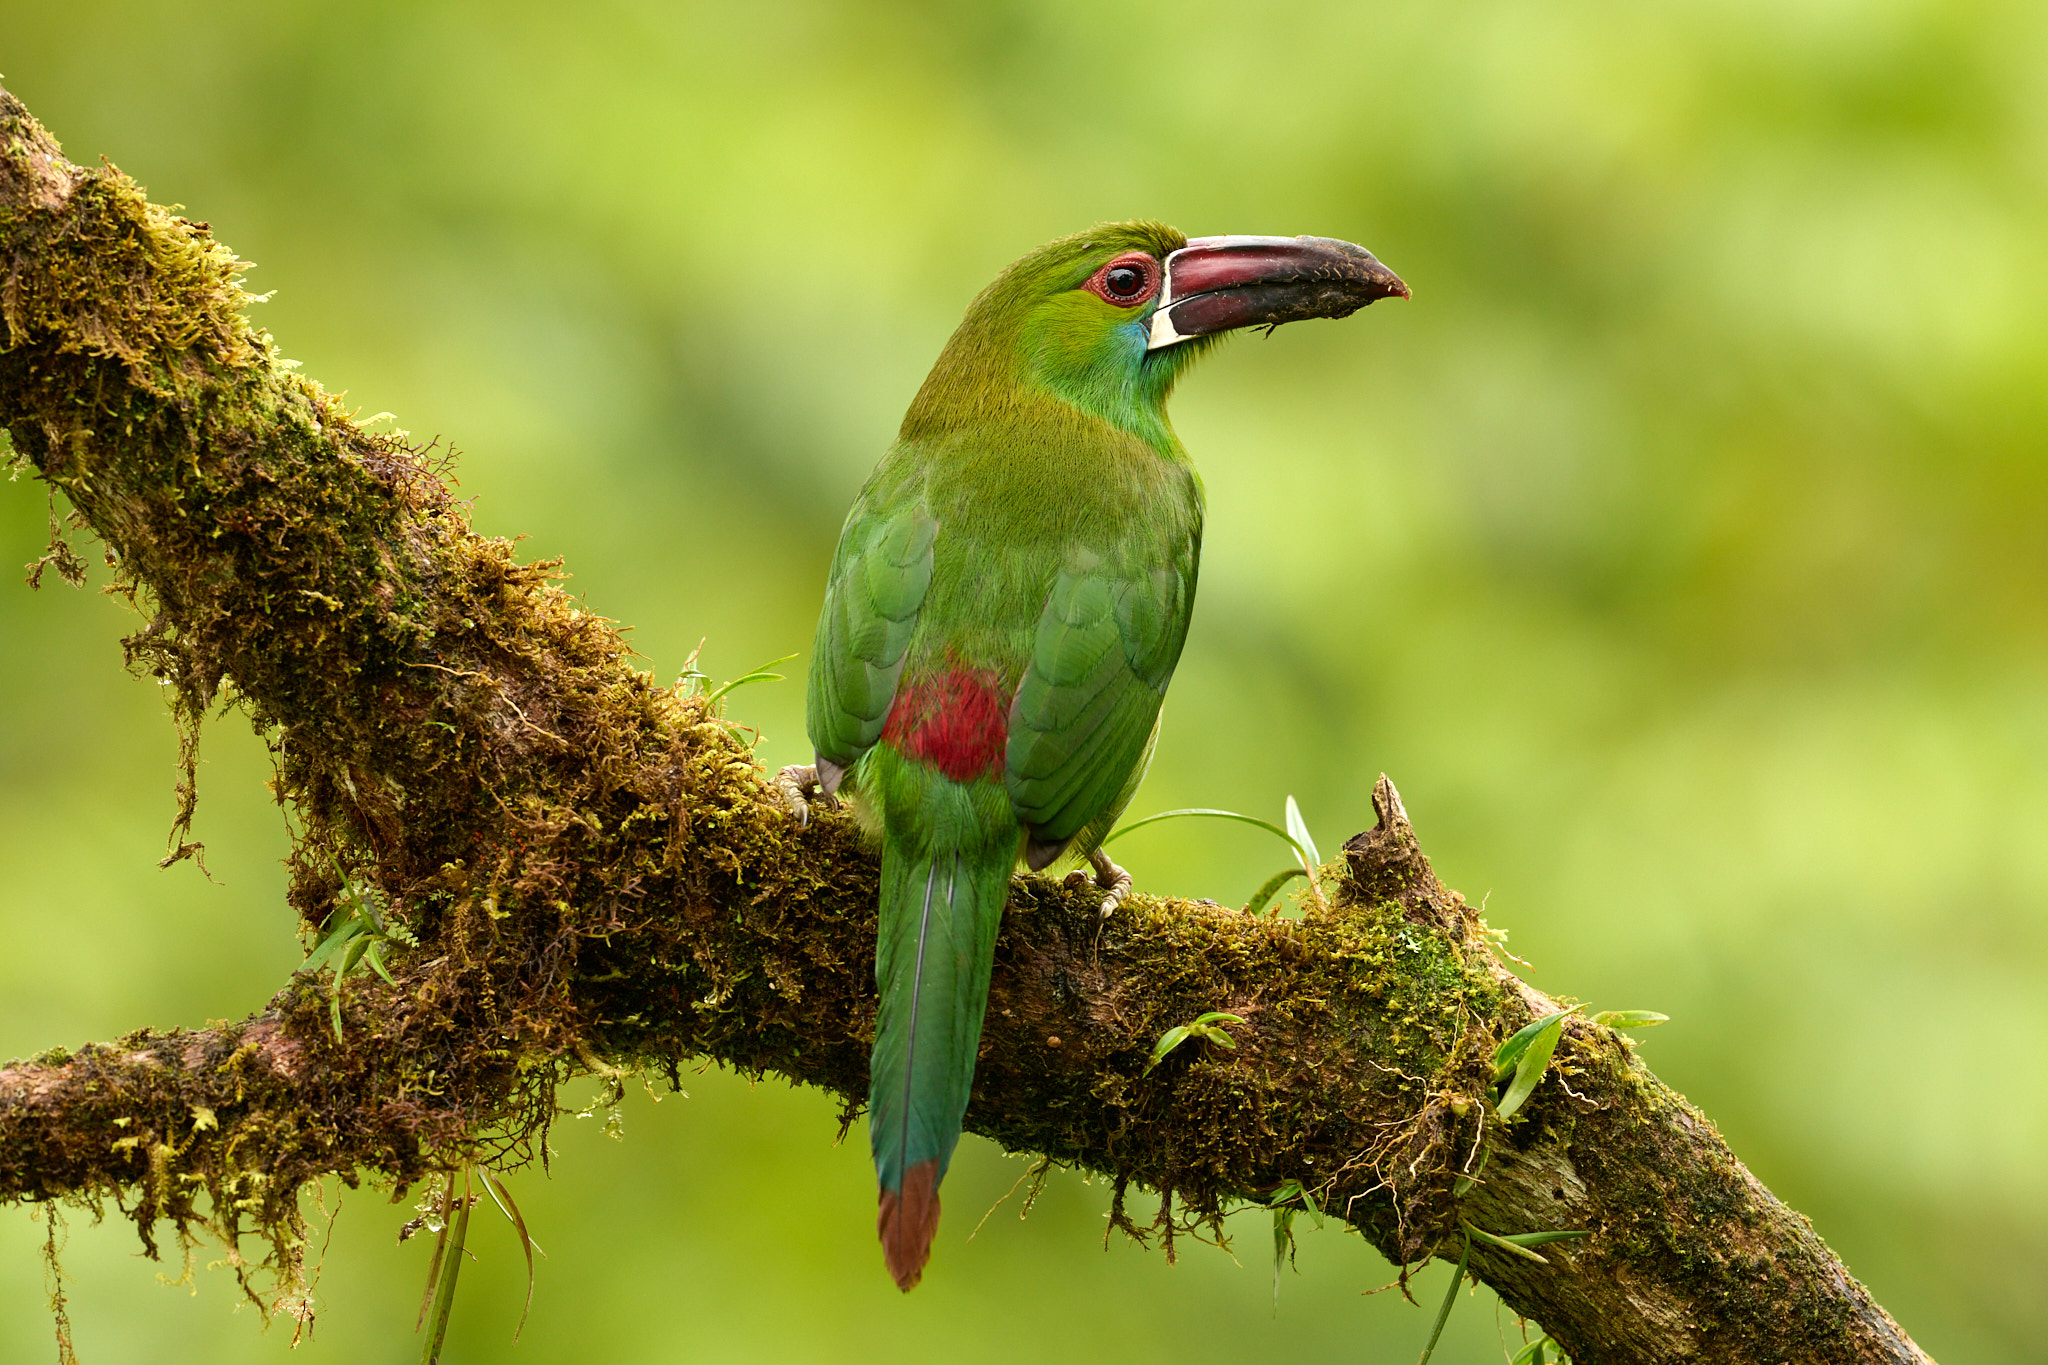
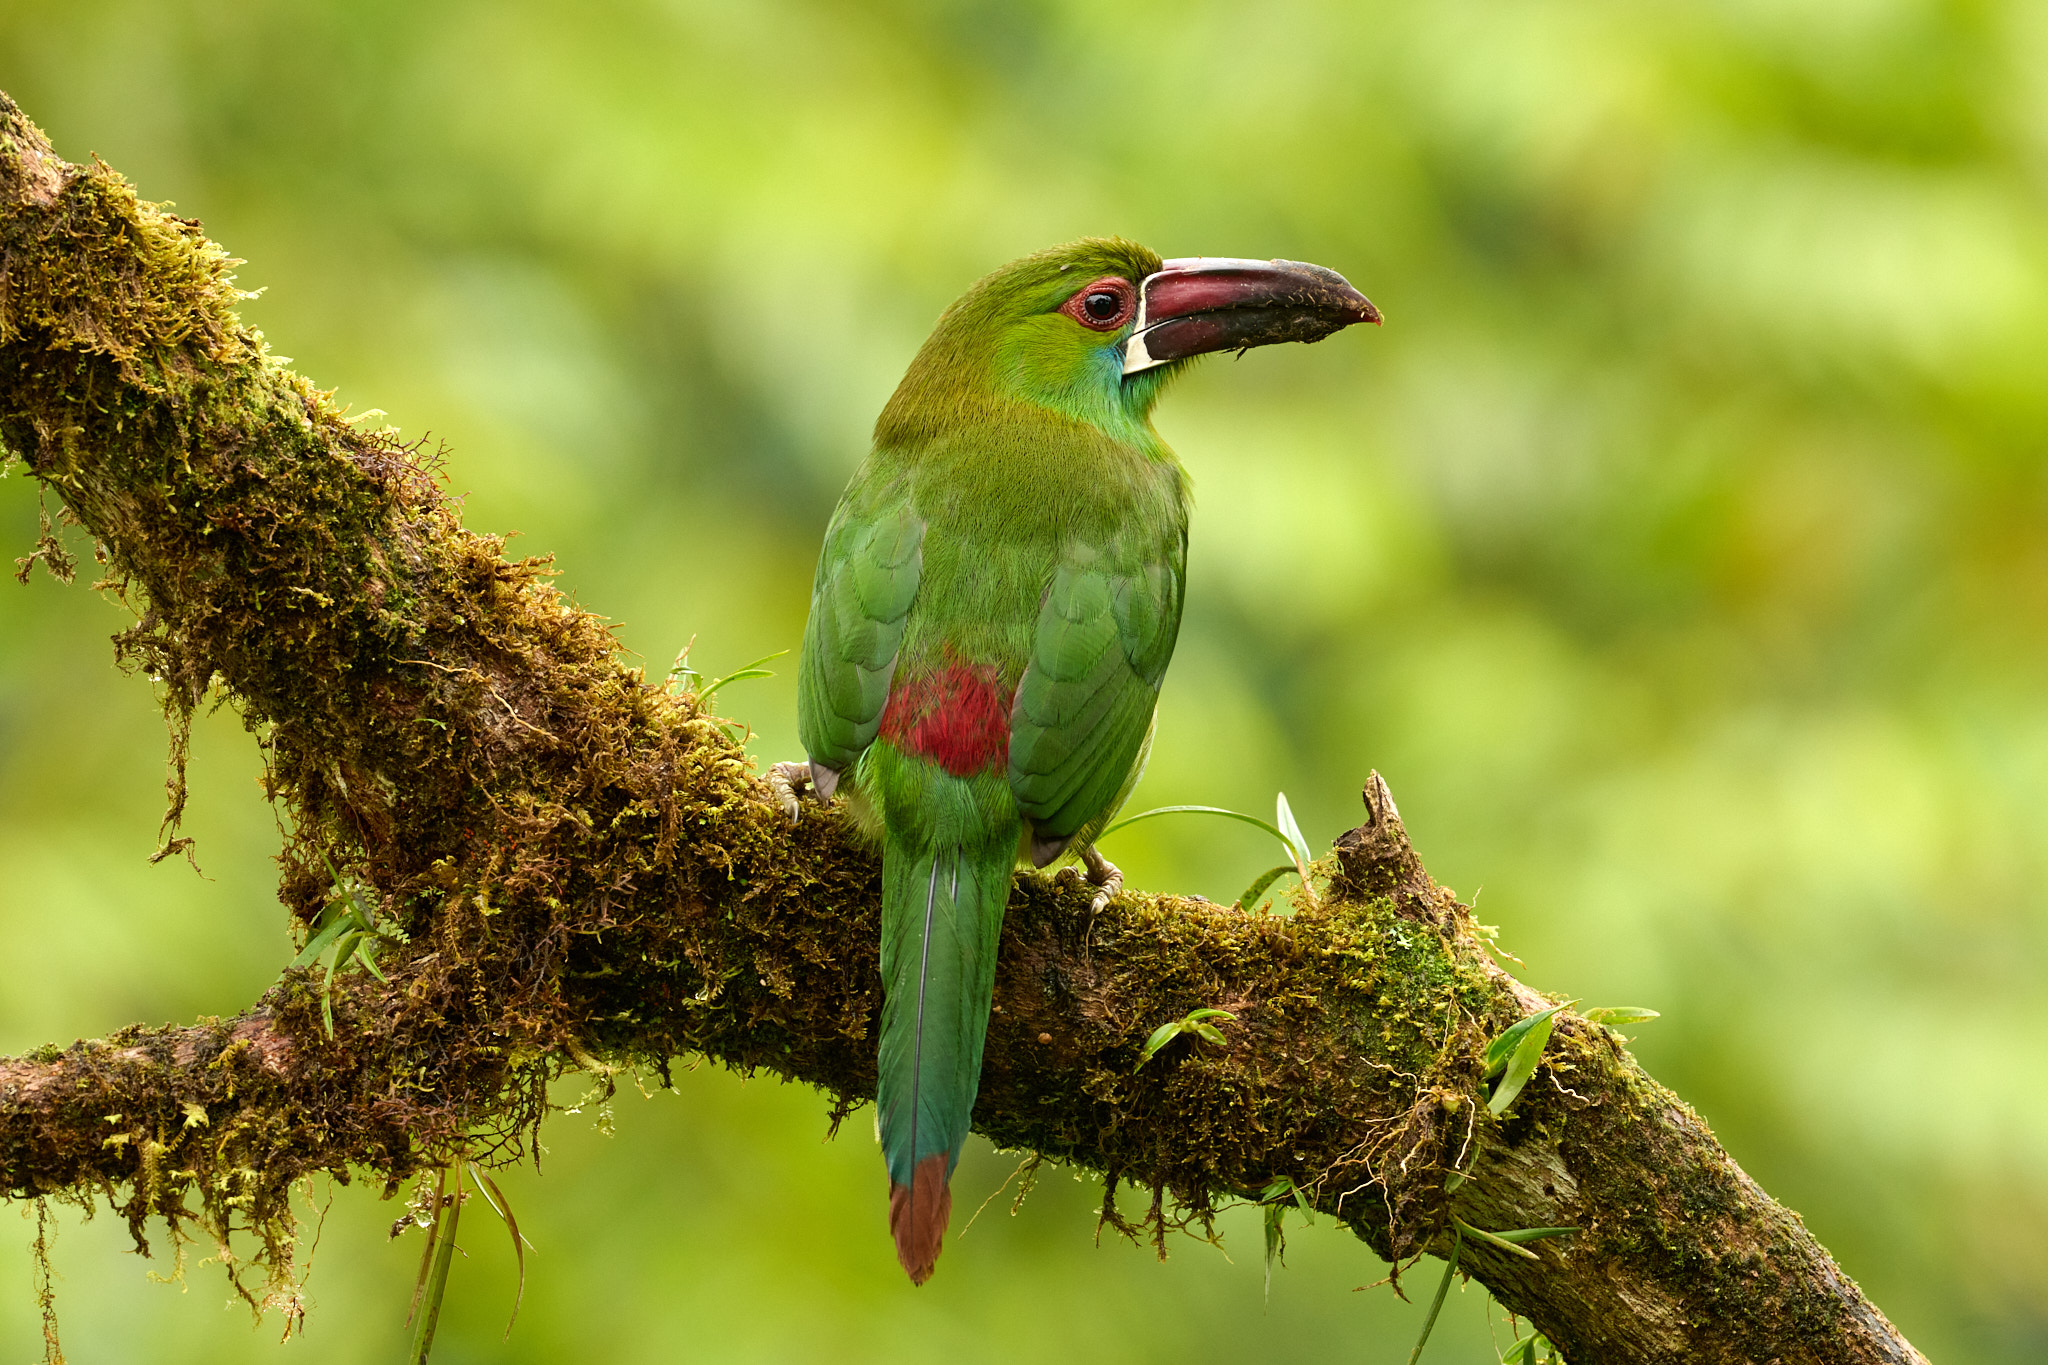
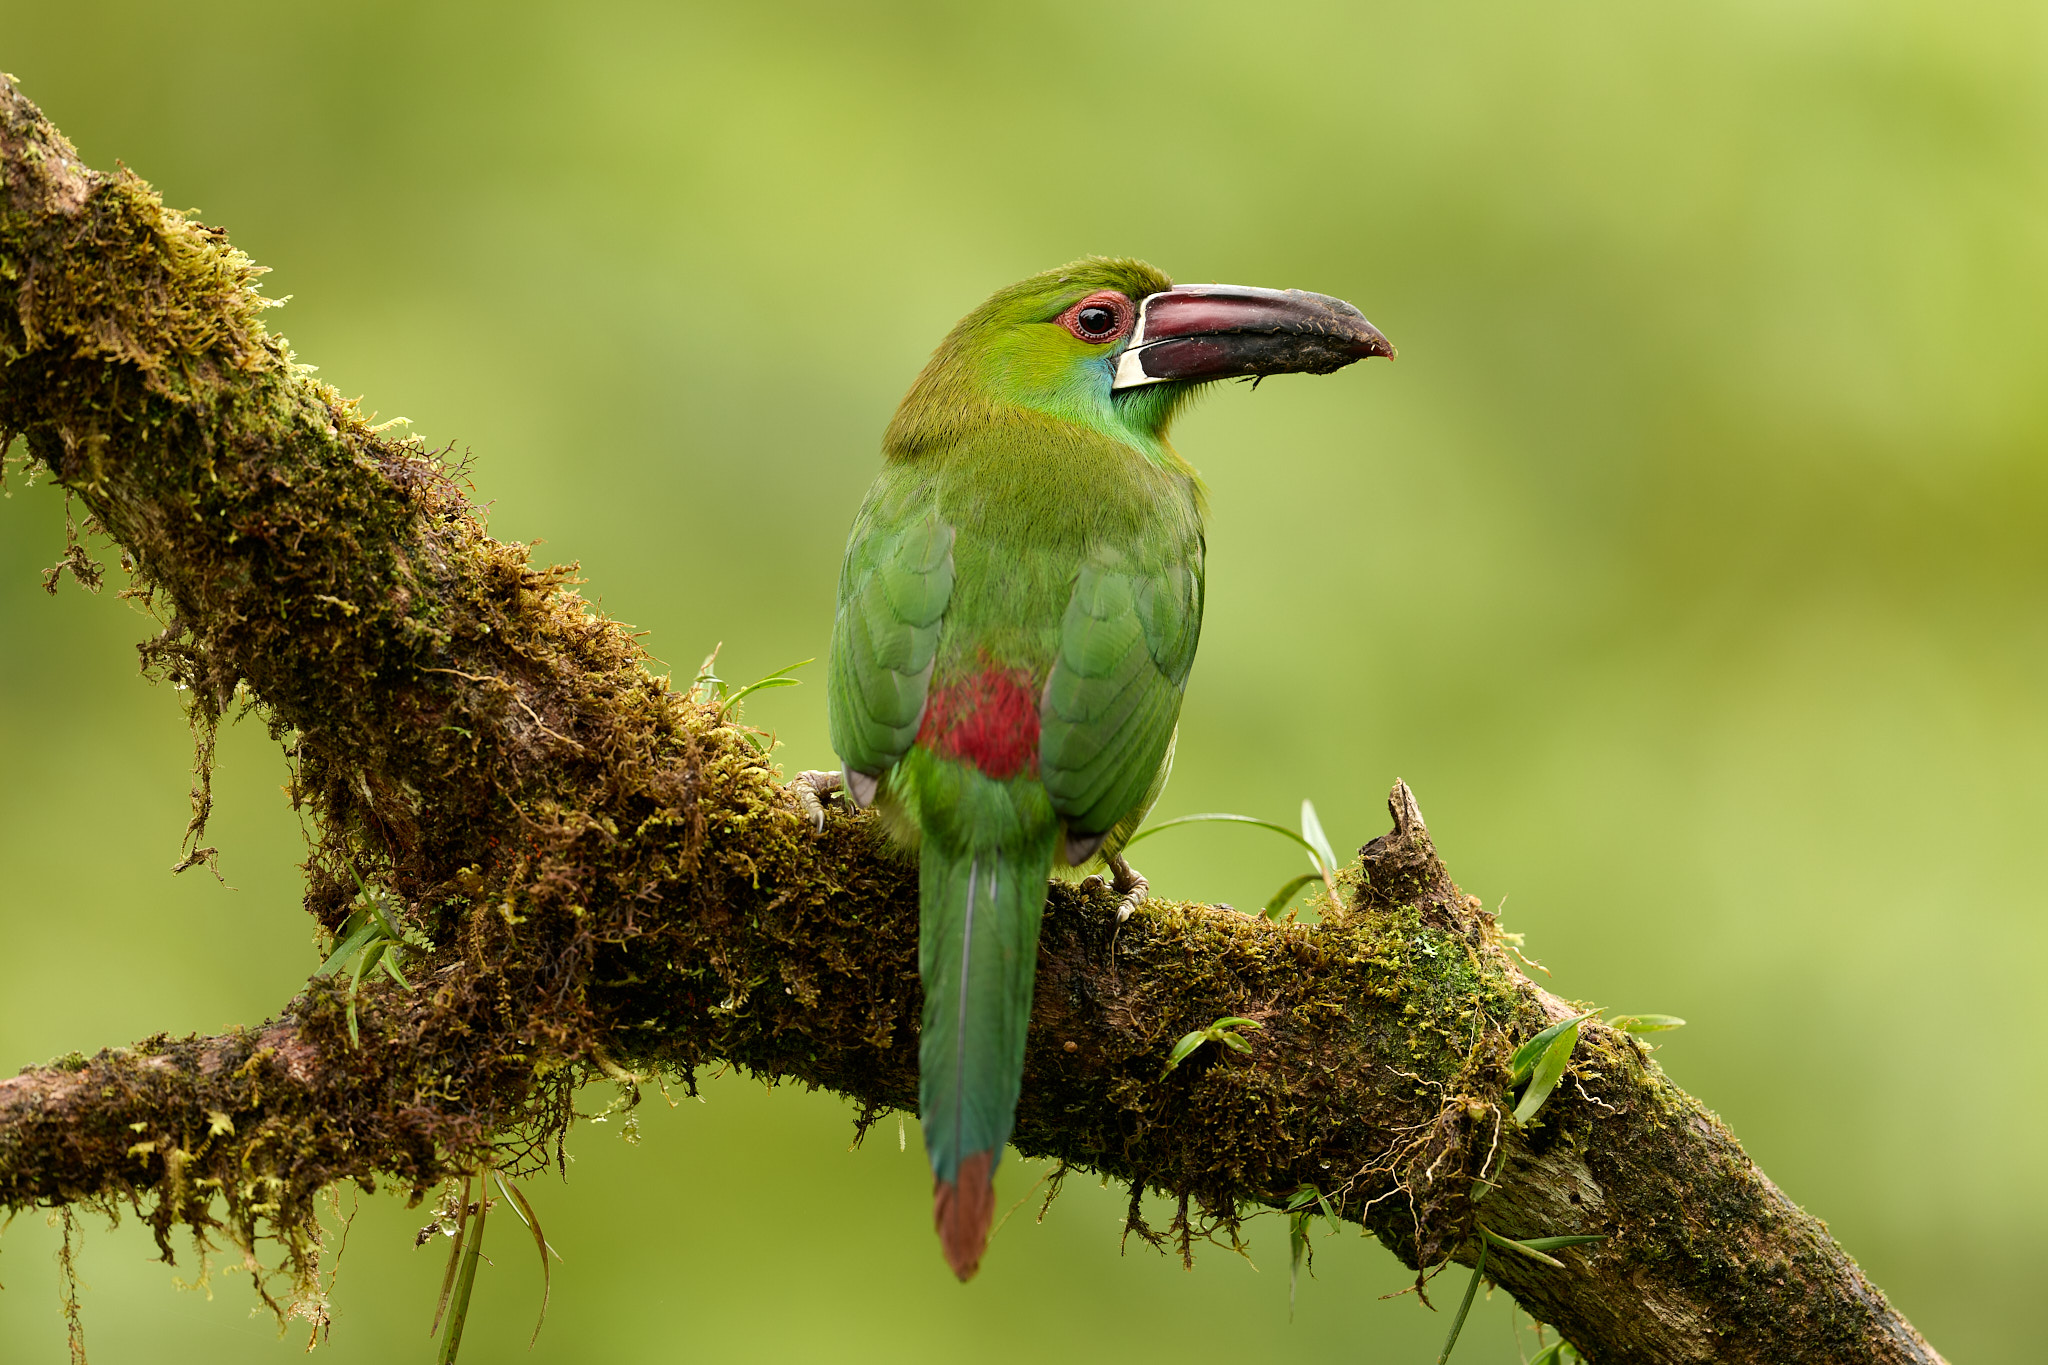
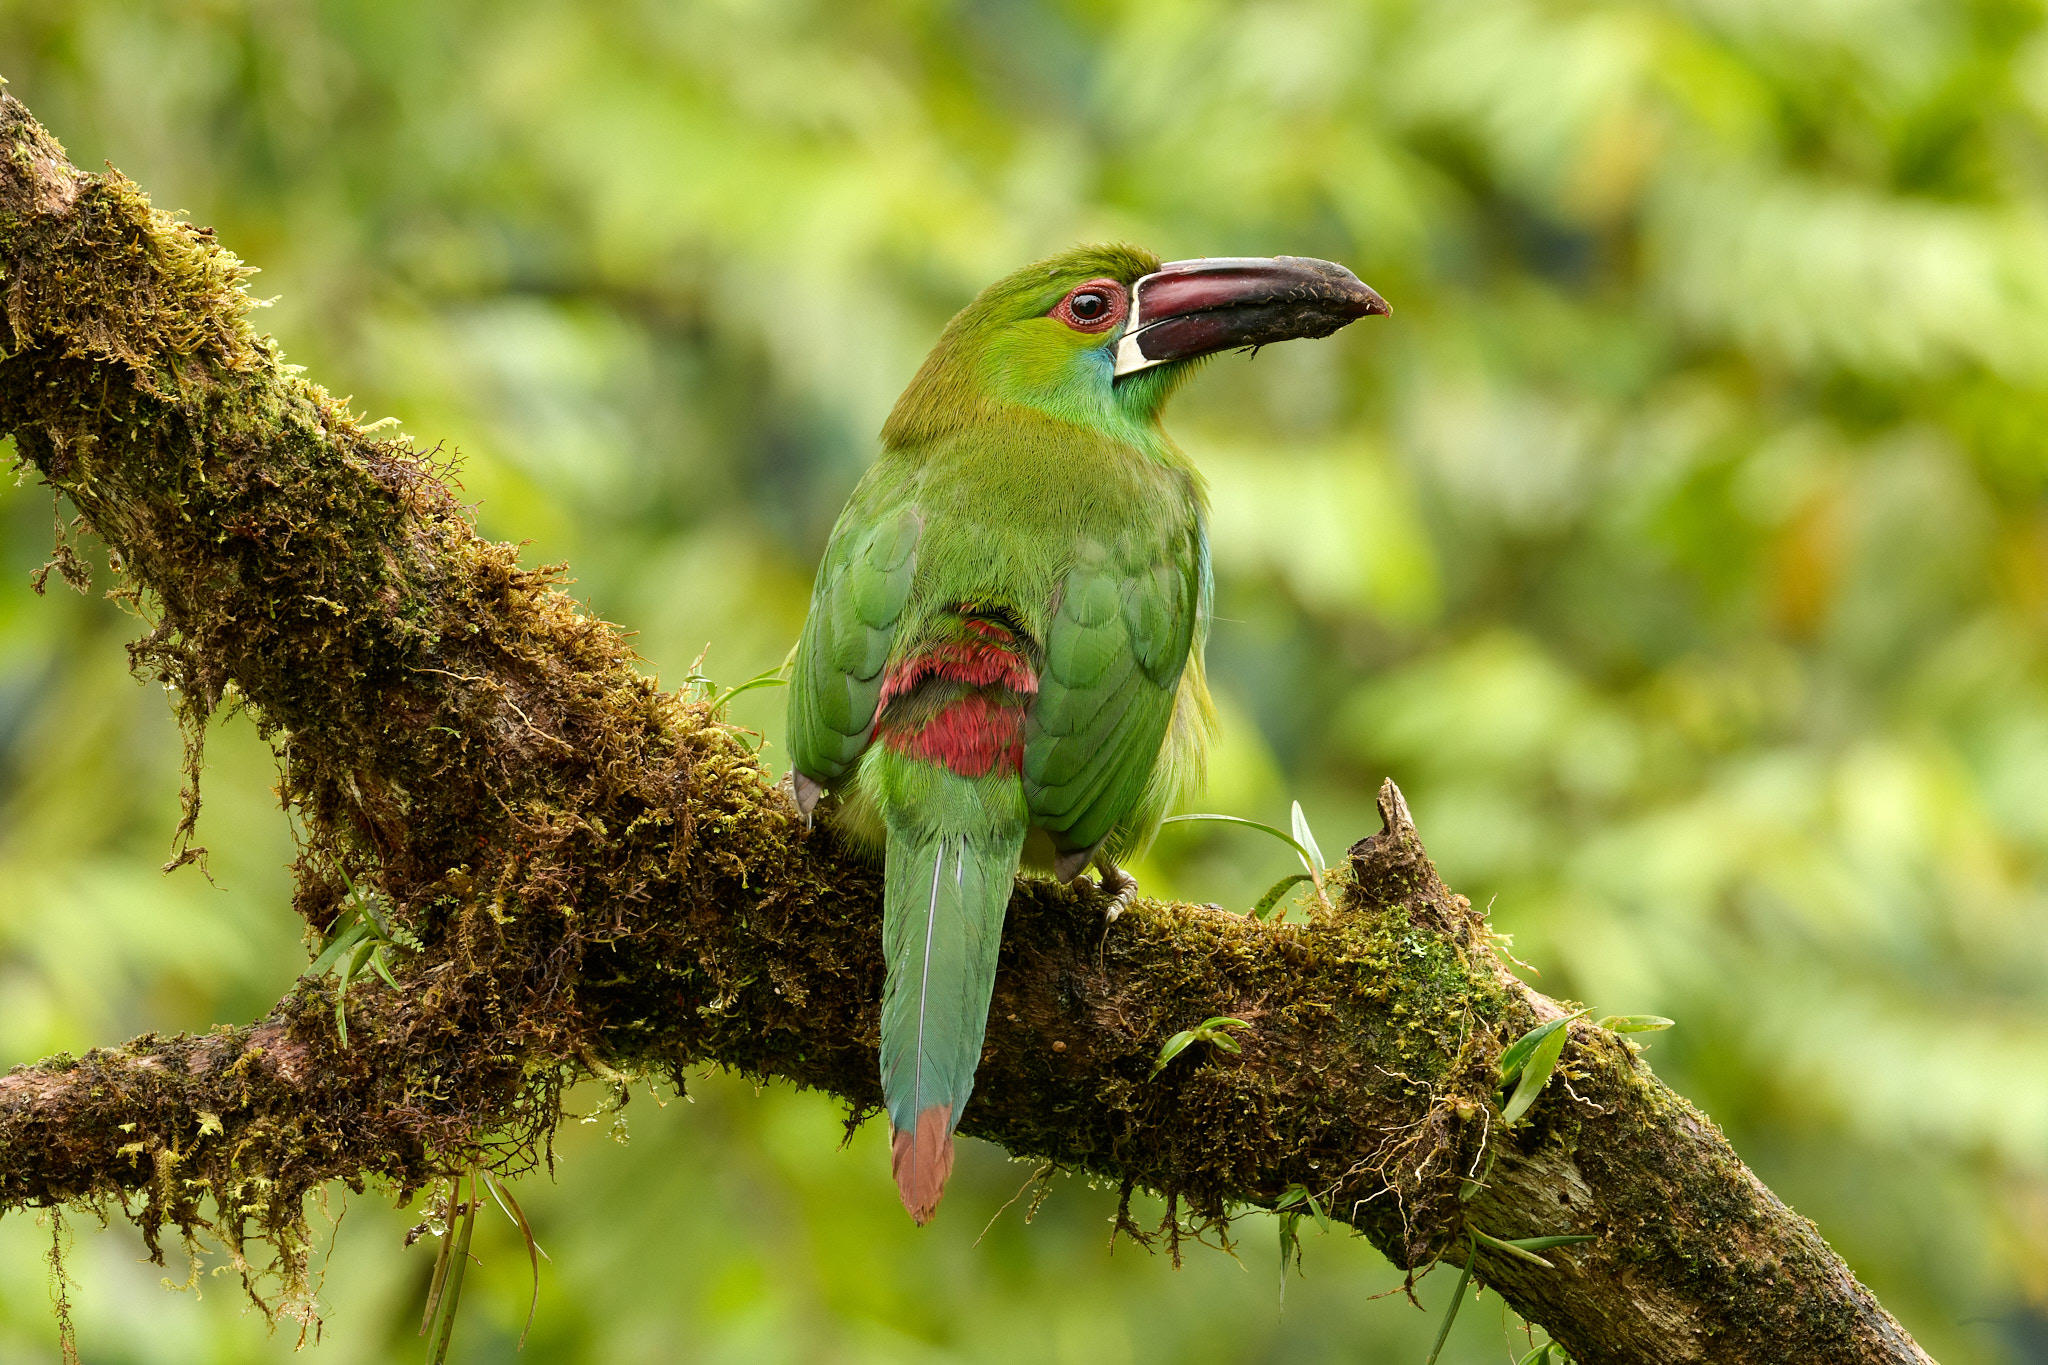
Let’s begin this sequence with this Crimson-rumped Toucanet, which impressed me to write down this text within the area. With the lens broad open, the background is superbly separated, however solely the pinnacle of the Toucanet is in focus. The tail is throughout the depth of area by f/11. With every step towards f/22, the background turns into extra distinct and distracting. (I needed to elevate ISO to compensate for the narrower apertures, so the noise additionally will increase.)
Right here’s how the development of images seems. Notice that I included f/6.3 though it’s only one/3 cease slower than f/5.6, since lots of immediately’s telephoto lenses have a most aperture of f/6.3:
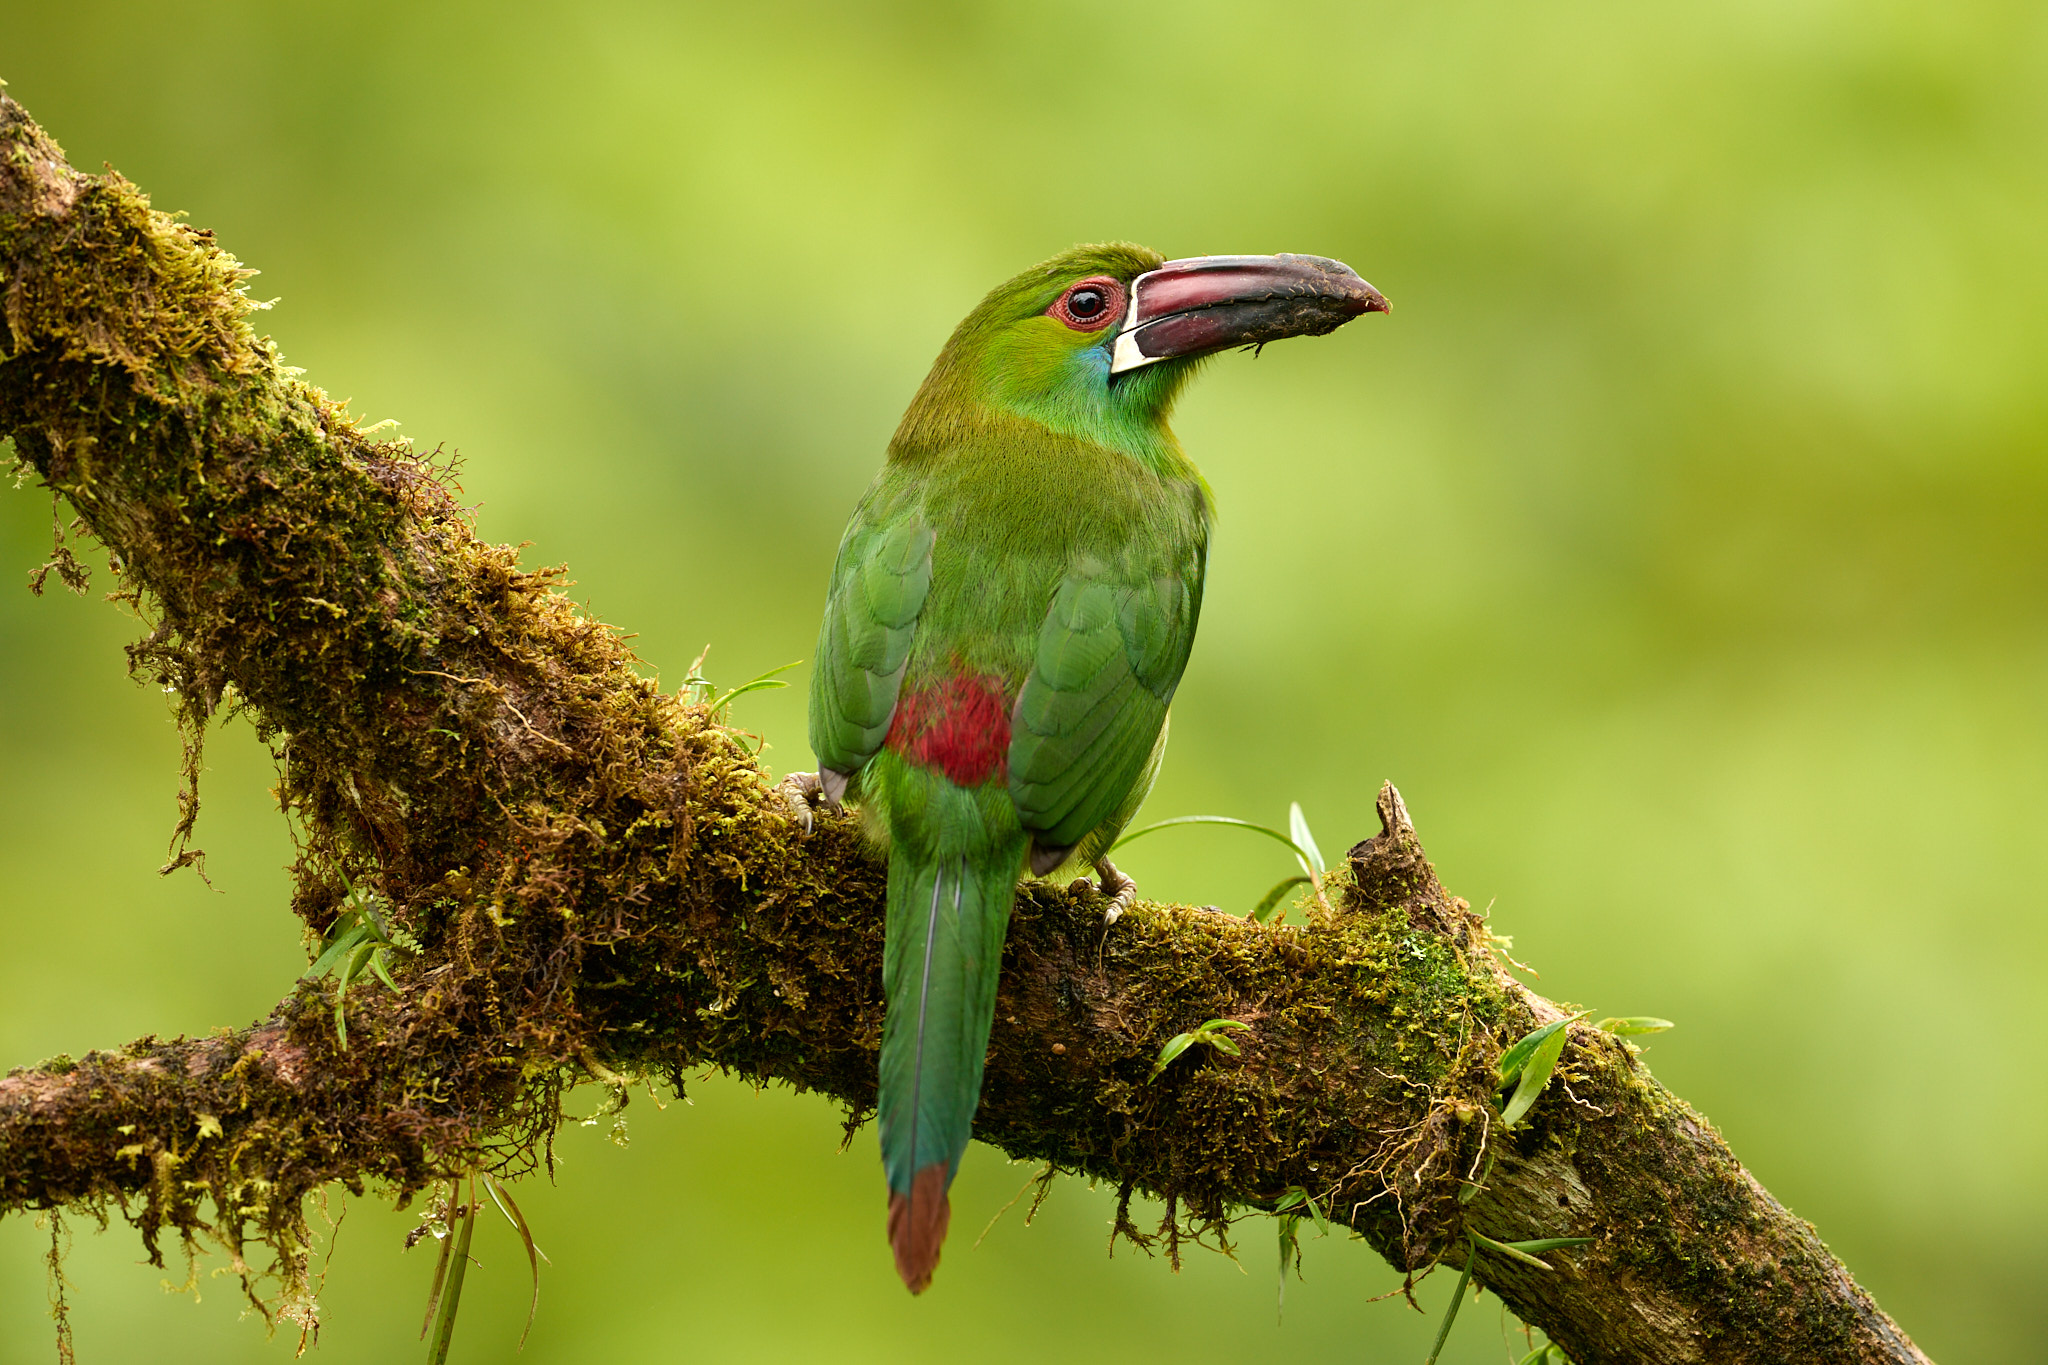
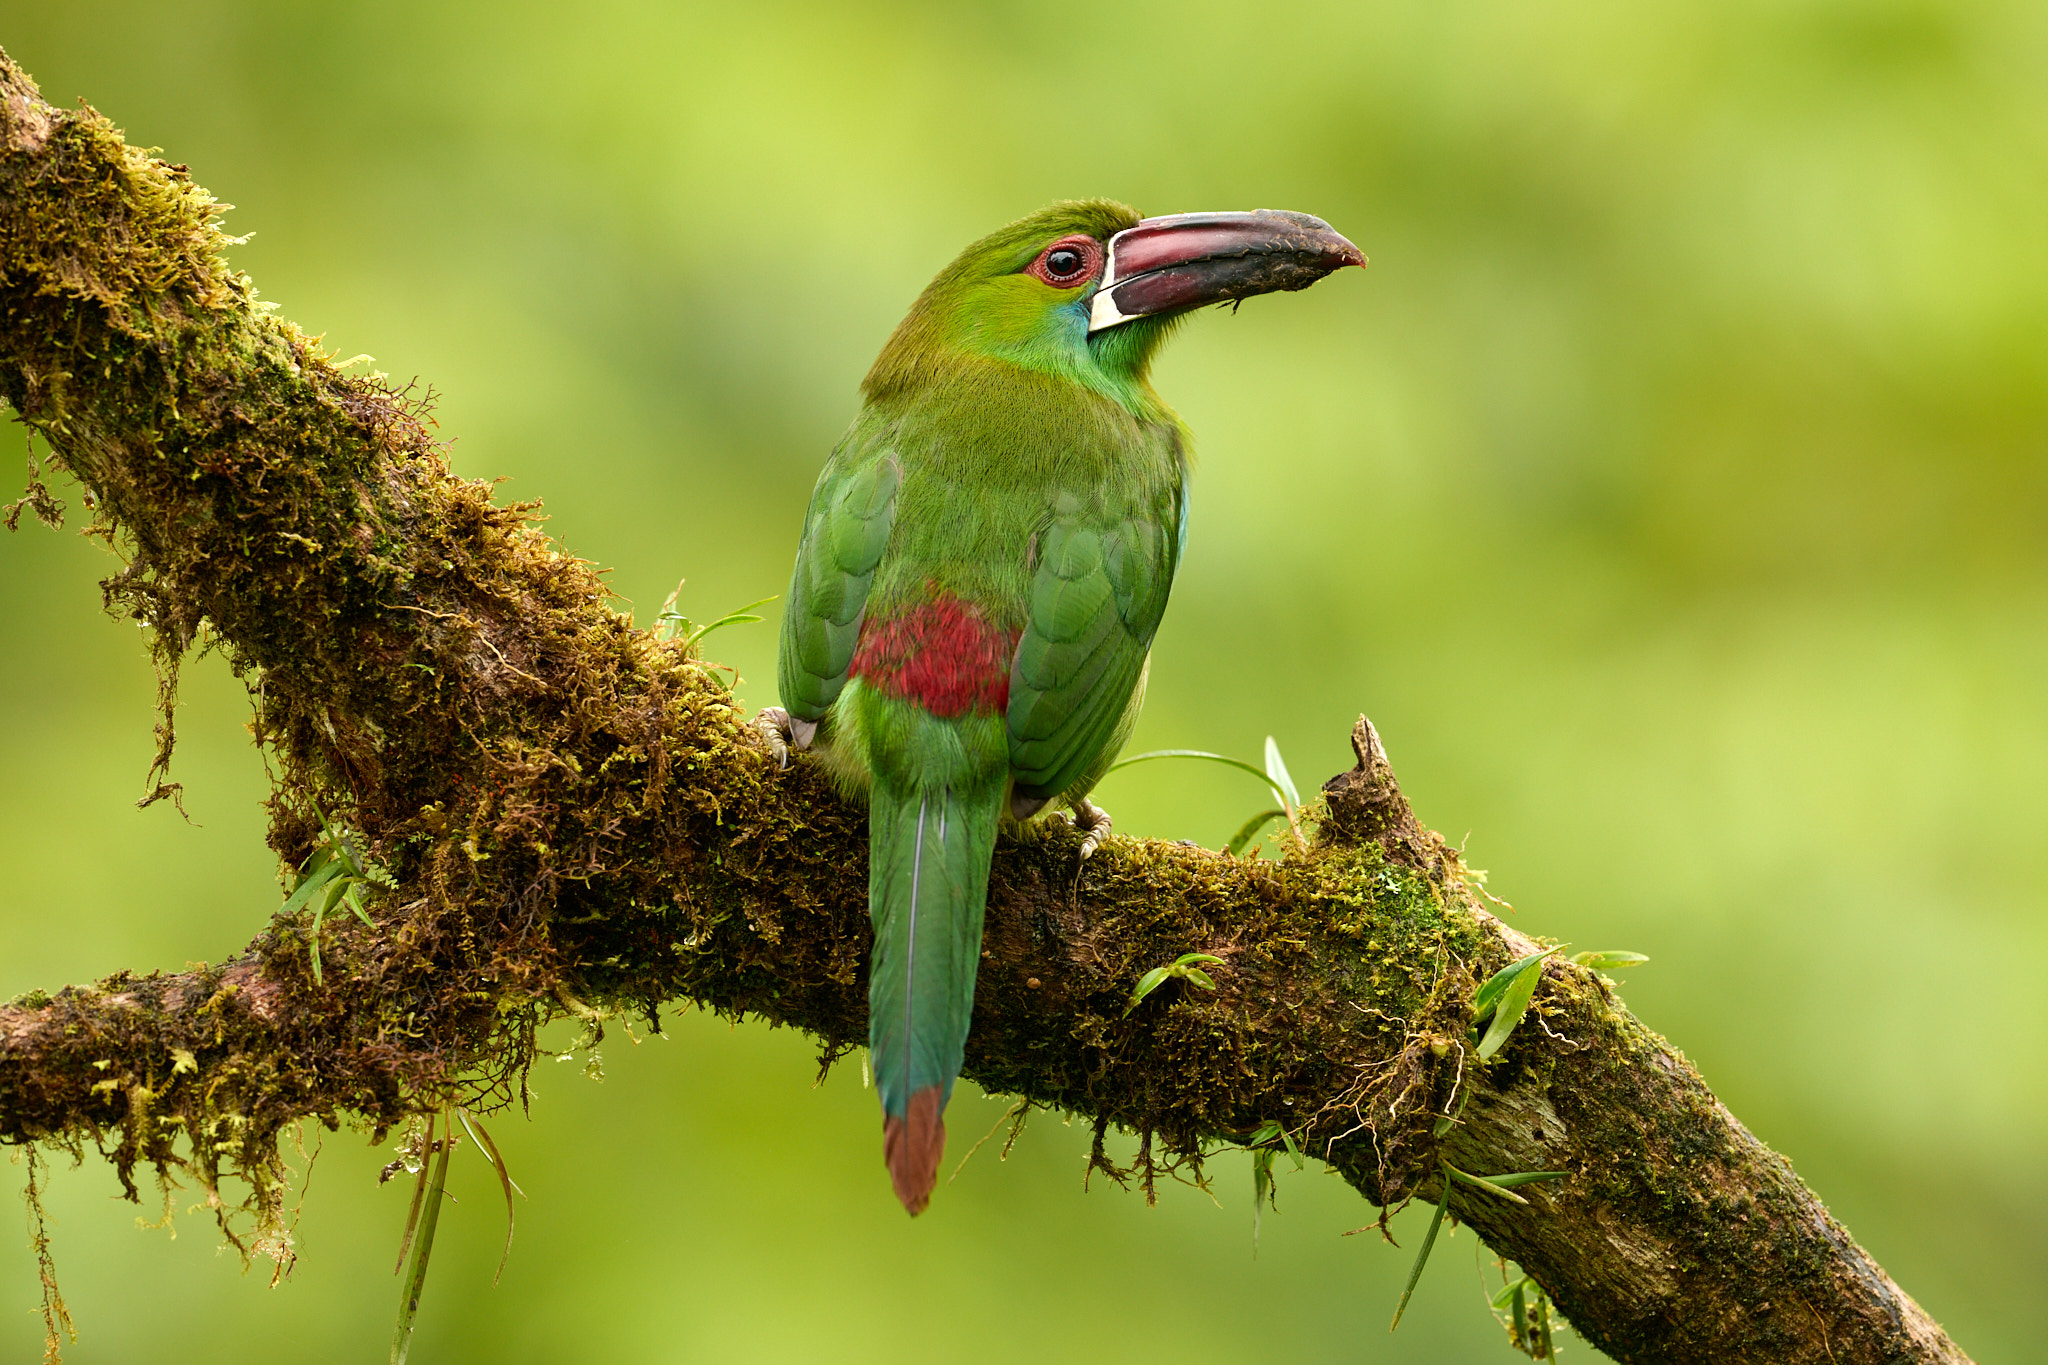
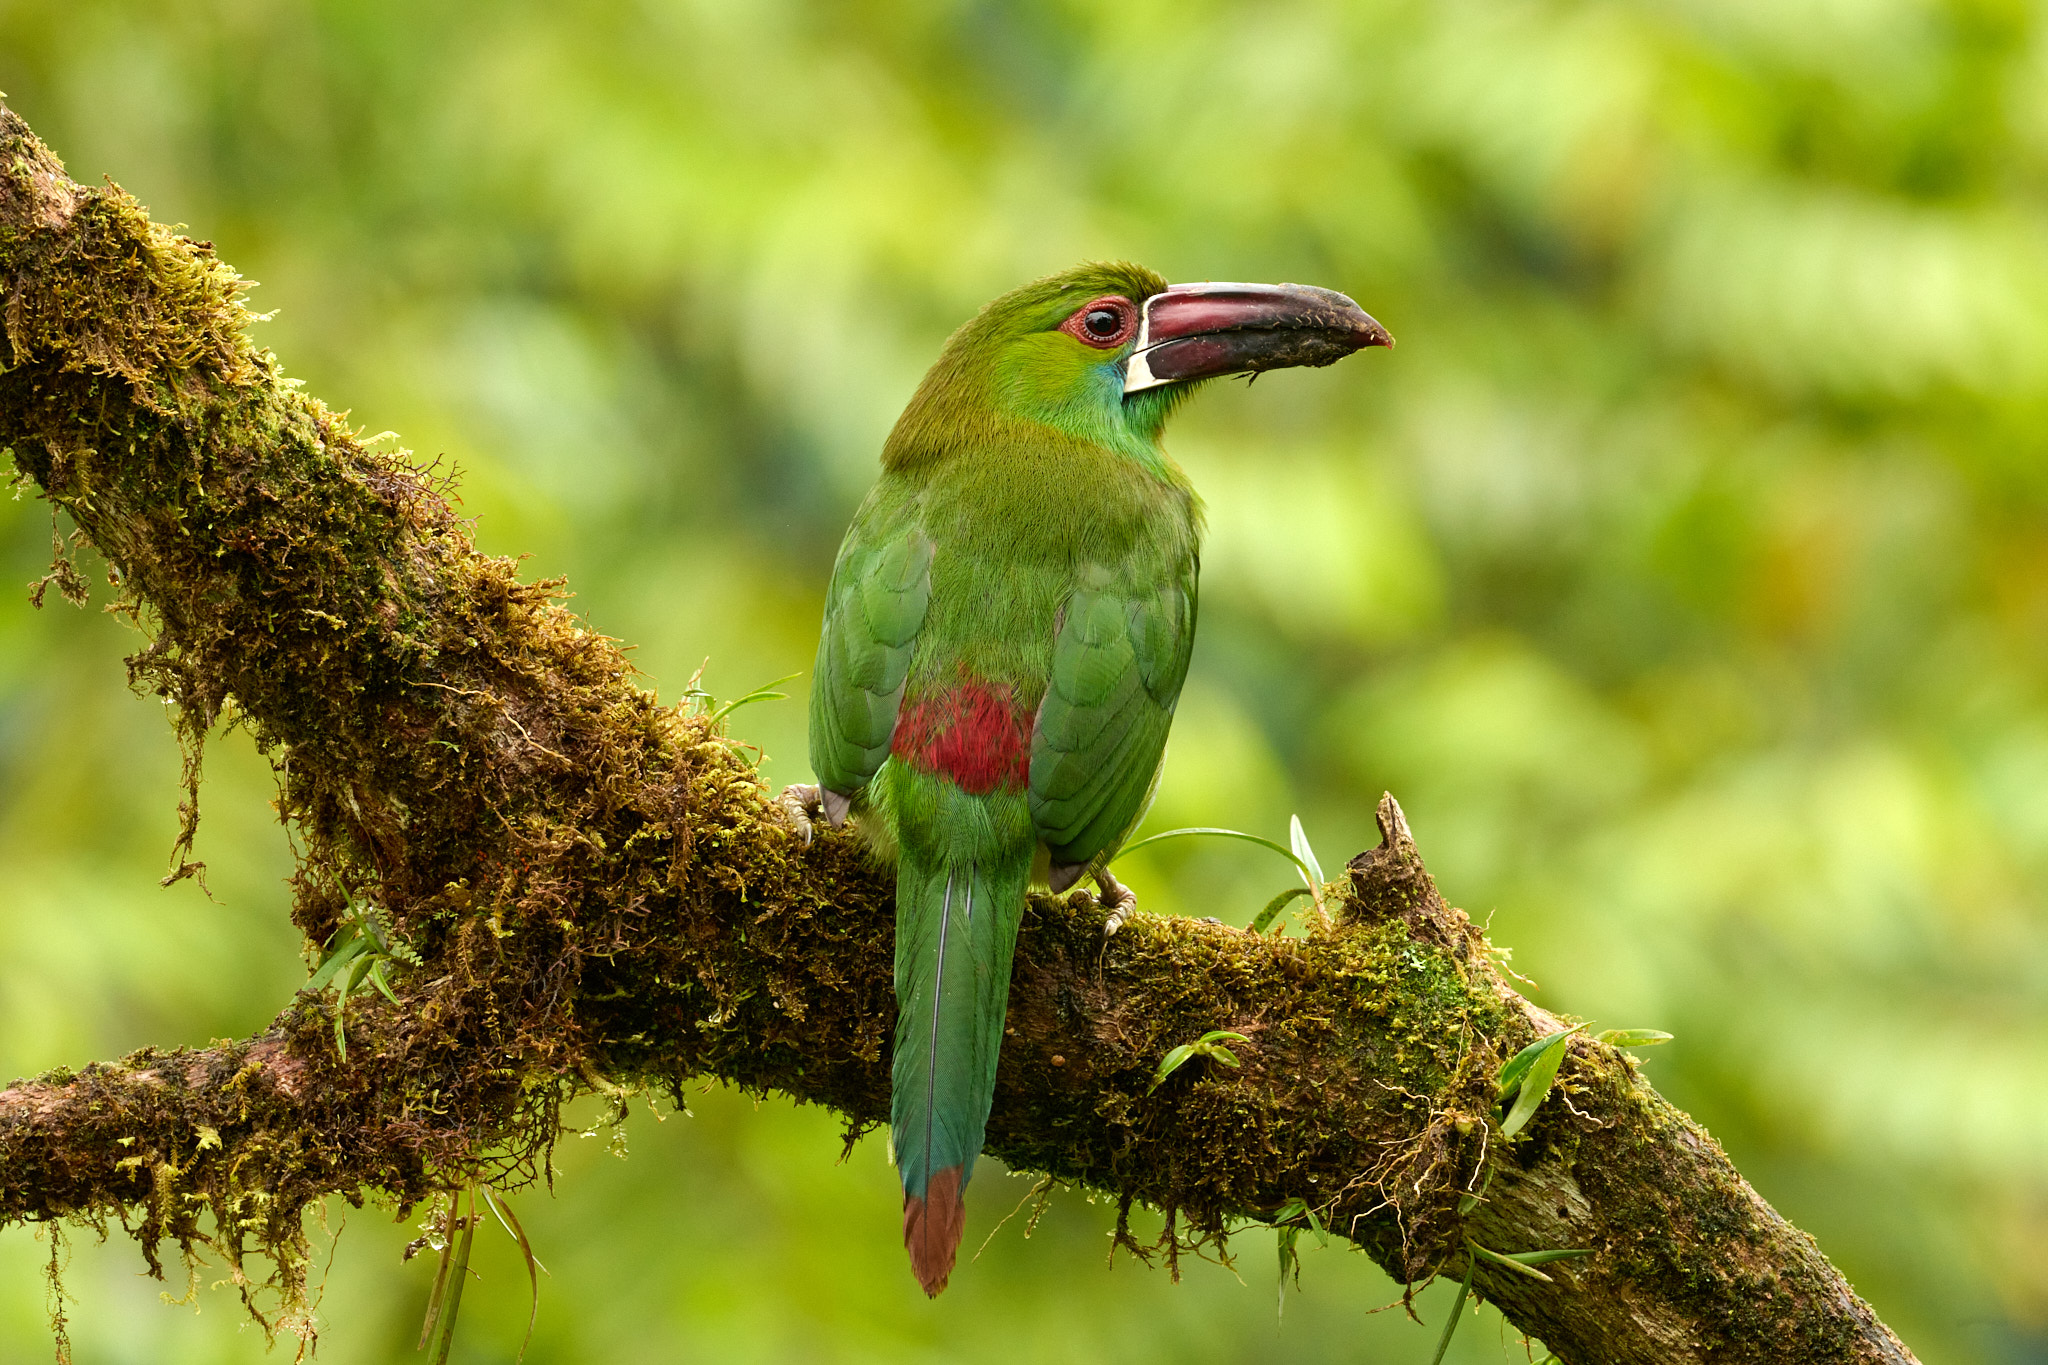
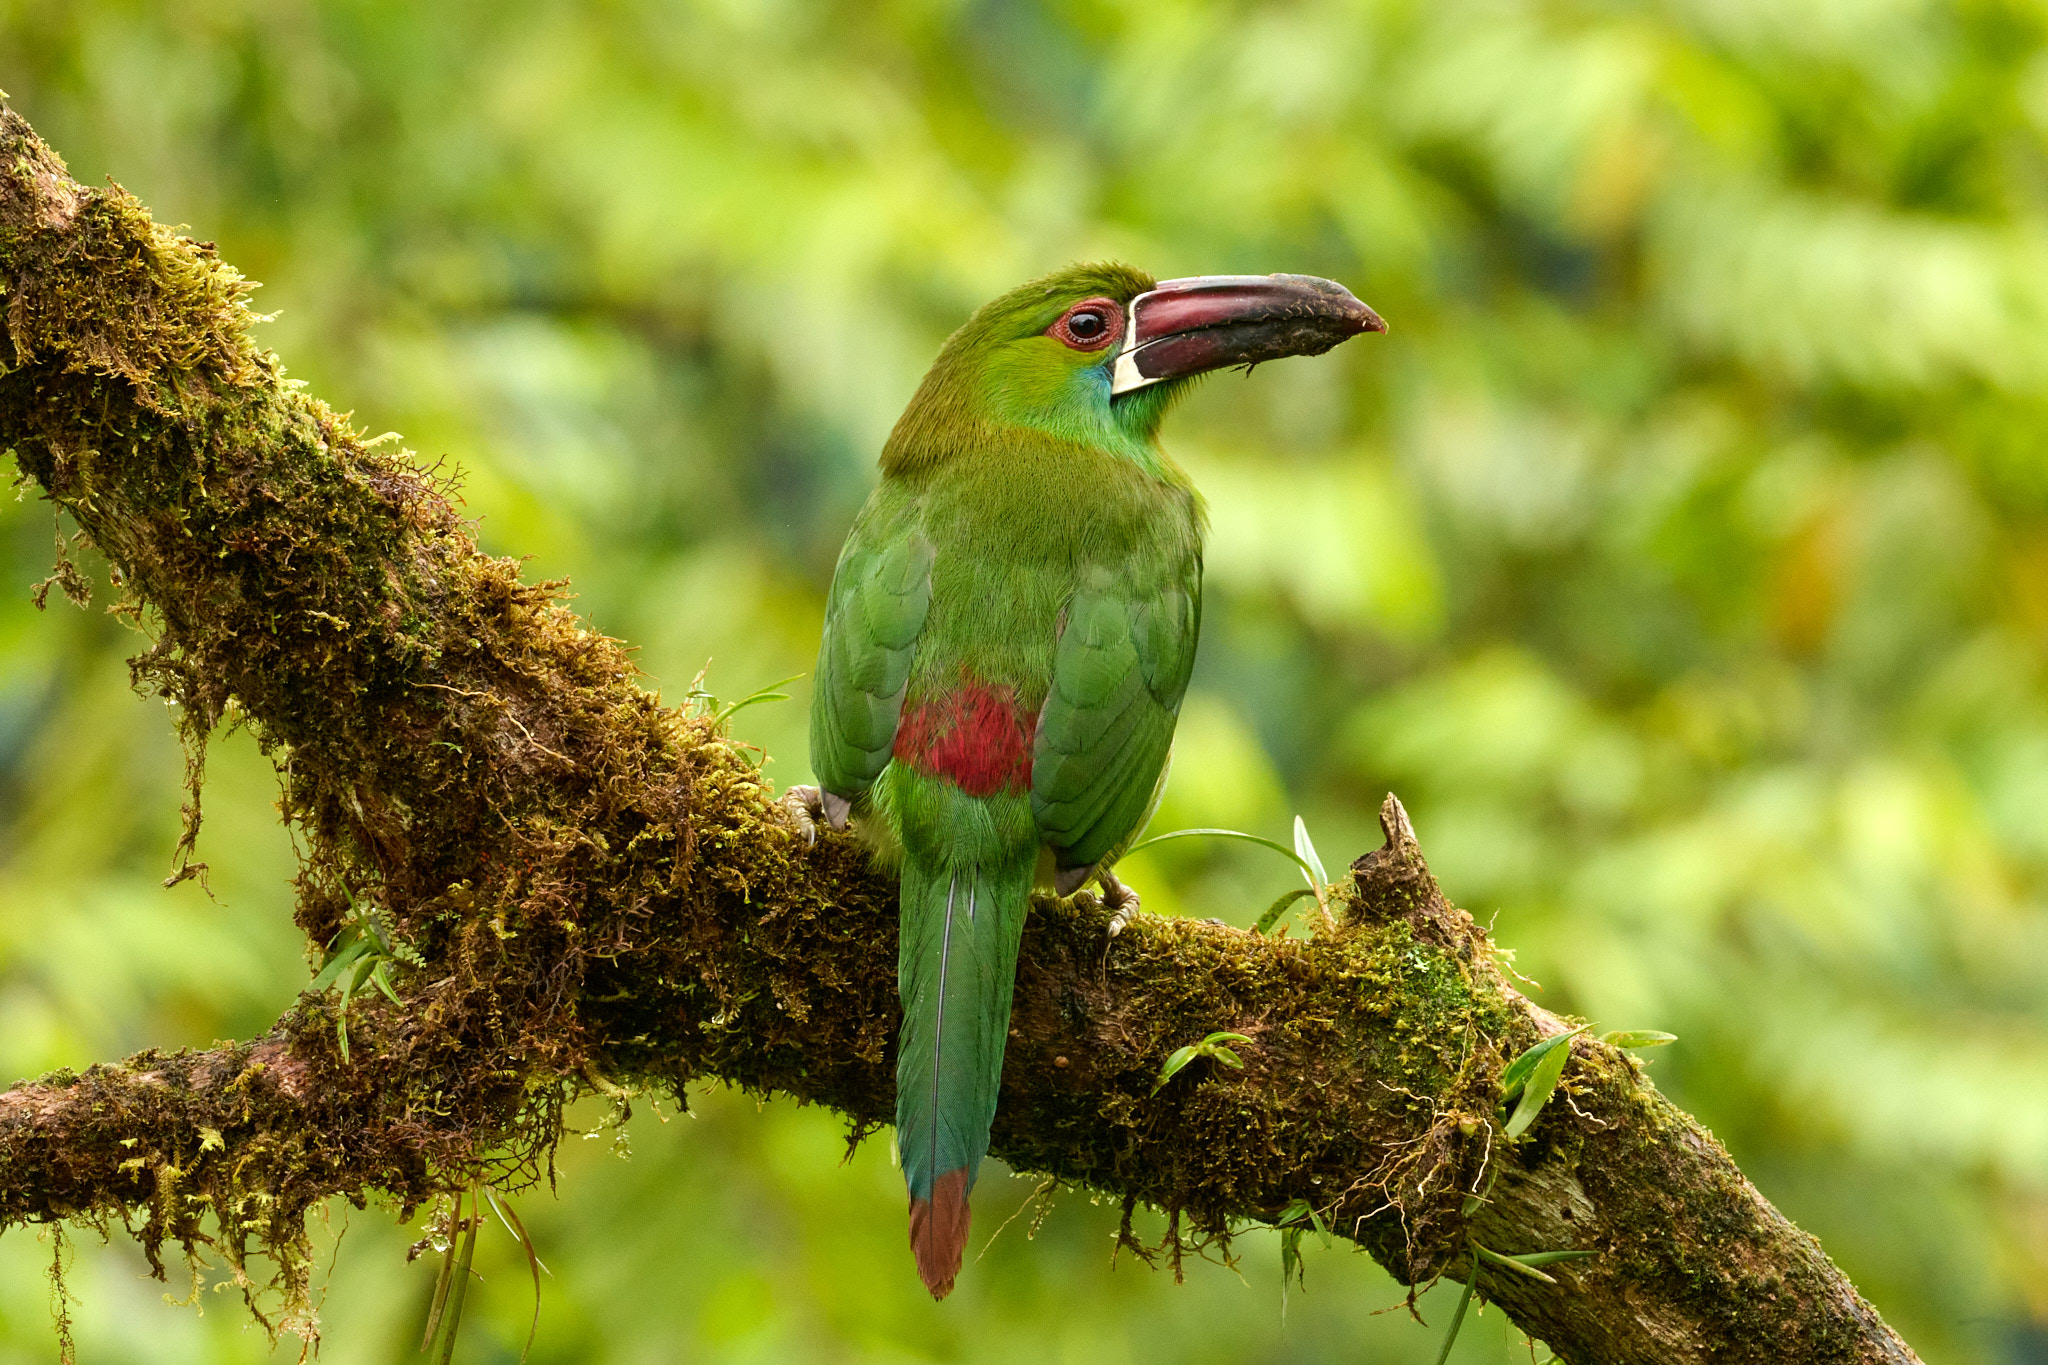
For reference, right here’s how the primary picture compares to the final:
NIKON Z 9 + VR 500mm f/4E @ 500mm, ISO 180, 1/125, f/4.0
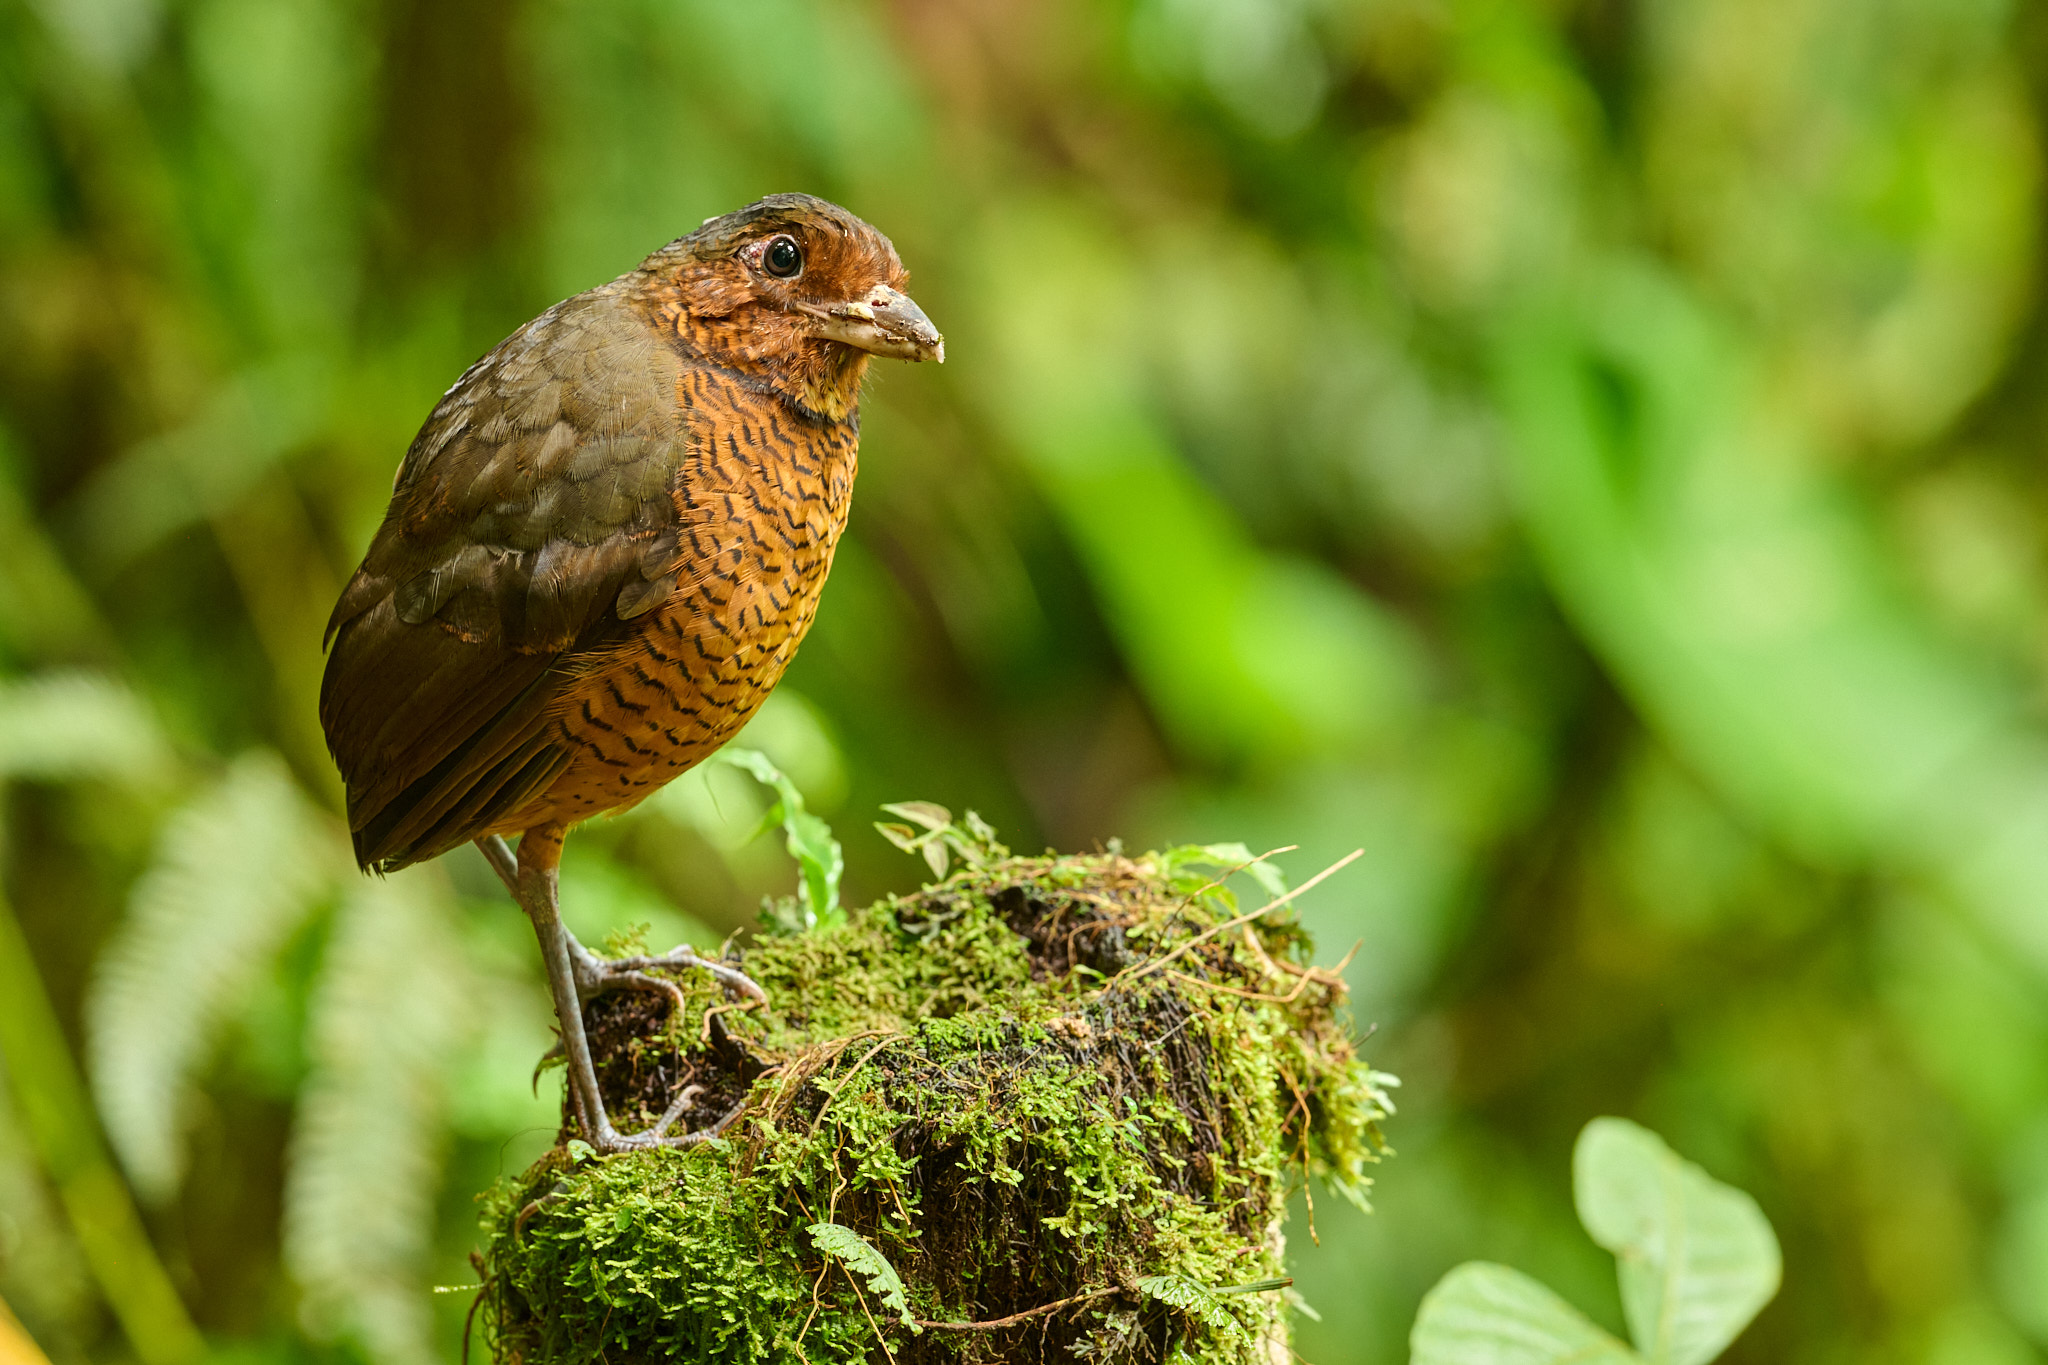
Sadly, the Large Antpitta didn’t enable me to go narrower than f/8 earlier than flying away. Nonetheless, it’s attention-grabbing to check how the lens handles a a lot busier background:
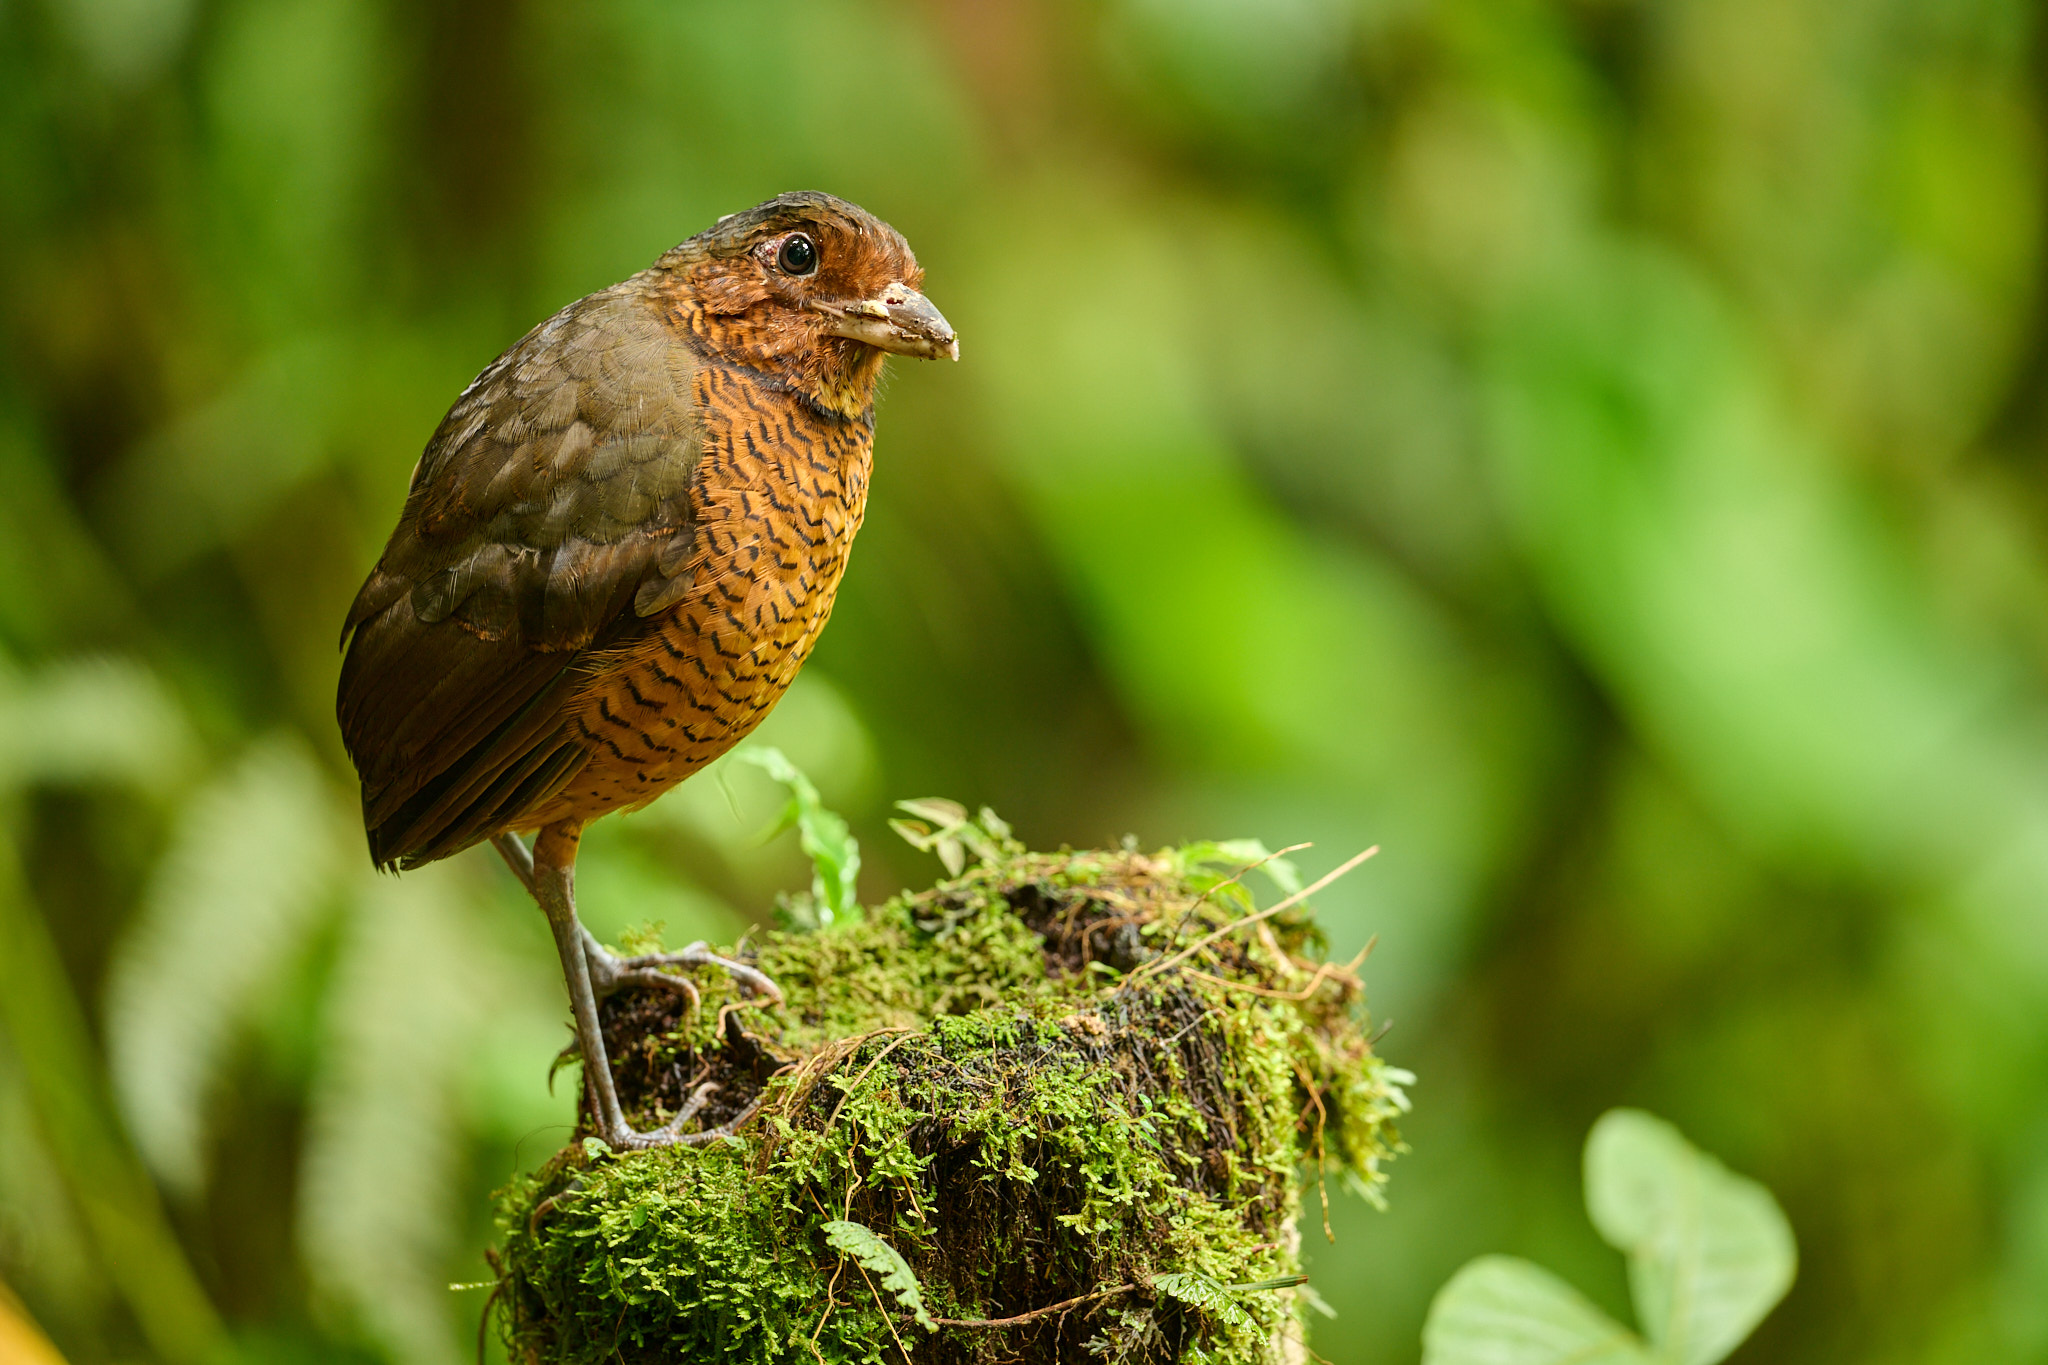
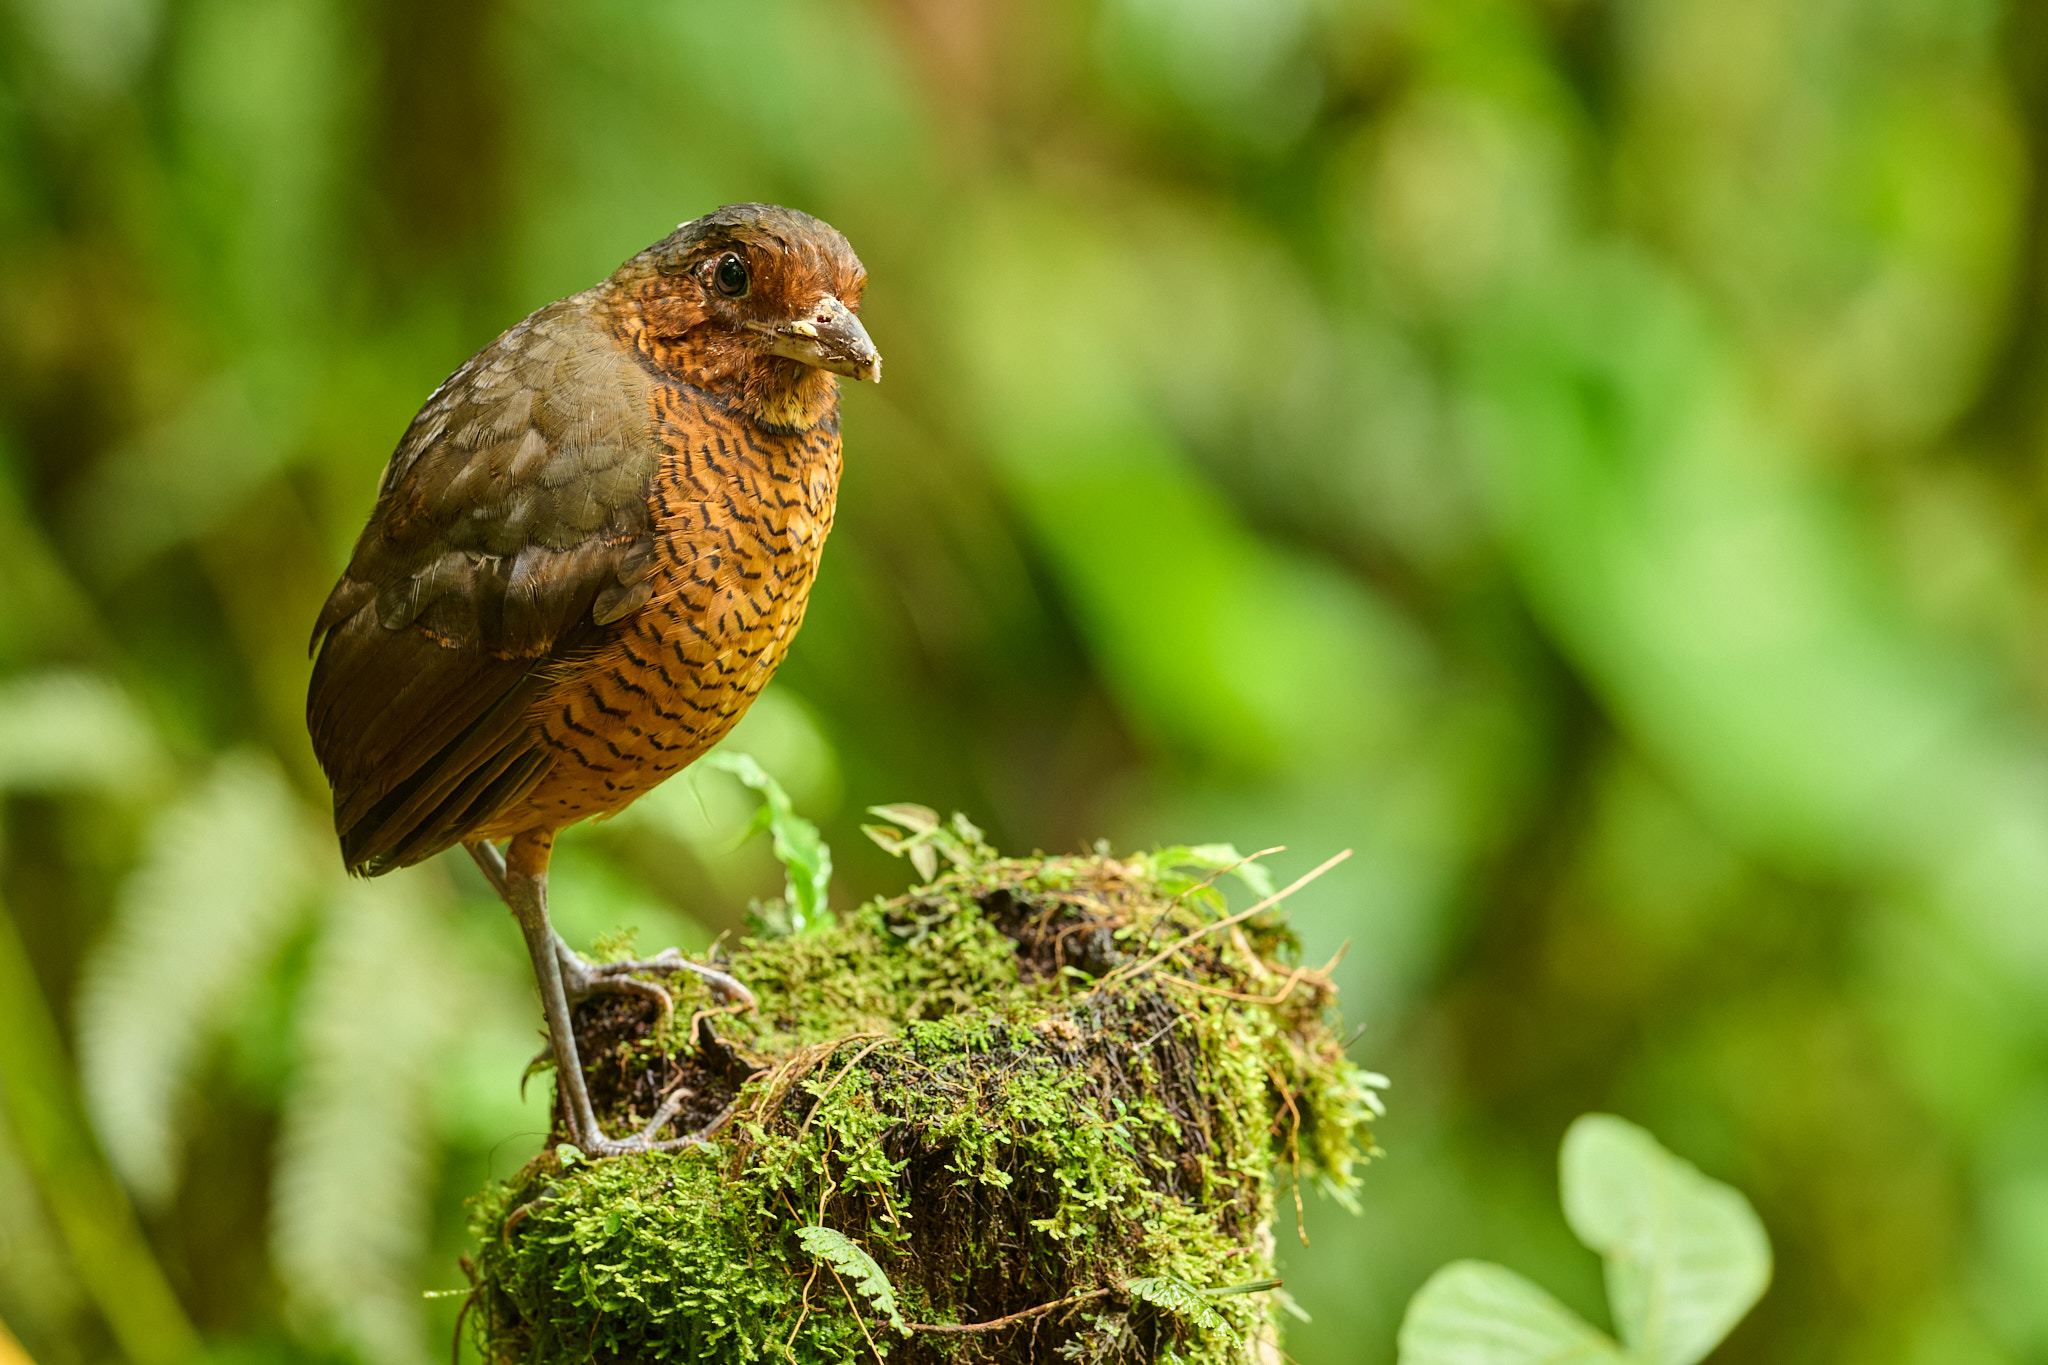
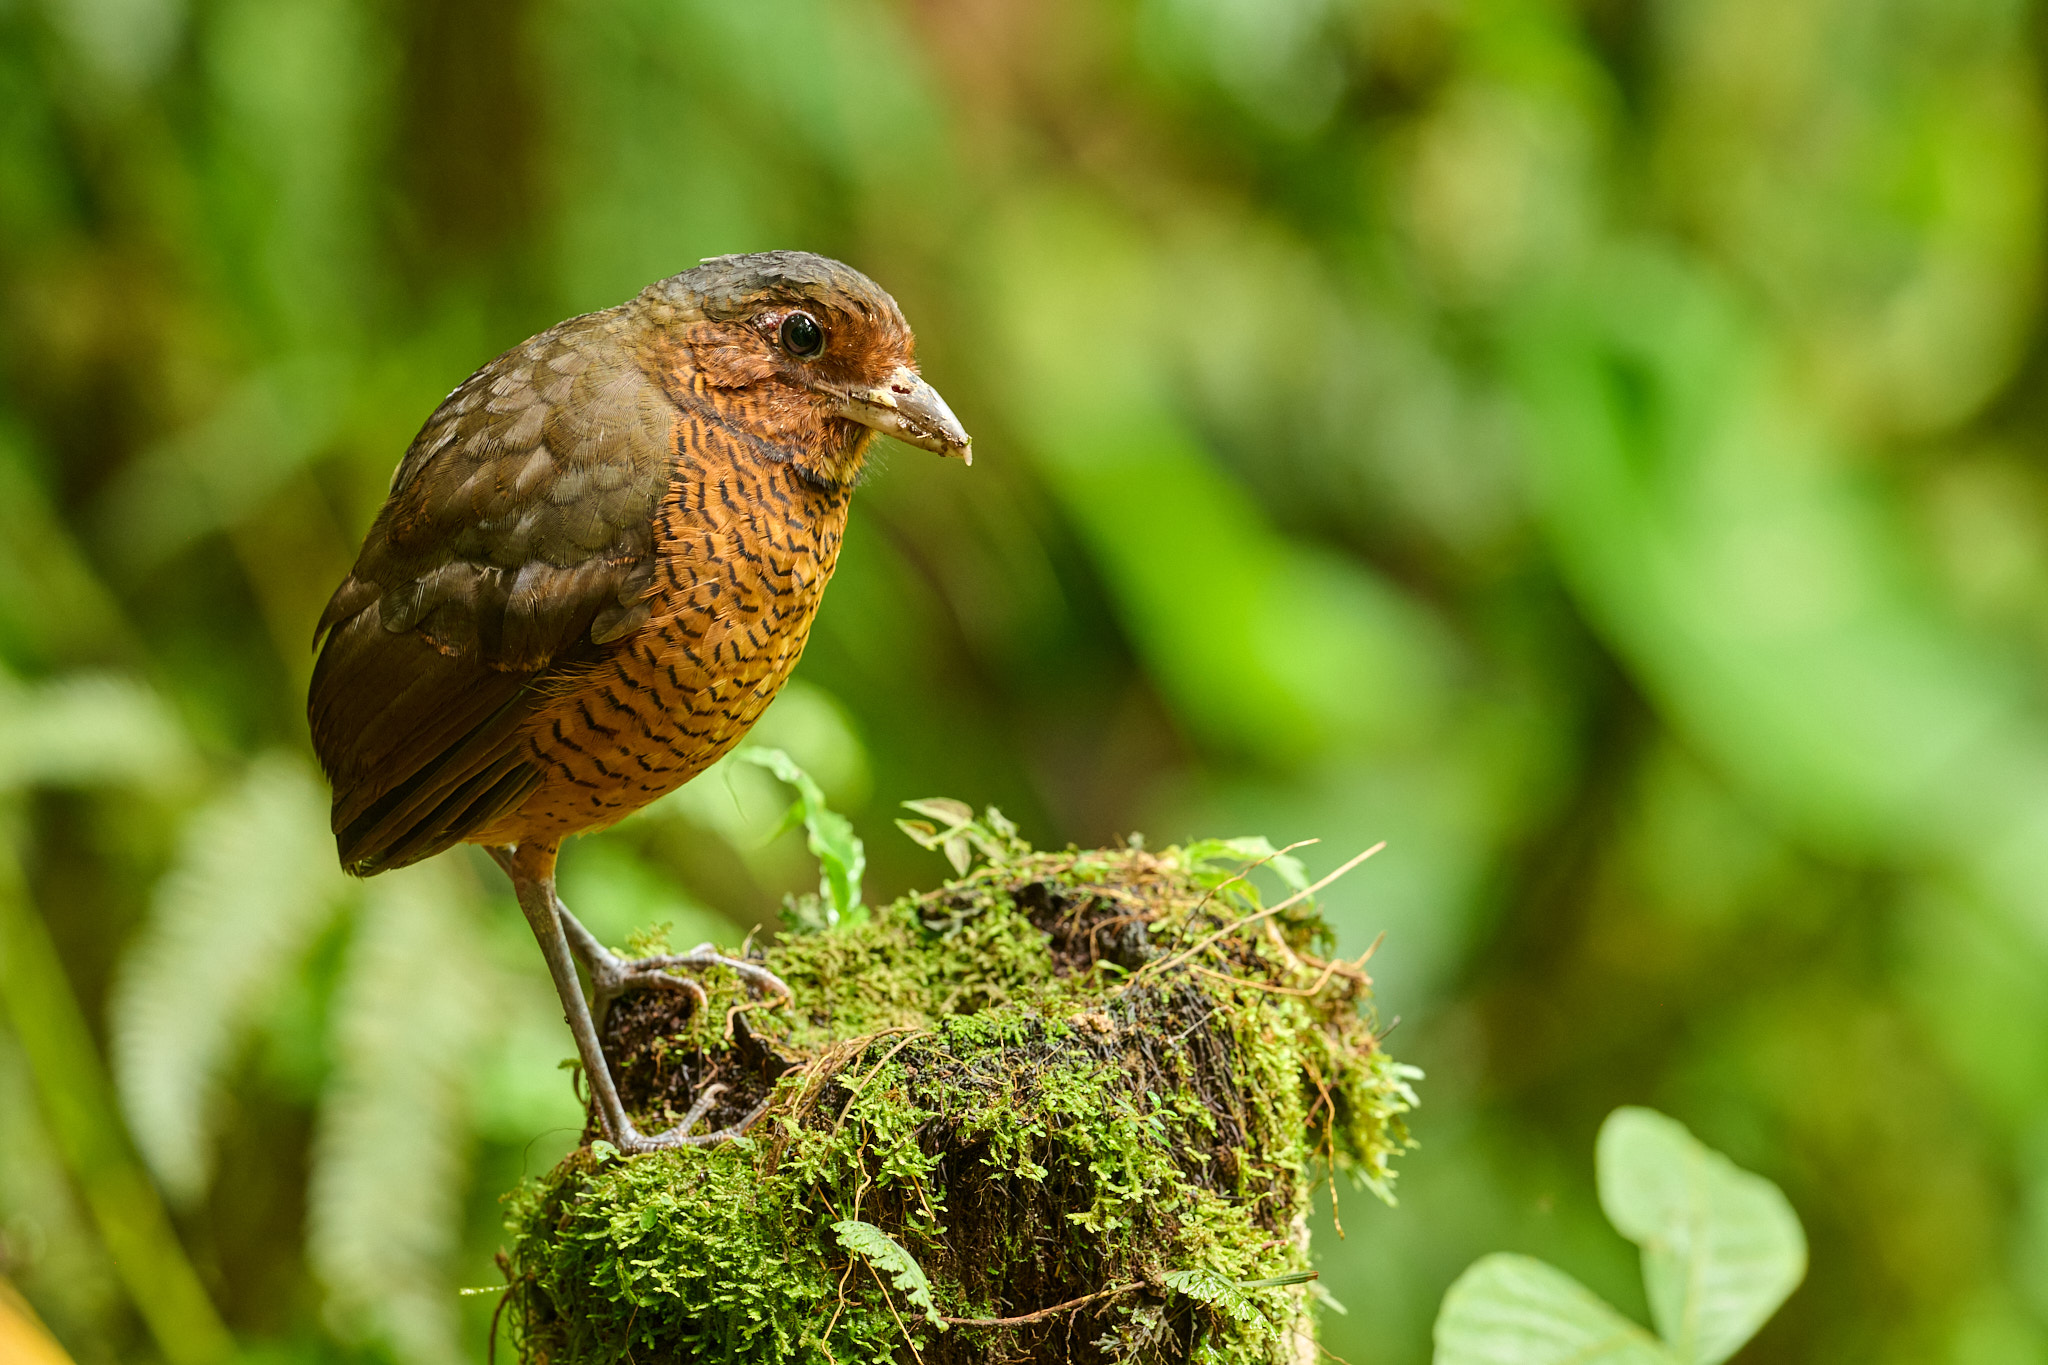
On this case, the ultimate picture imitates the type of topic separation you may anticipate from a slower zoom, such because the Canon RF 100-500mm f/4.5-7.1 L. As you’ll be able to see from the instance, even f/4 can’t work wonders if the background is just too near the topic. However there’s nonetheless a transparent development from extra to much less separation.
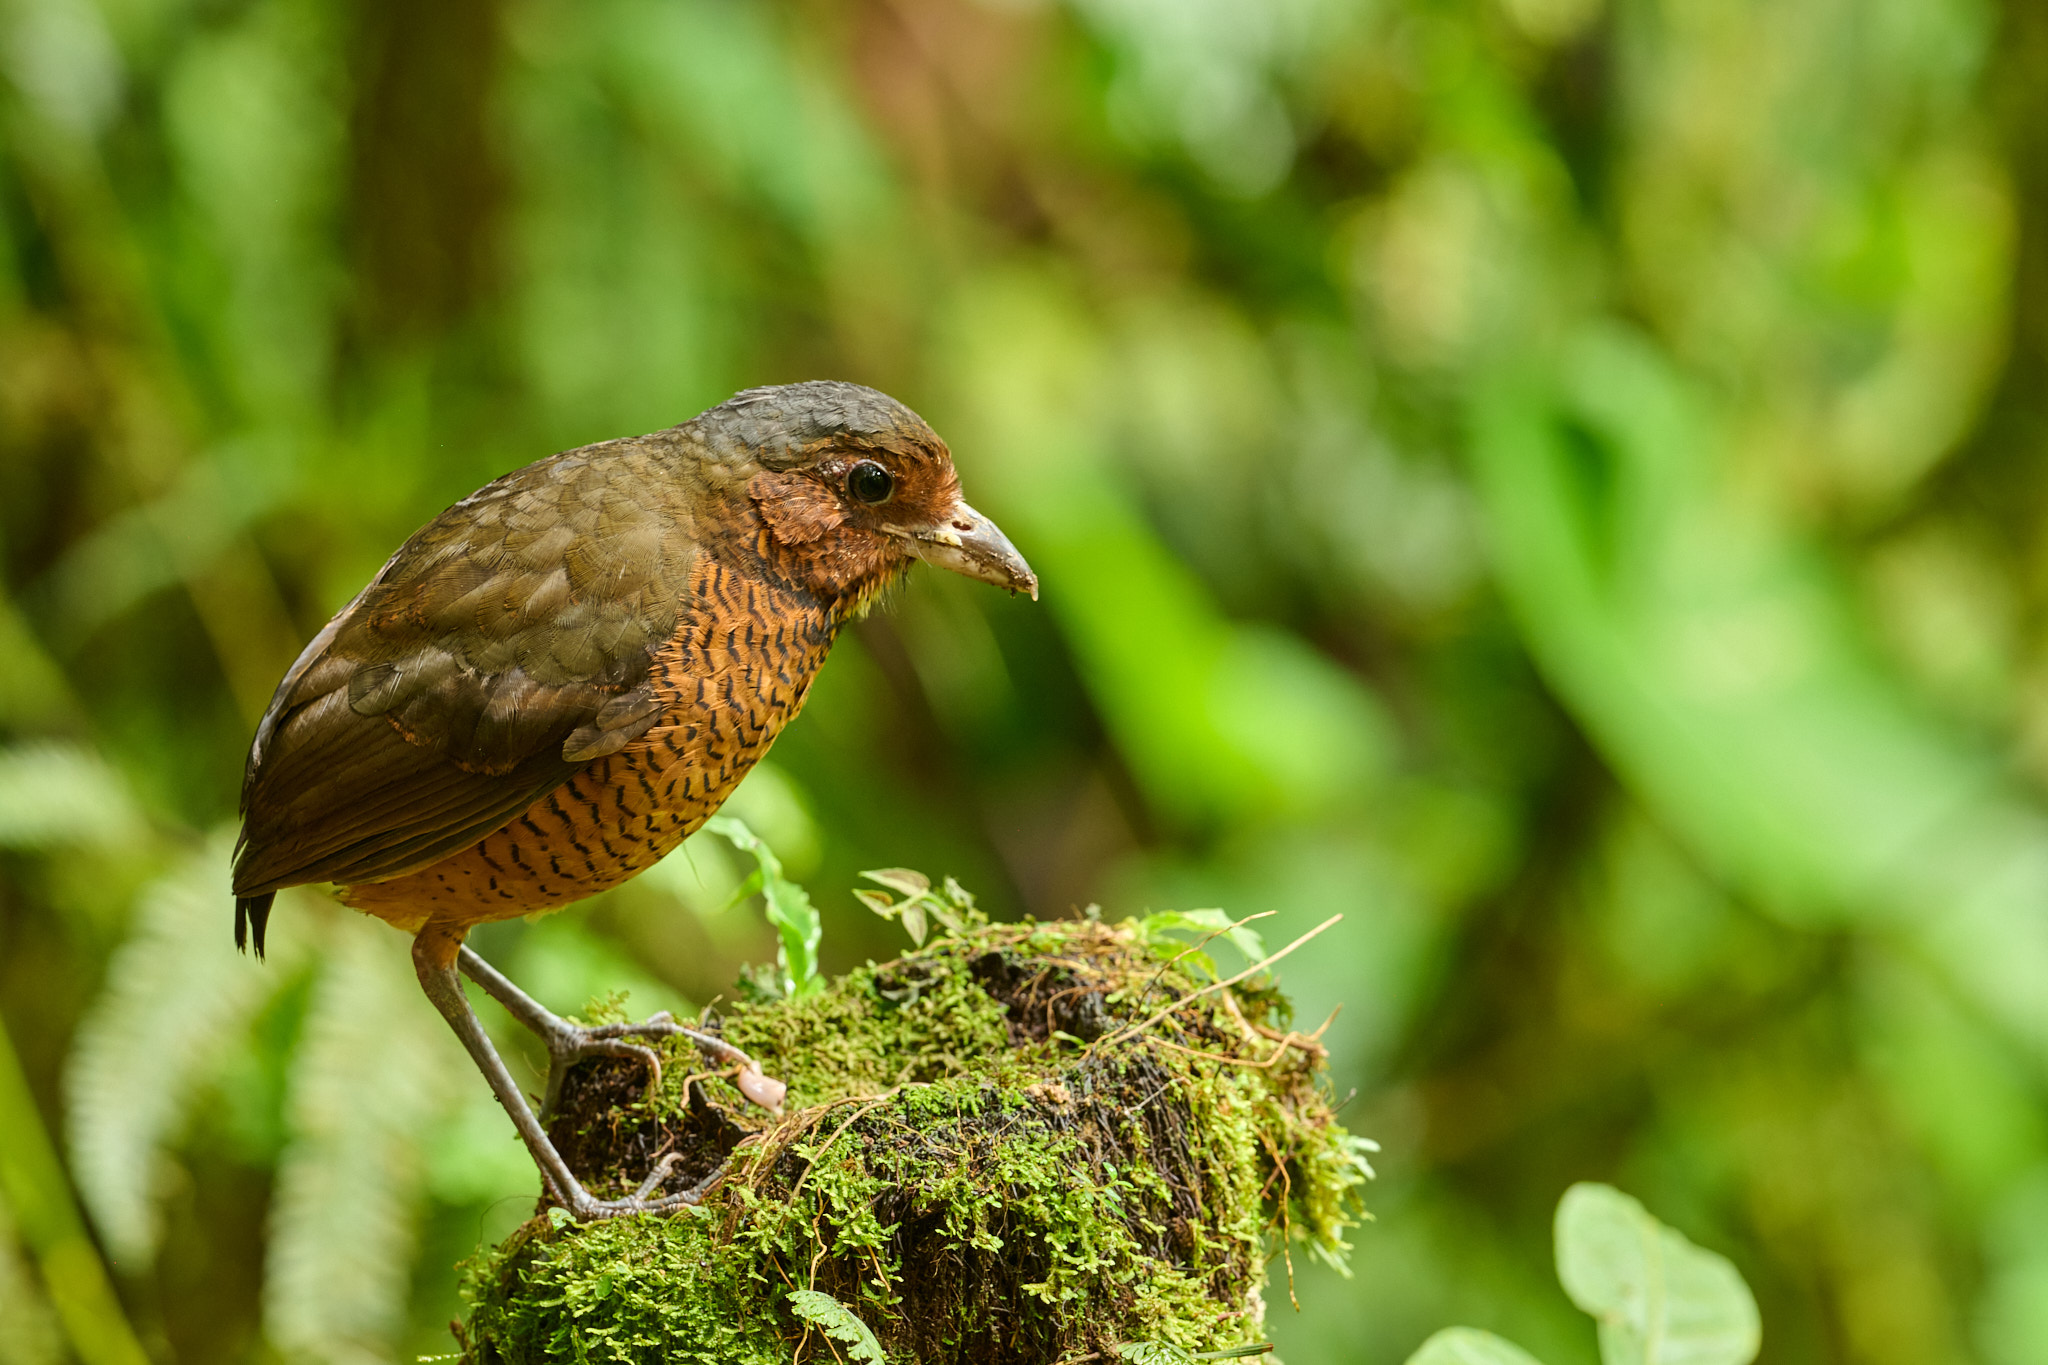
Now for one thing a little bit totally different. Aperture isn’t the one factor that impacts your depth of area. So does your focal size. And because of the Auto Seize characteristic on my Nikon Z9, I used to be capable of arrange a photograph with this Antpitta at a 24mm focal size! Because of this, you’ll be able to examine the next pair of images taken with the identical digital camera, similar f/7.1 aperture, and roughly the identical dimension of the hen within the picture.
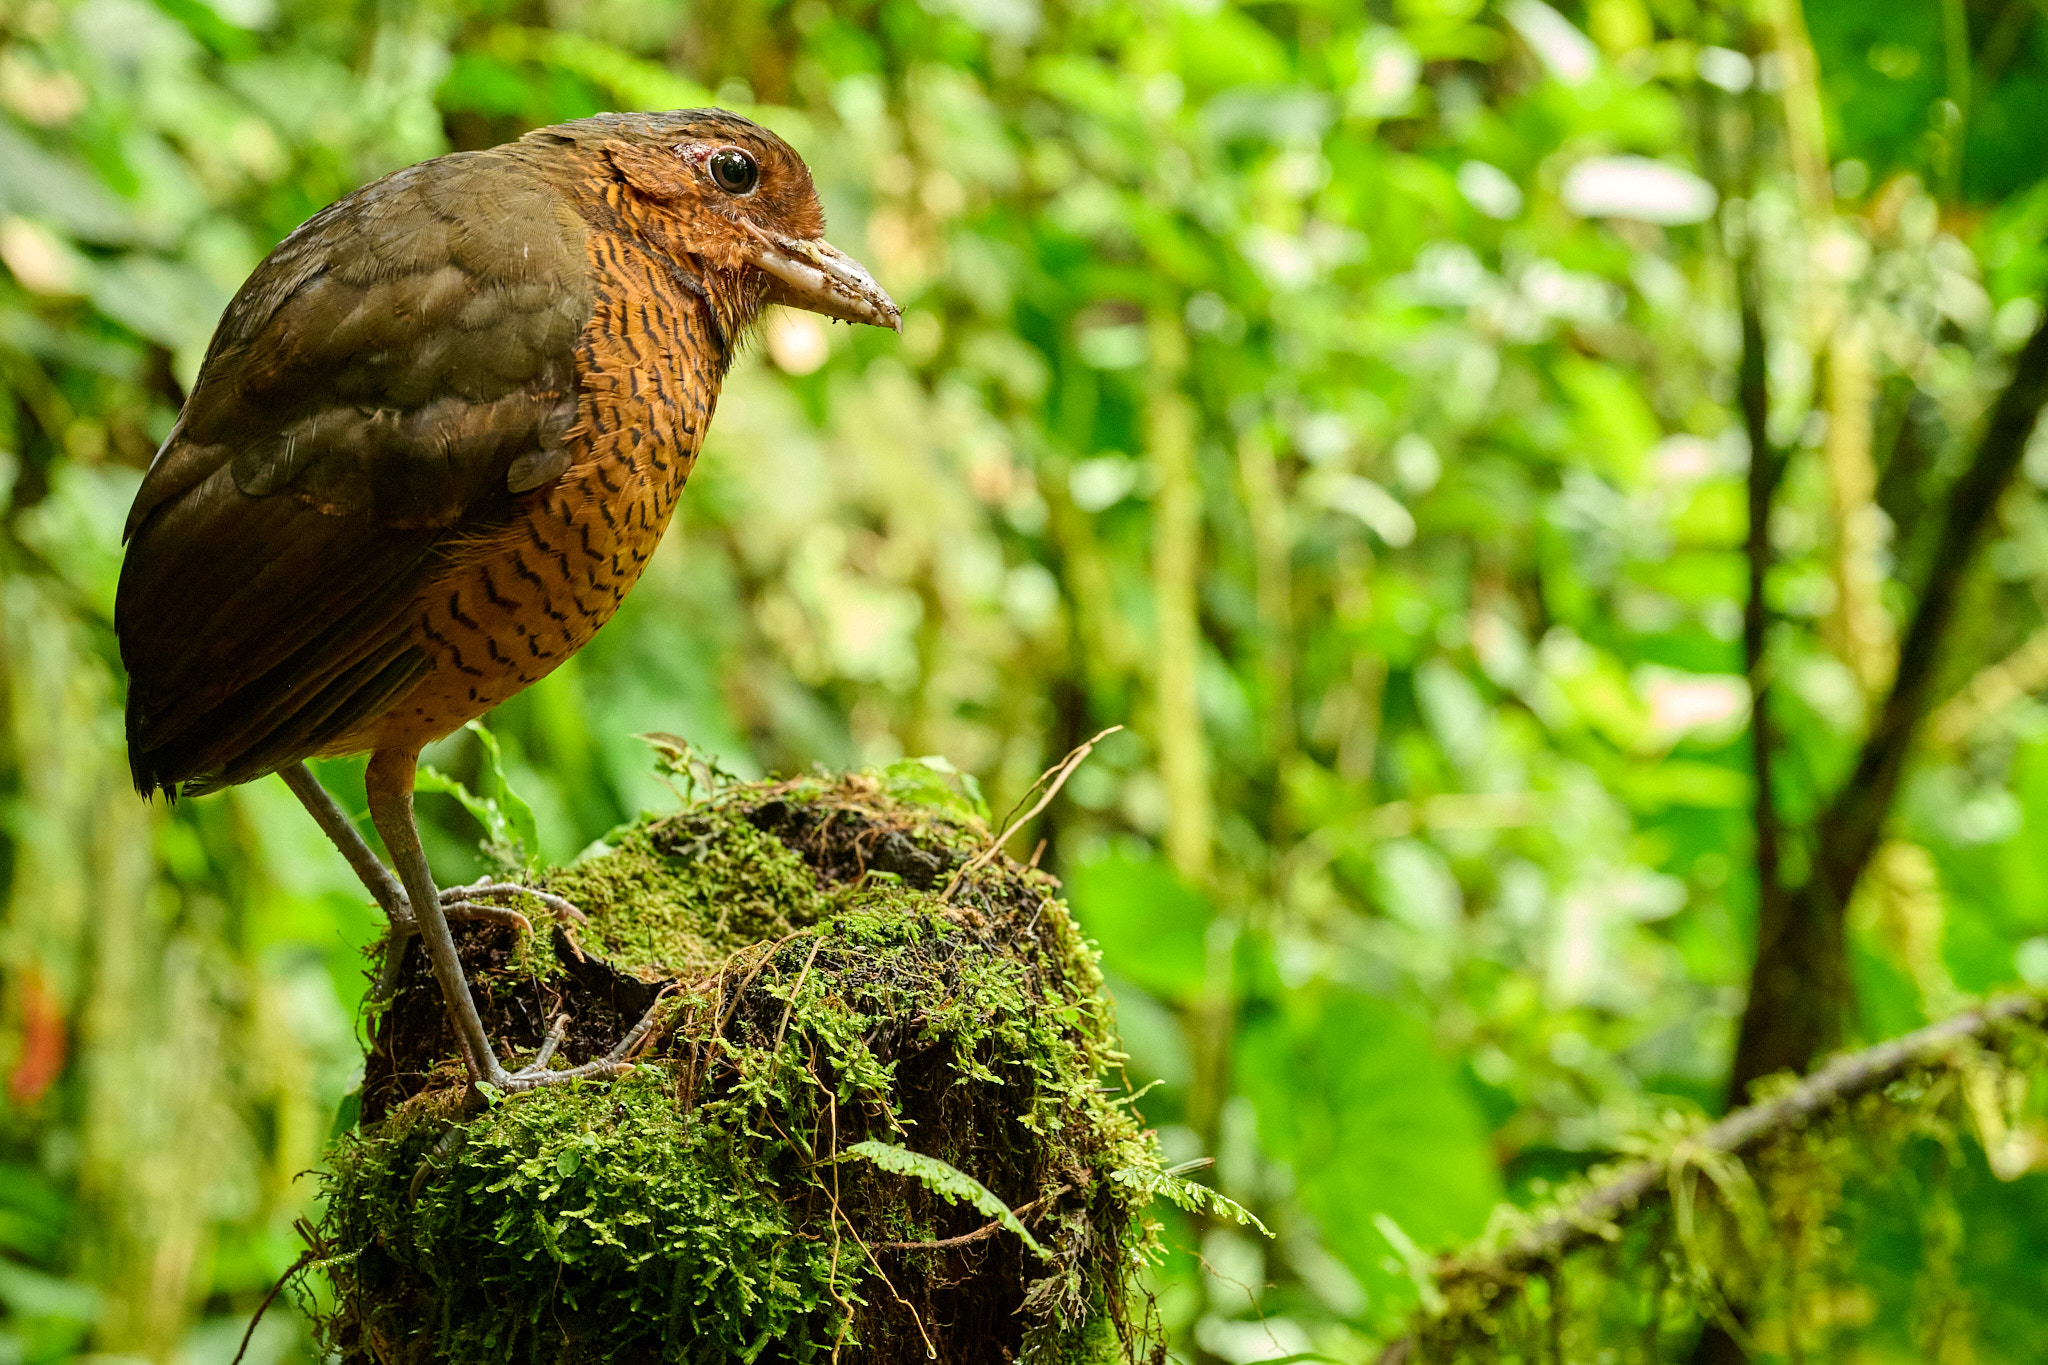
The picture taken at 500mm considerably magnifies the dimensions of the out-of-focus background. This clearly helps with topic separation. Nonetheless, I ought to point out that you just aren’t technically gaining any extra depth of area in your topic with the broader lens. In case you have a look at the stump the Antpitta is standing on, all of a sudden you see that the identical area is out of focus each instances:
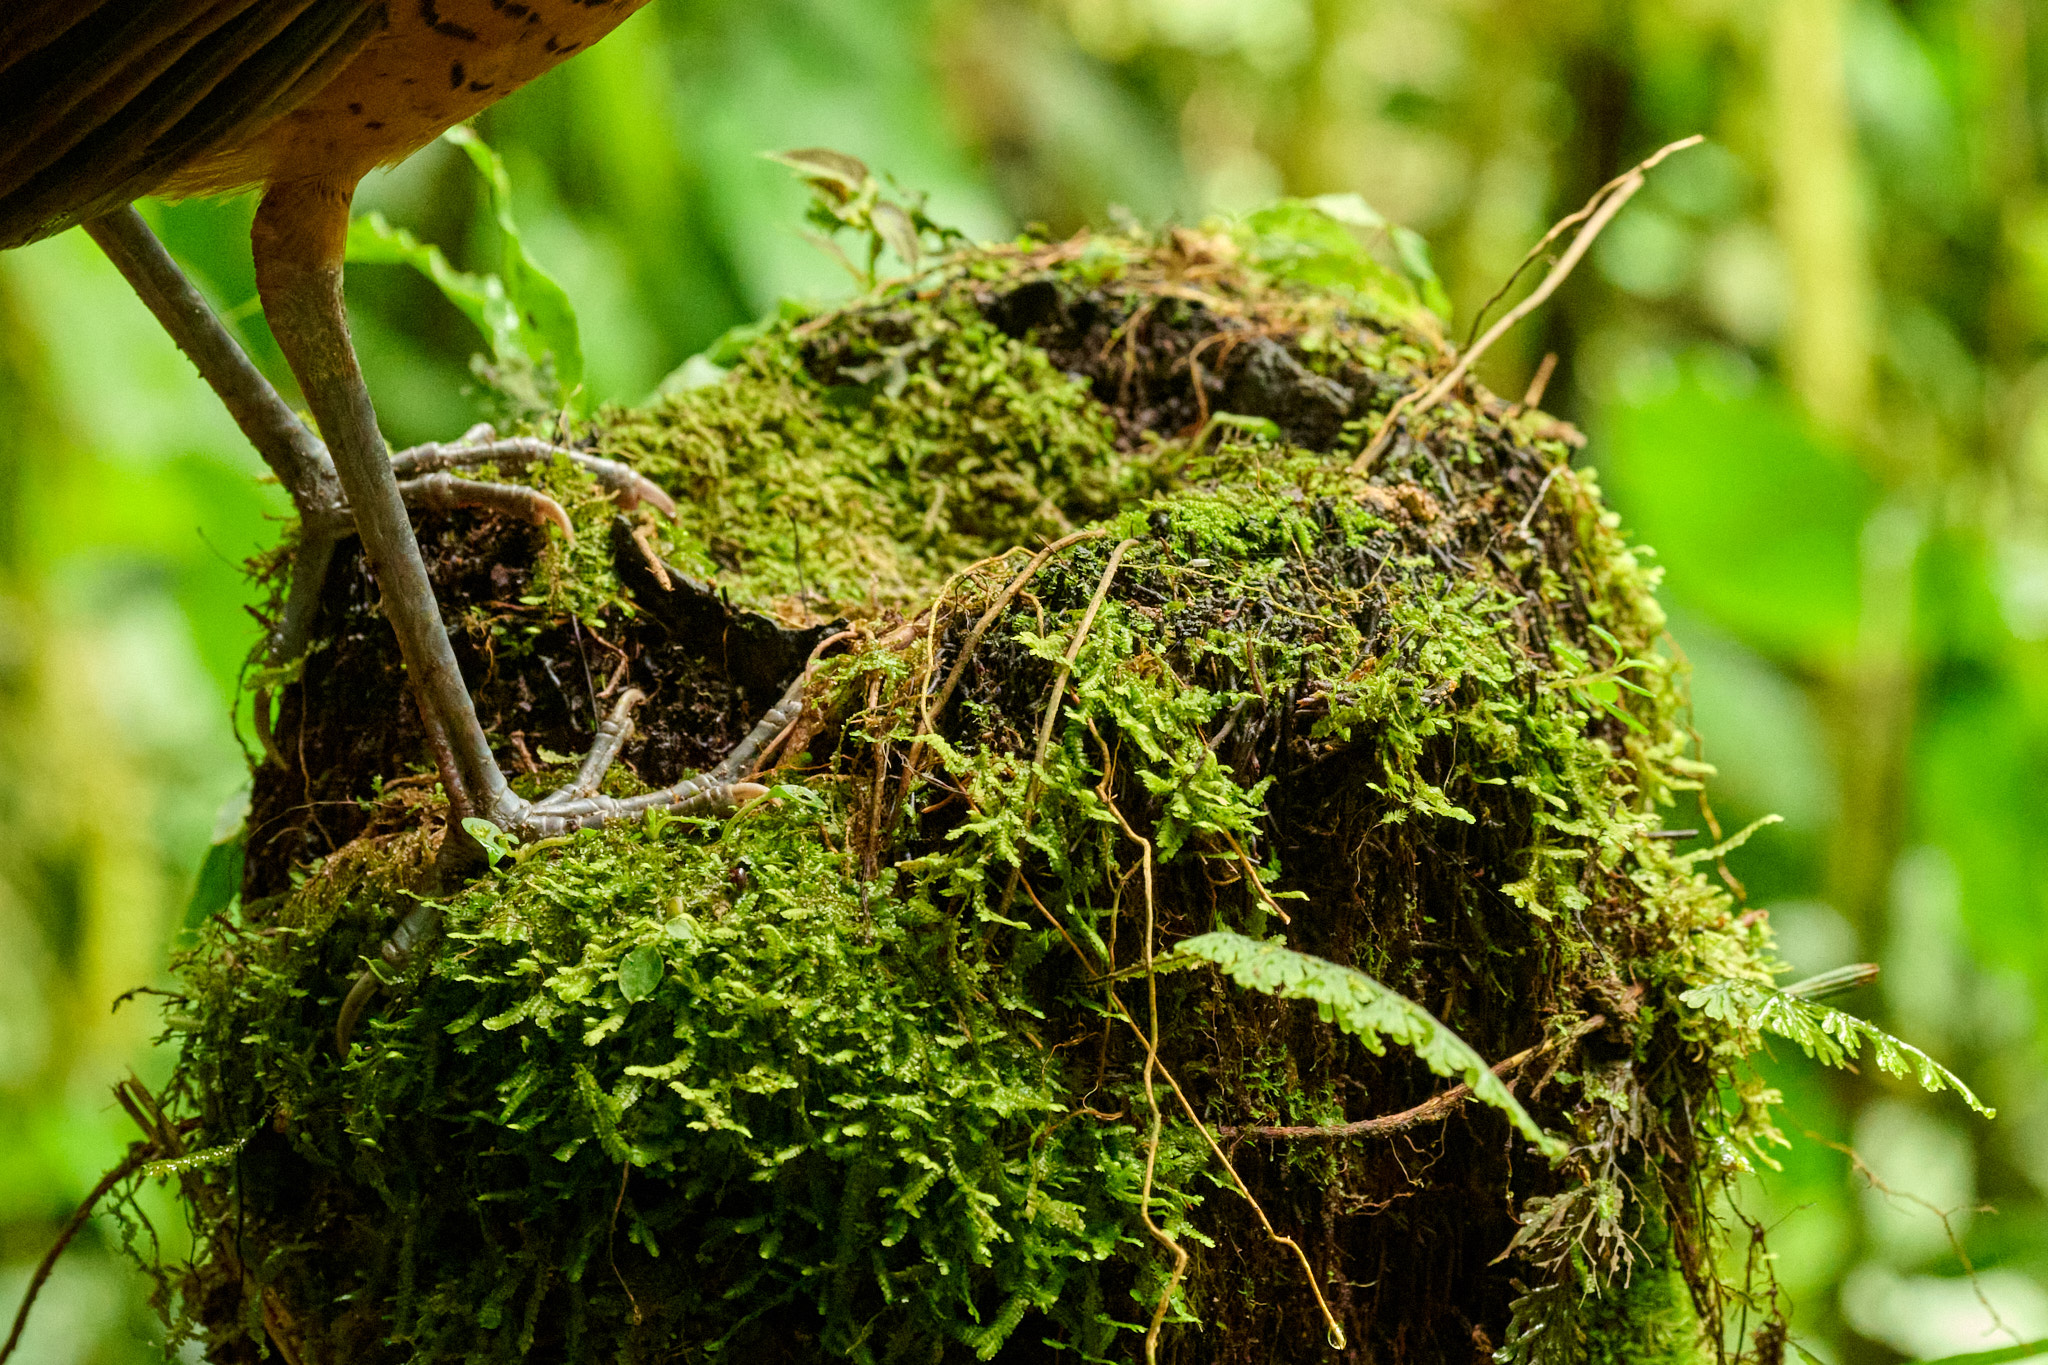
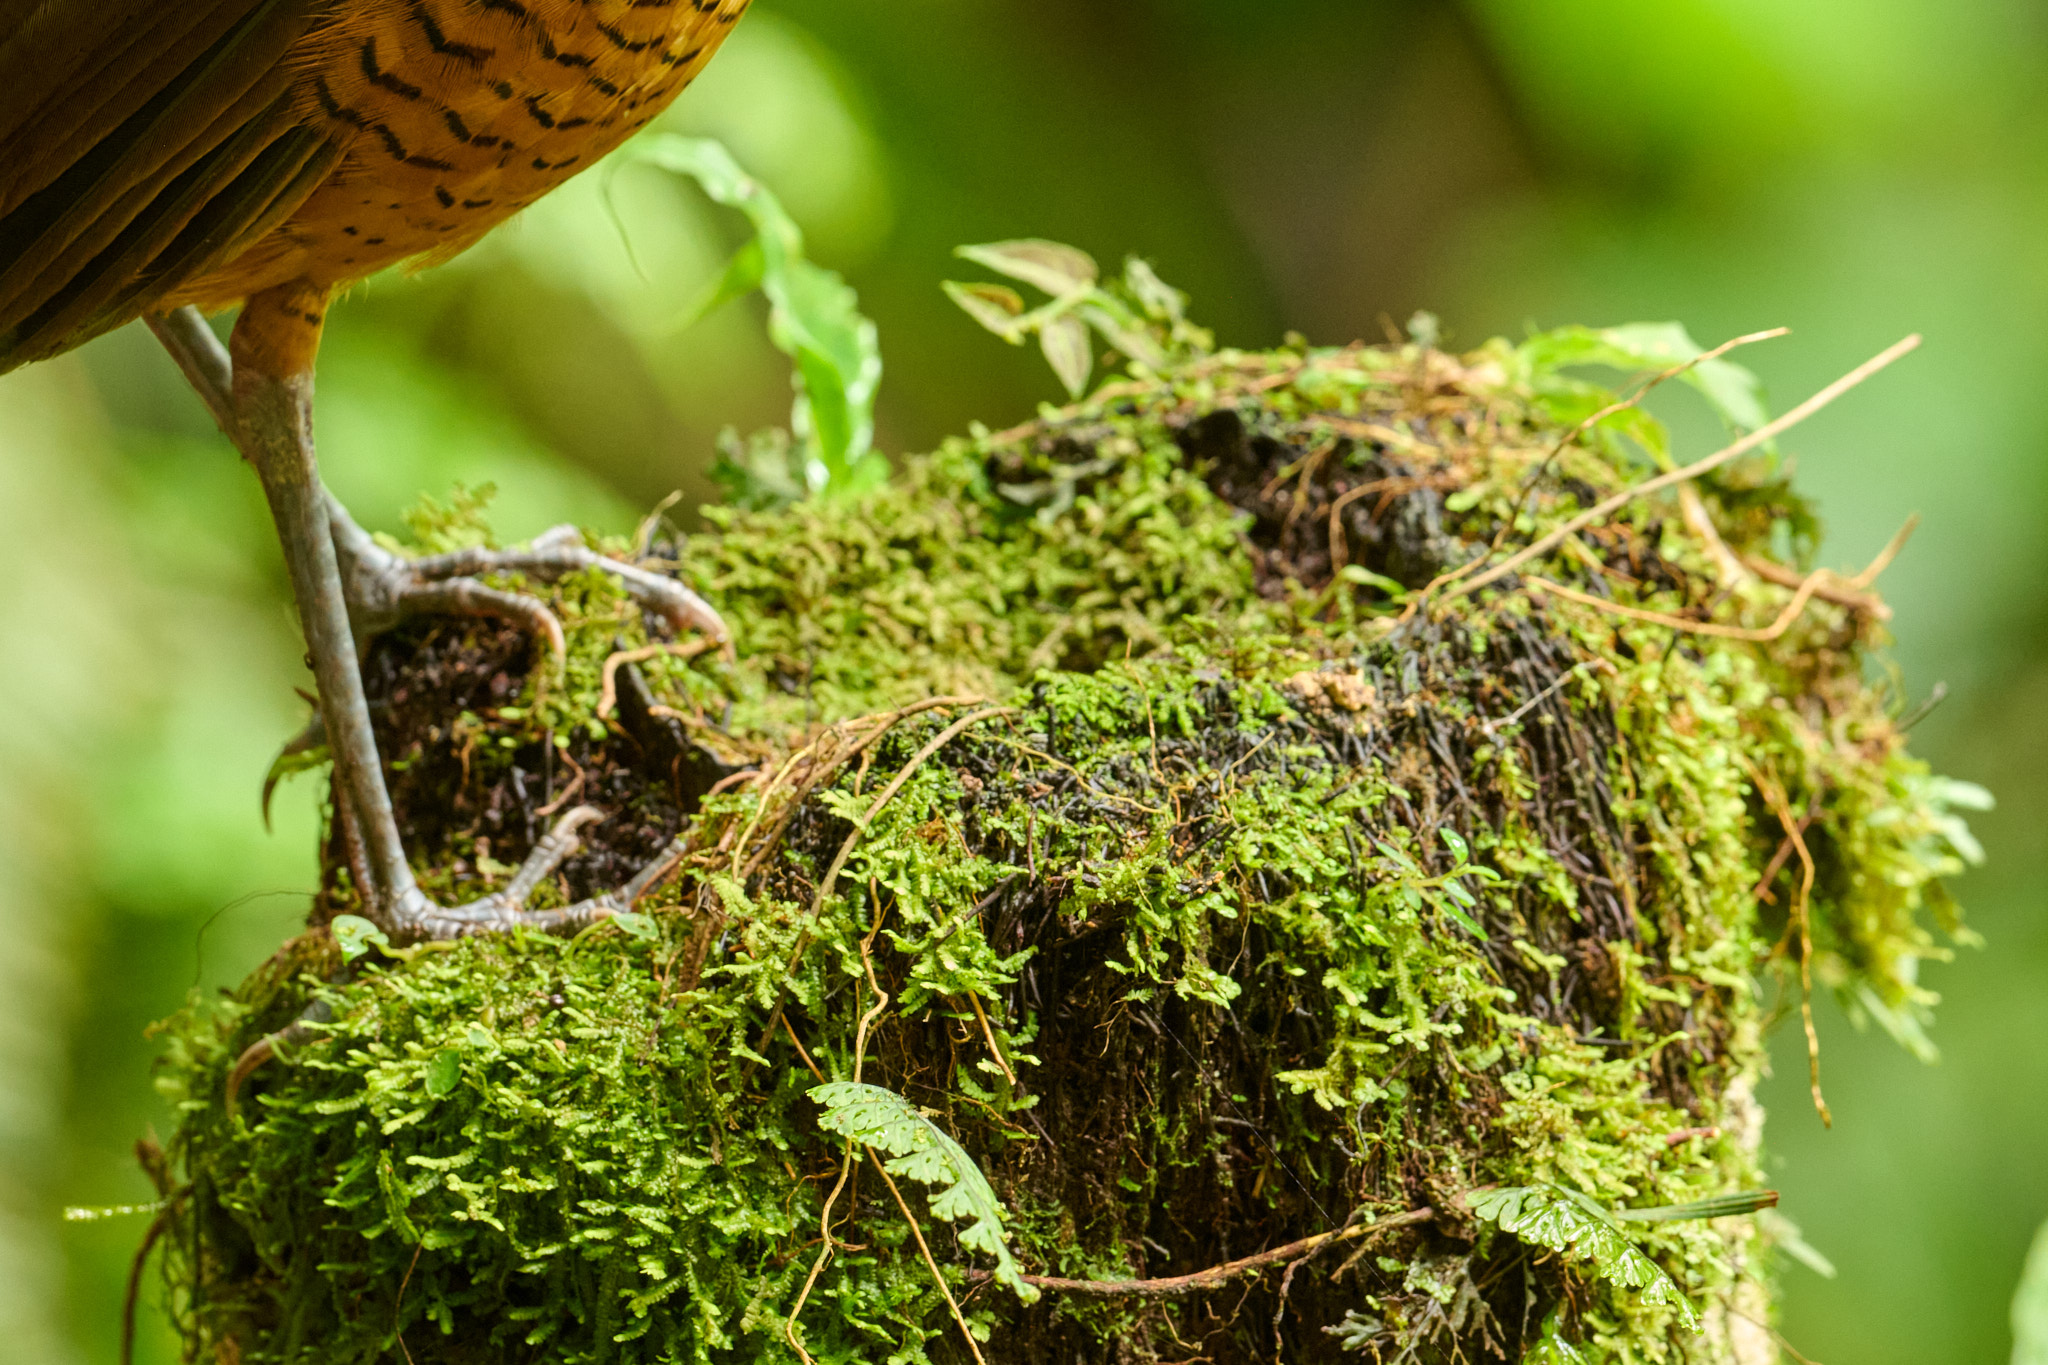
What’s the sensible lesson right here? Merely put, the background will seem totally different with a wide-angle lens and a telephoto, even when the depth of area is technically the identical. This is a bonus to telephoto lenses if you wish to get extra topic separation at a given aperture.
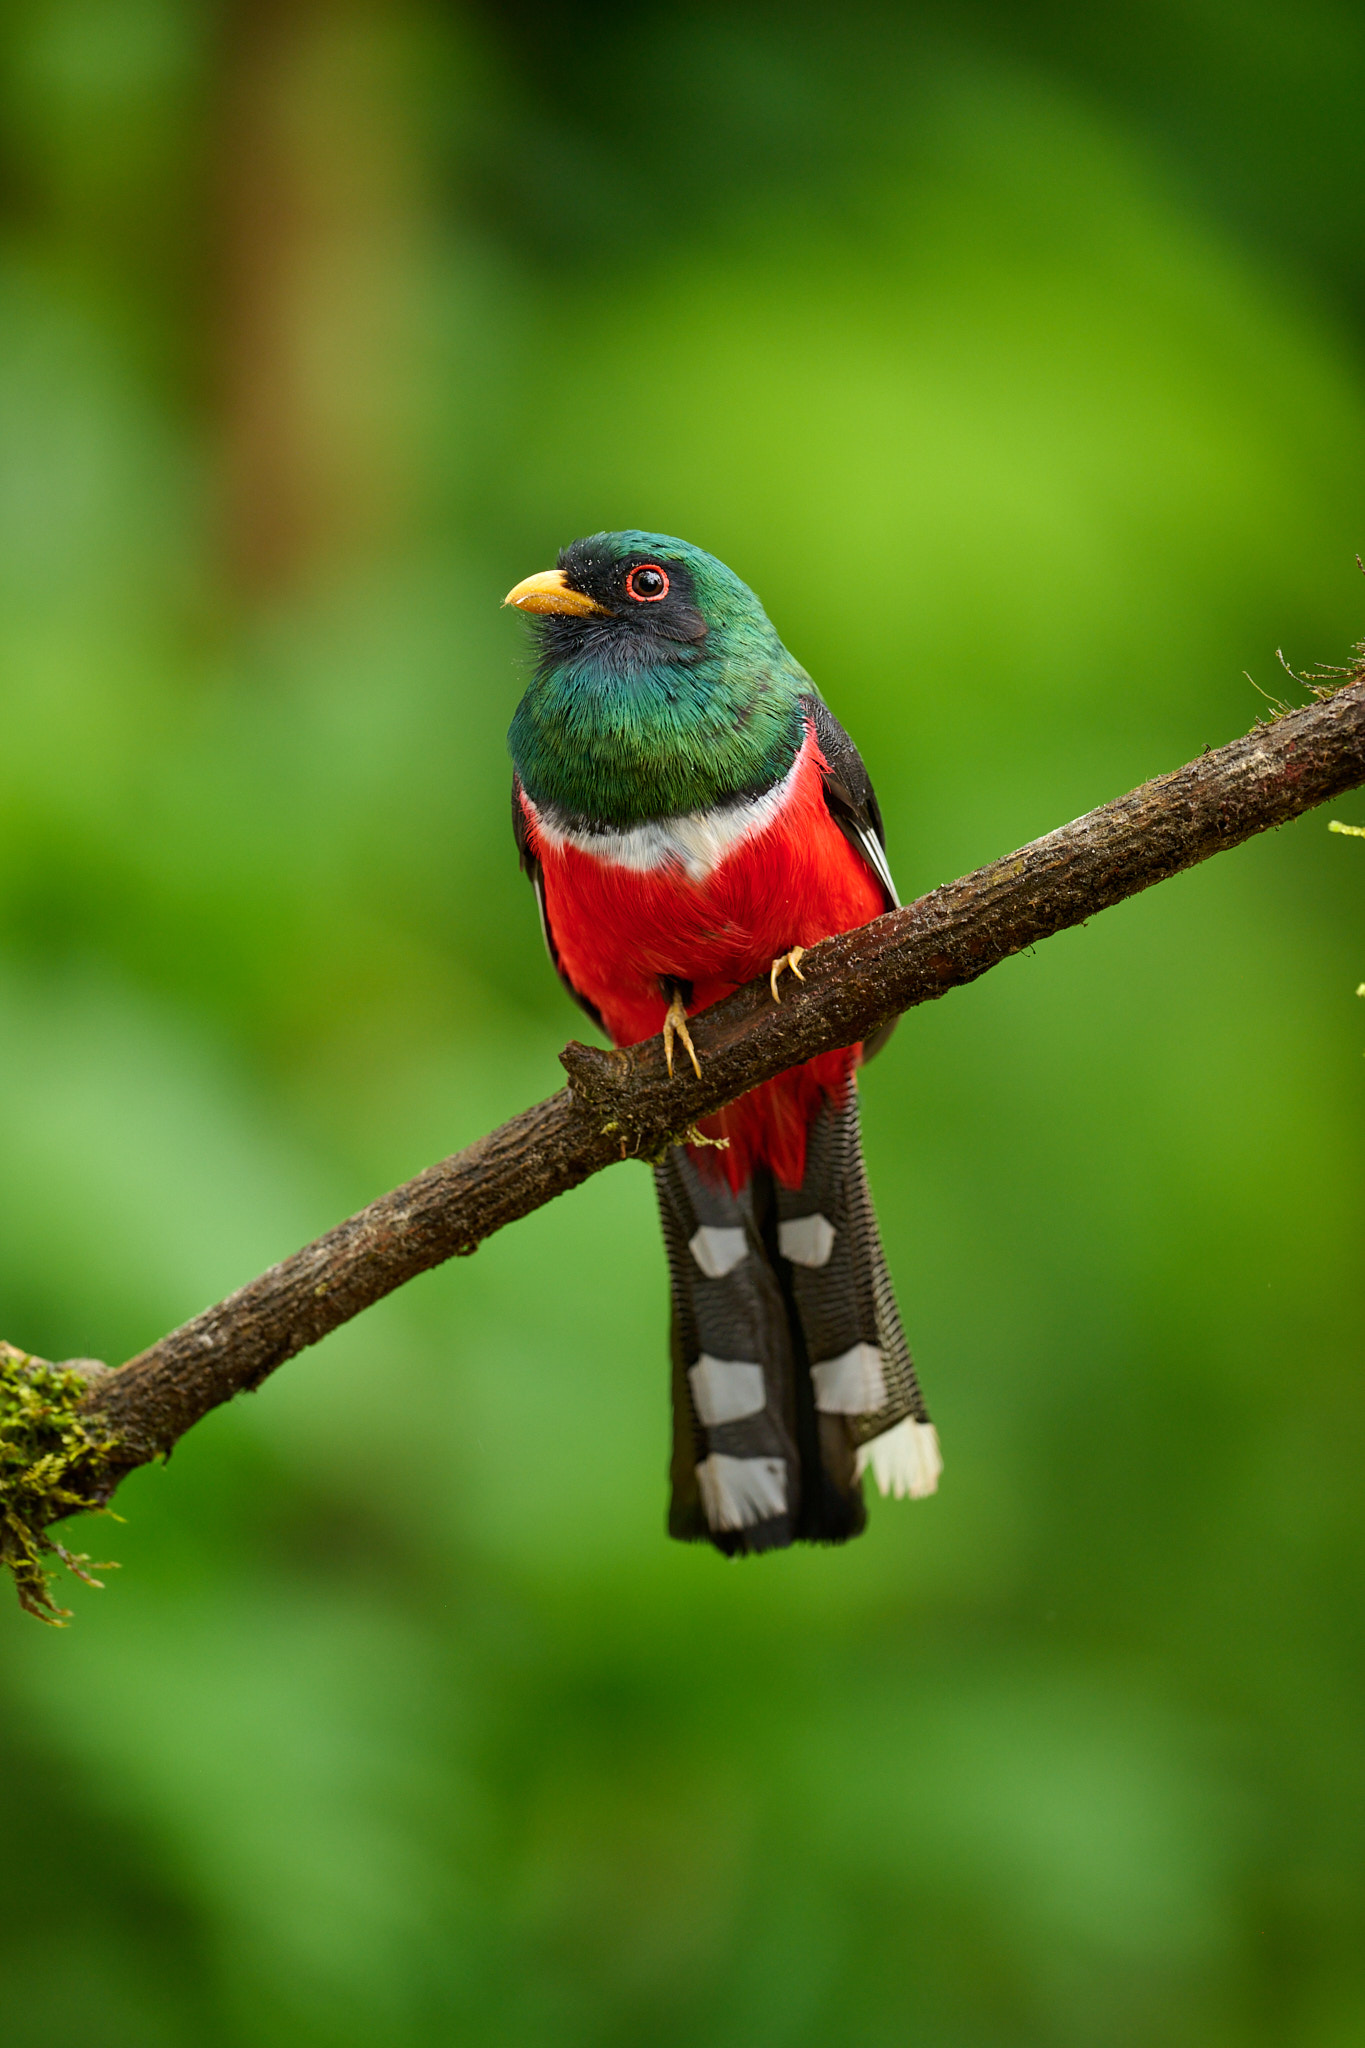
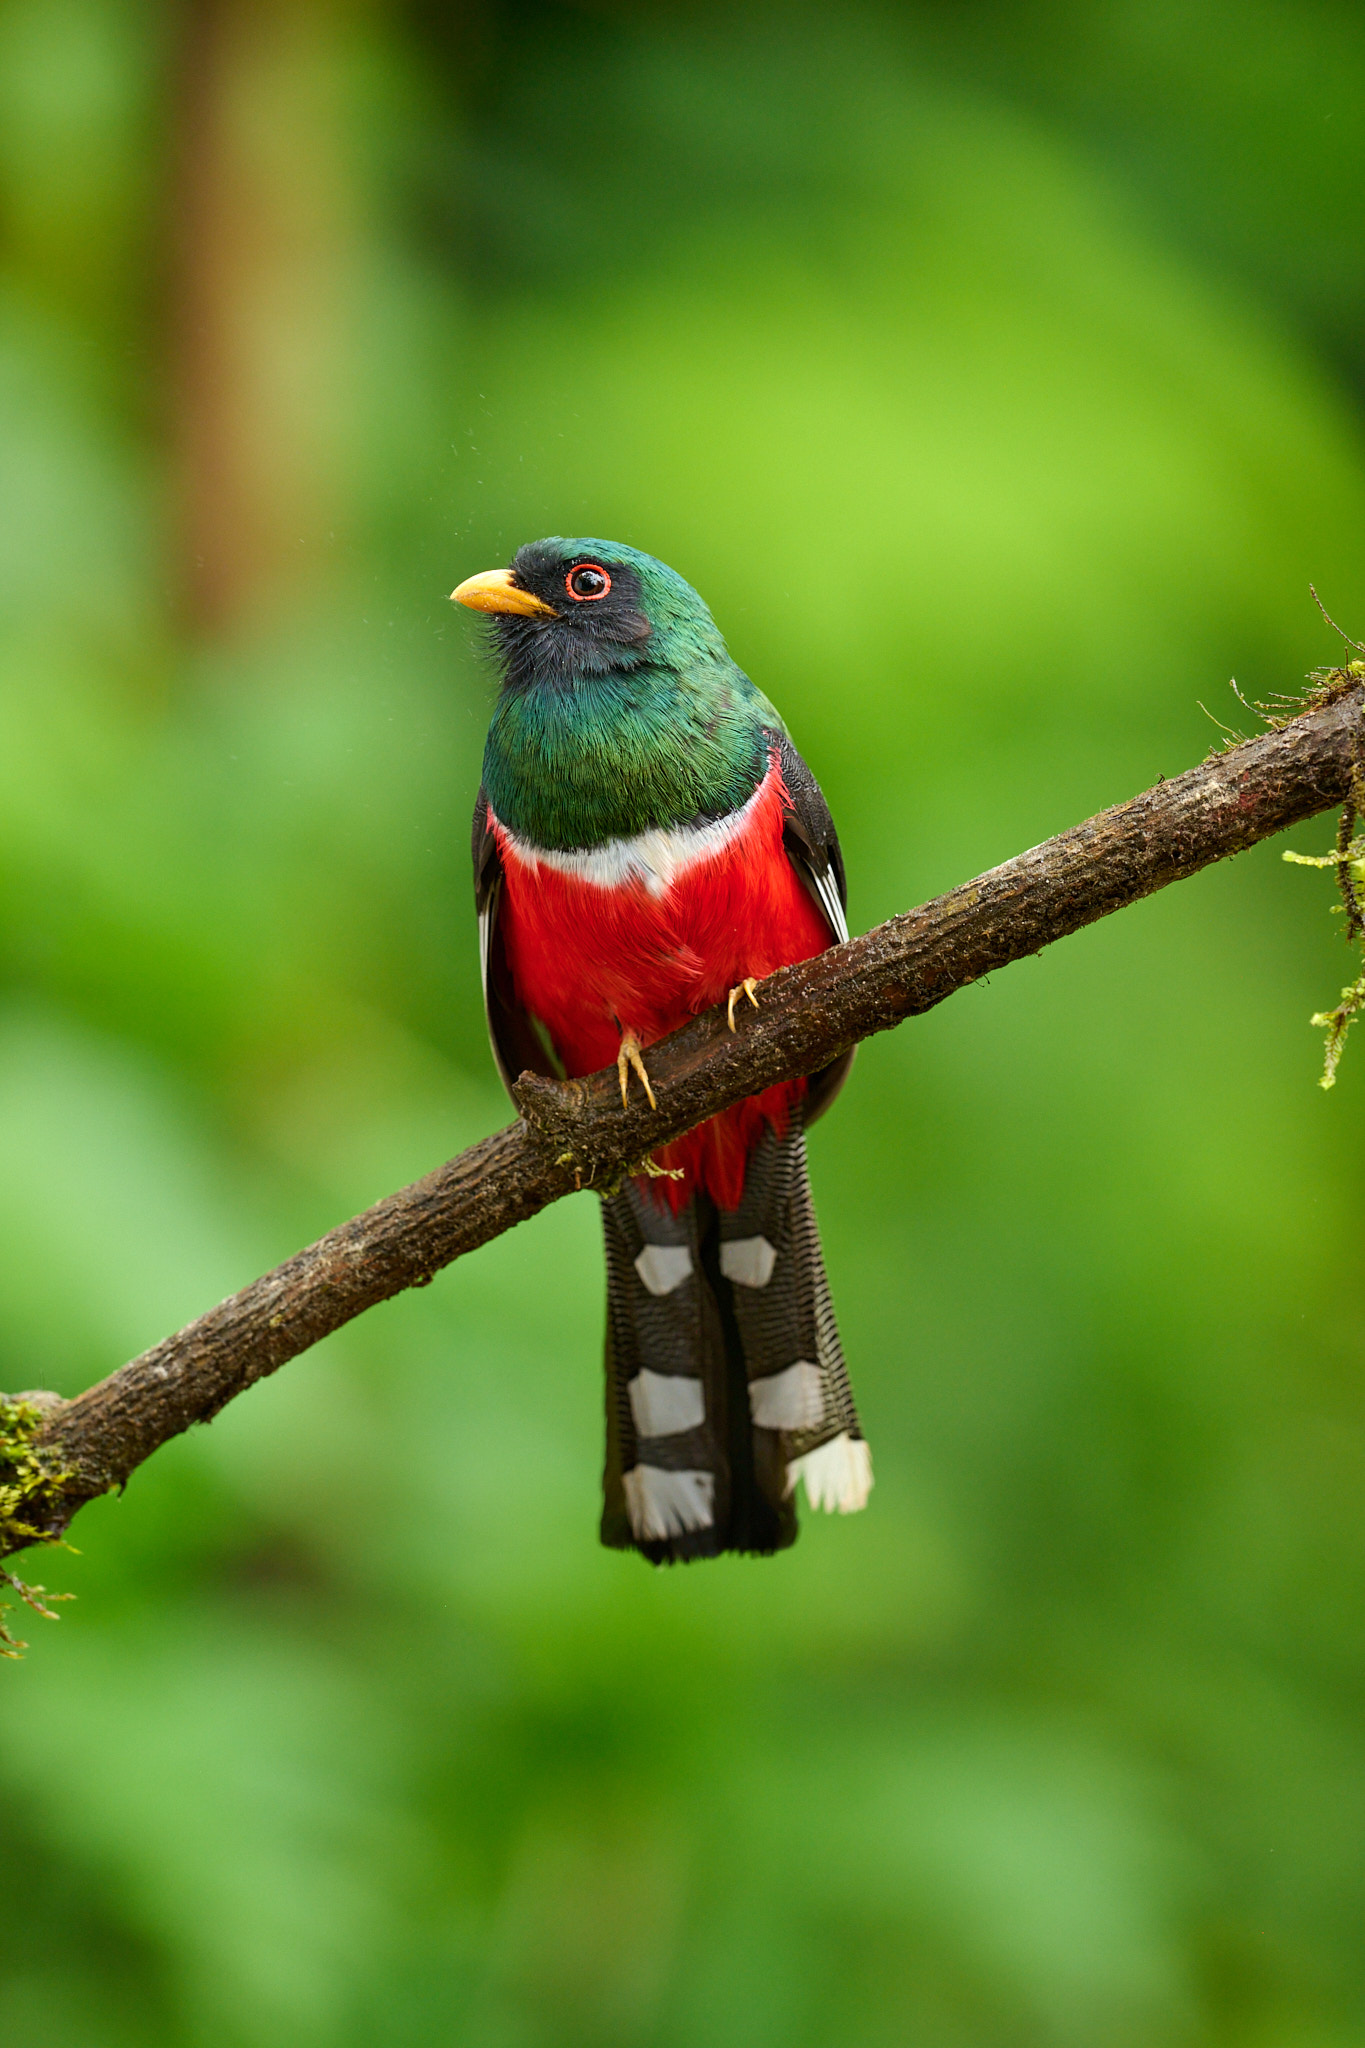
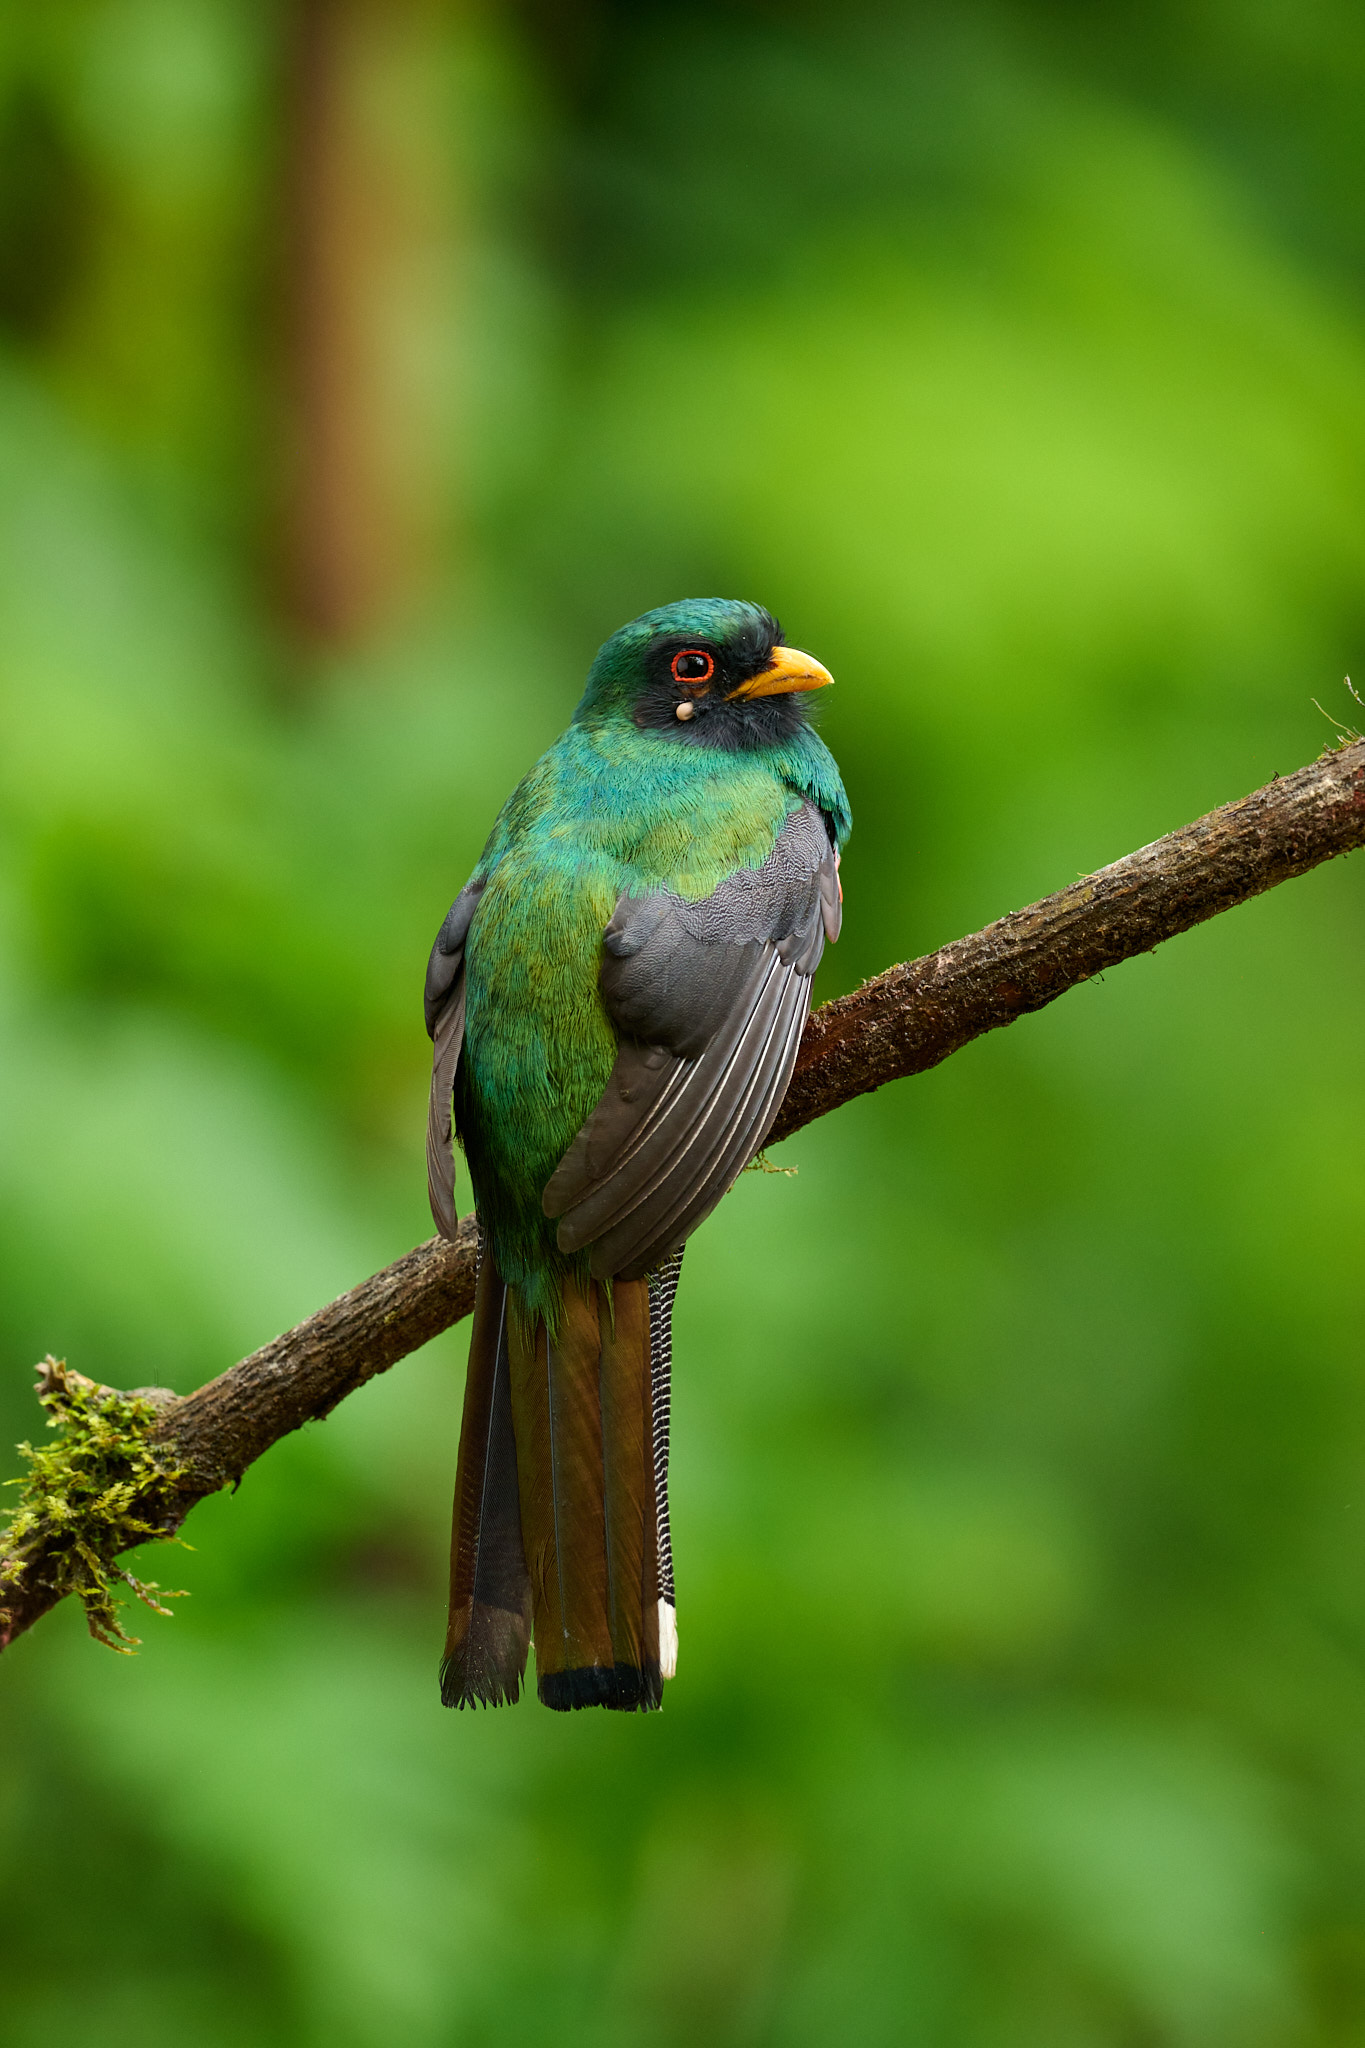
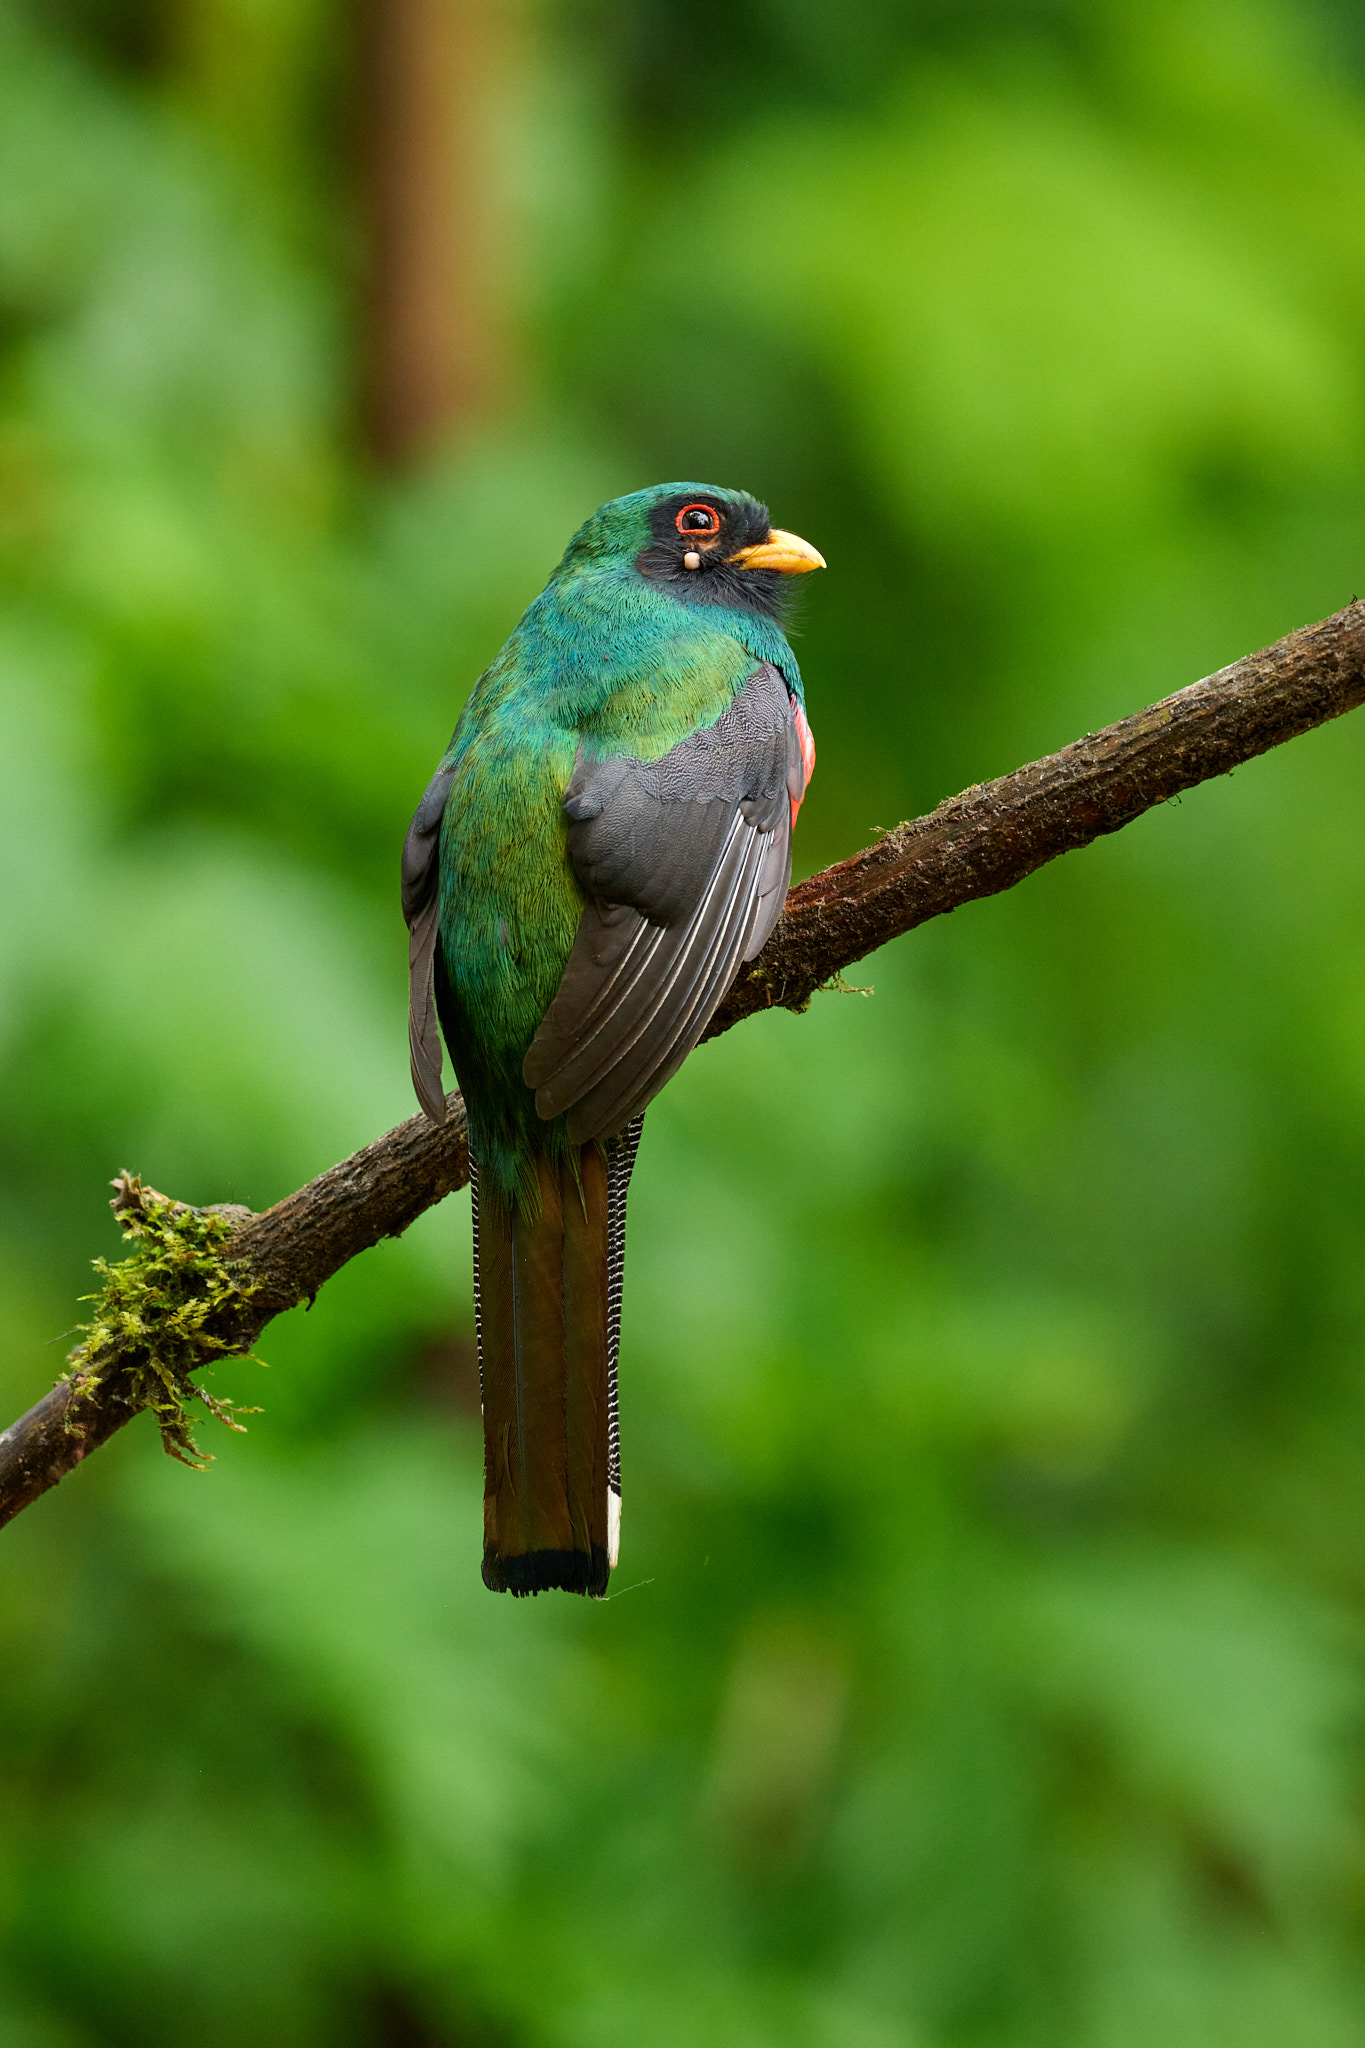
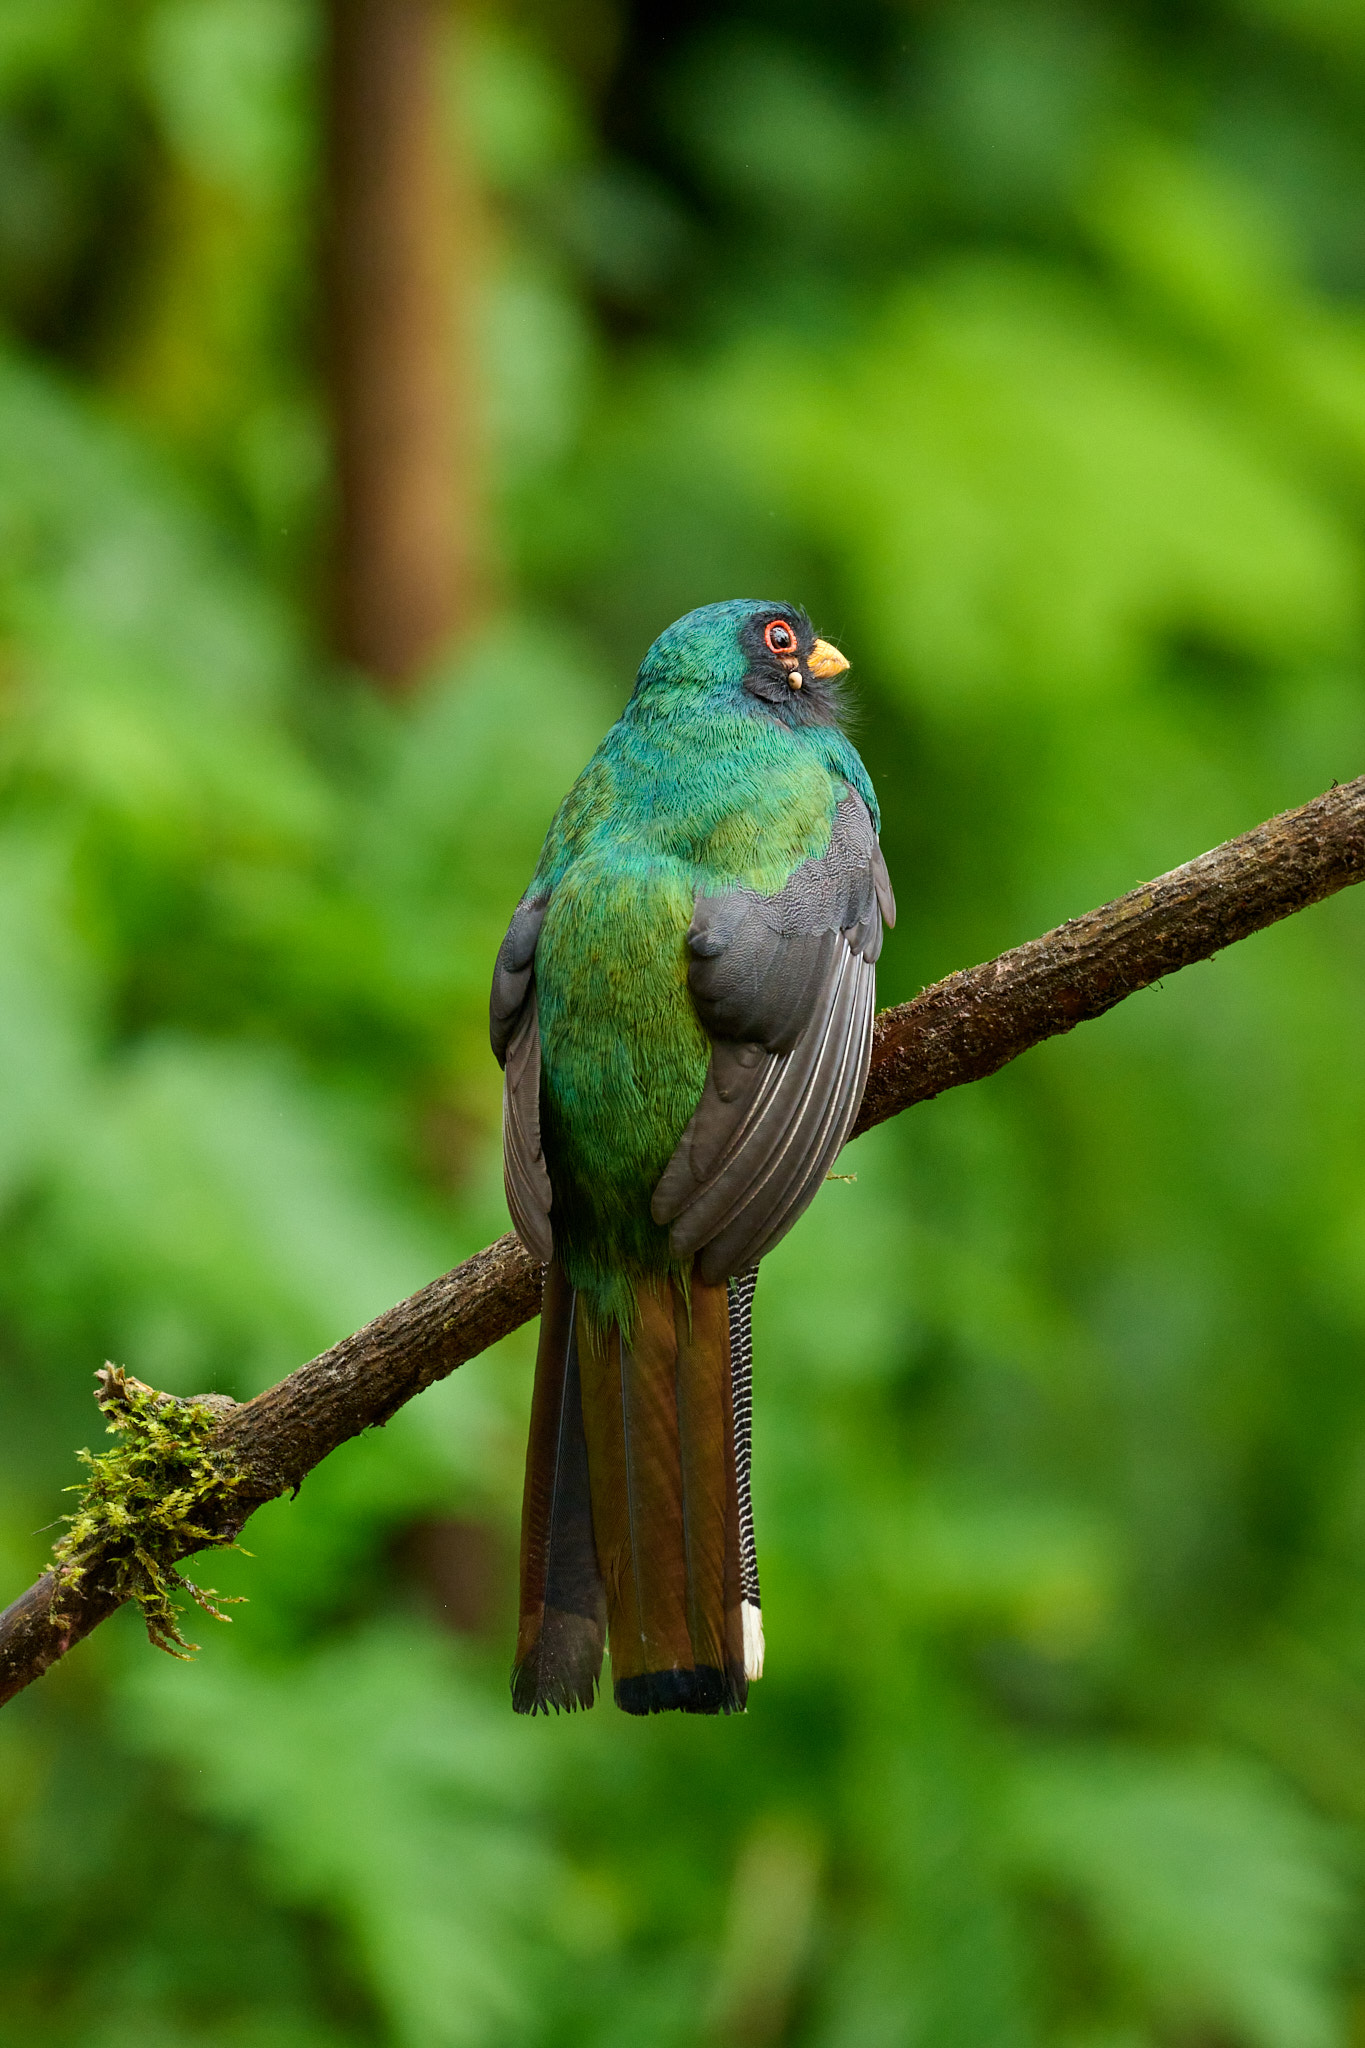
Let’s transfer onto one other examples. The male Masked Trogon appears to know which aperture fits him greatest. When photographed at f/4 and f/5.6 he confirmed the digital camera his lovely pink stomach. At f/6.3 by means of f/11, he rotated on the department to indicate me a disinterested look, plus a blood-soaked tick on the aspect of his face. He didn’t let me shoot on the narrower apertures and flew away. I can solely agree with Trogon. I additionally assume that f/5.6 gives a balanced mixture of depth of area and topic separation. What about you?
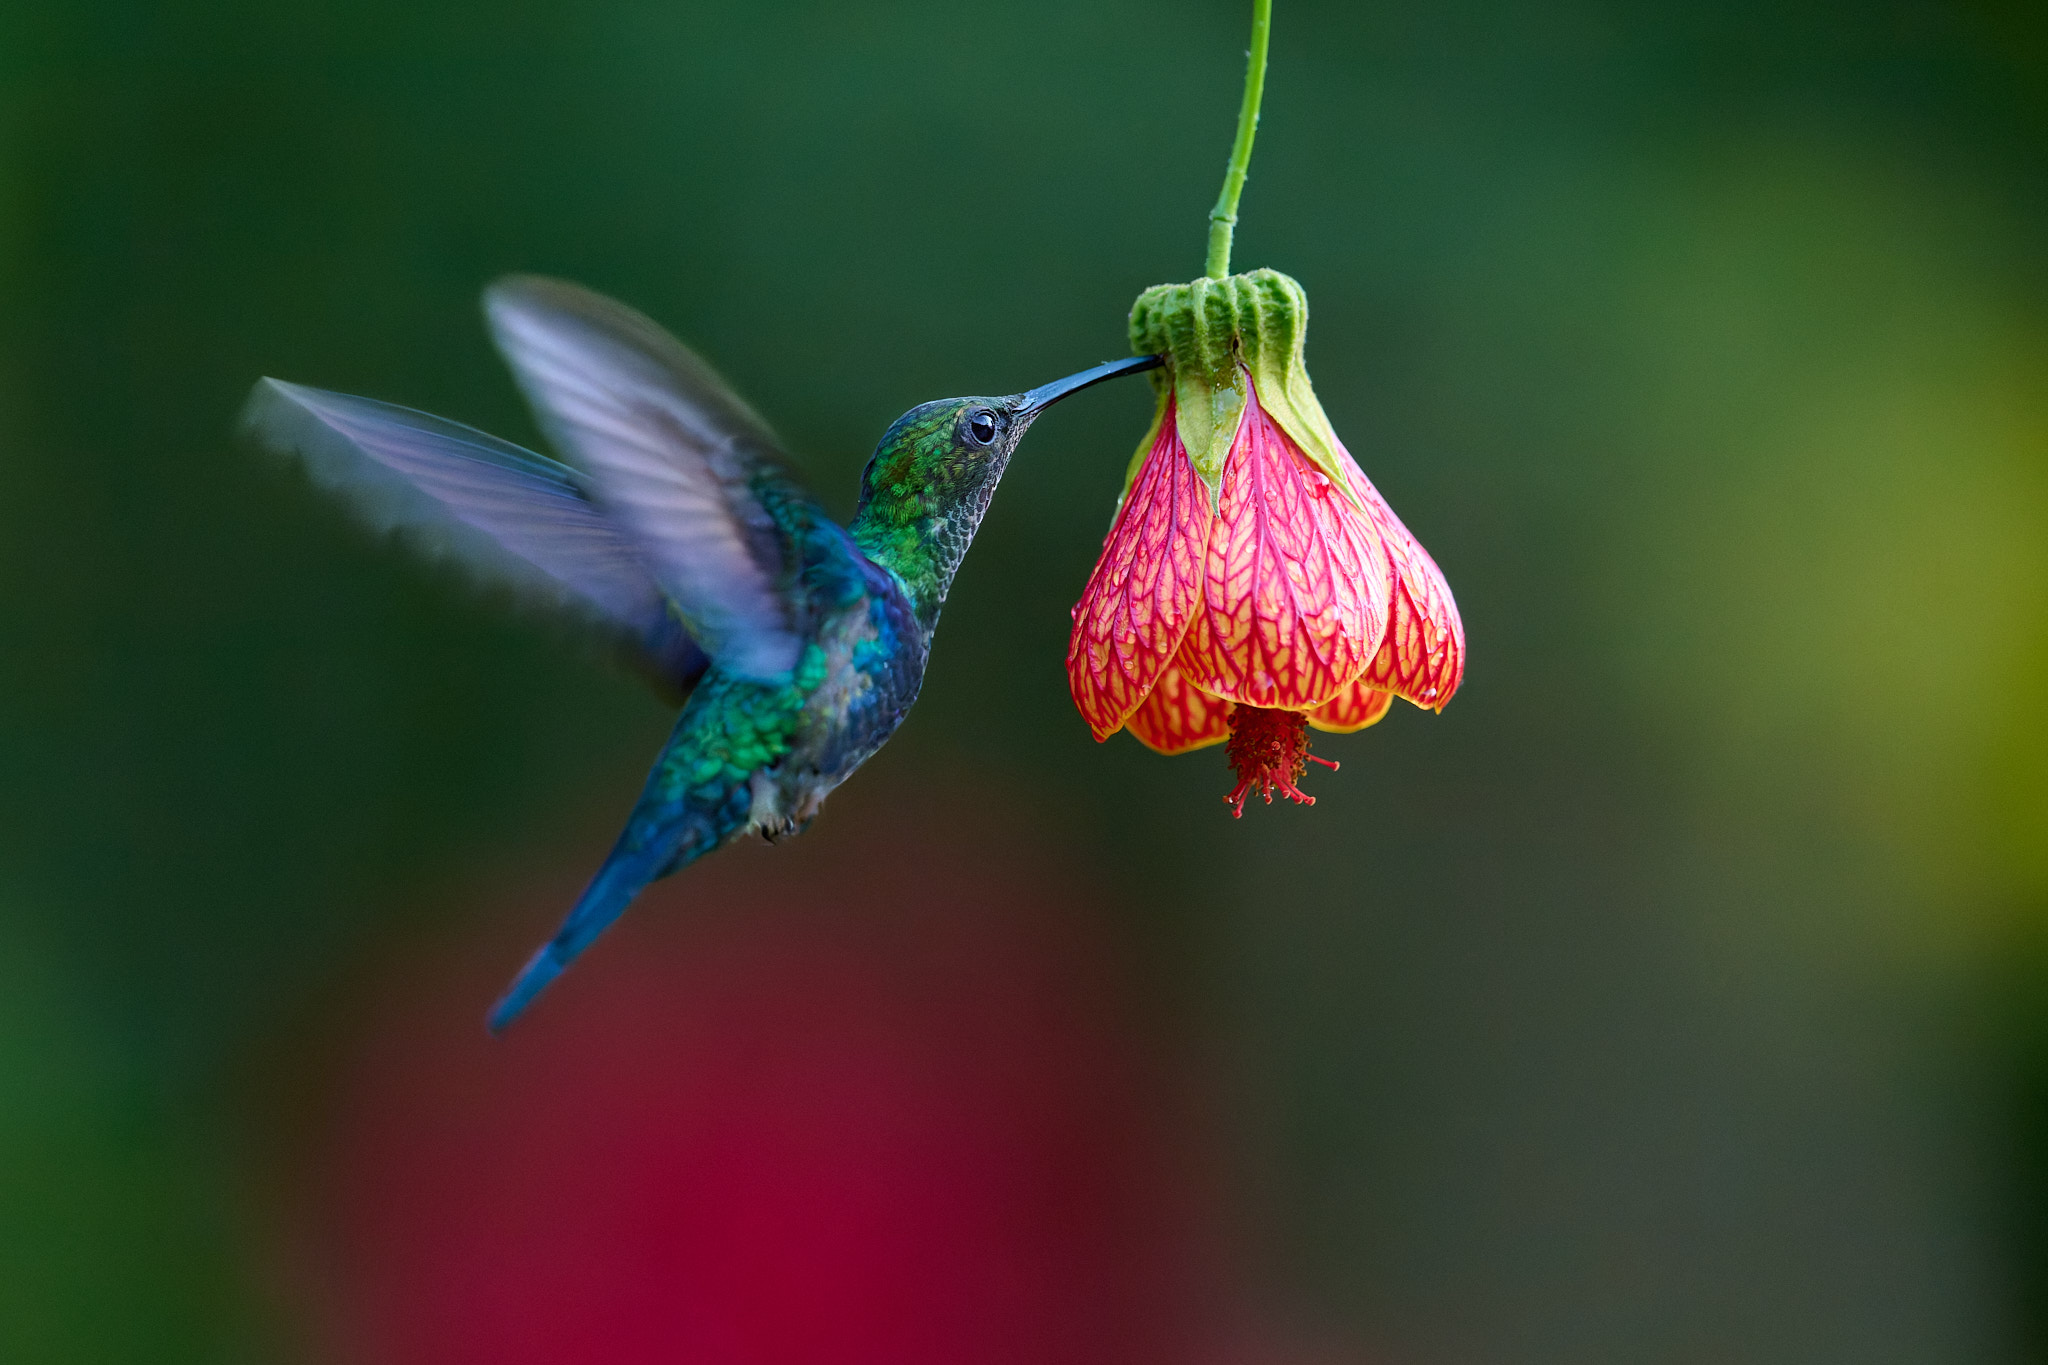
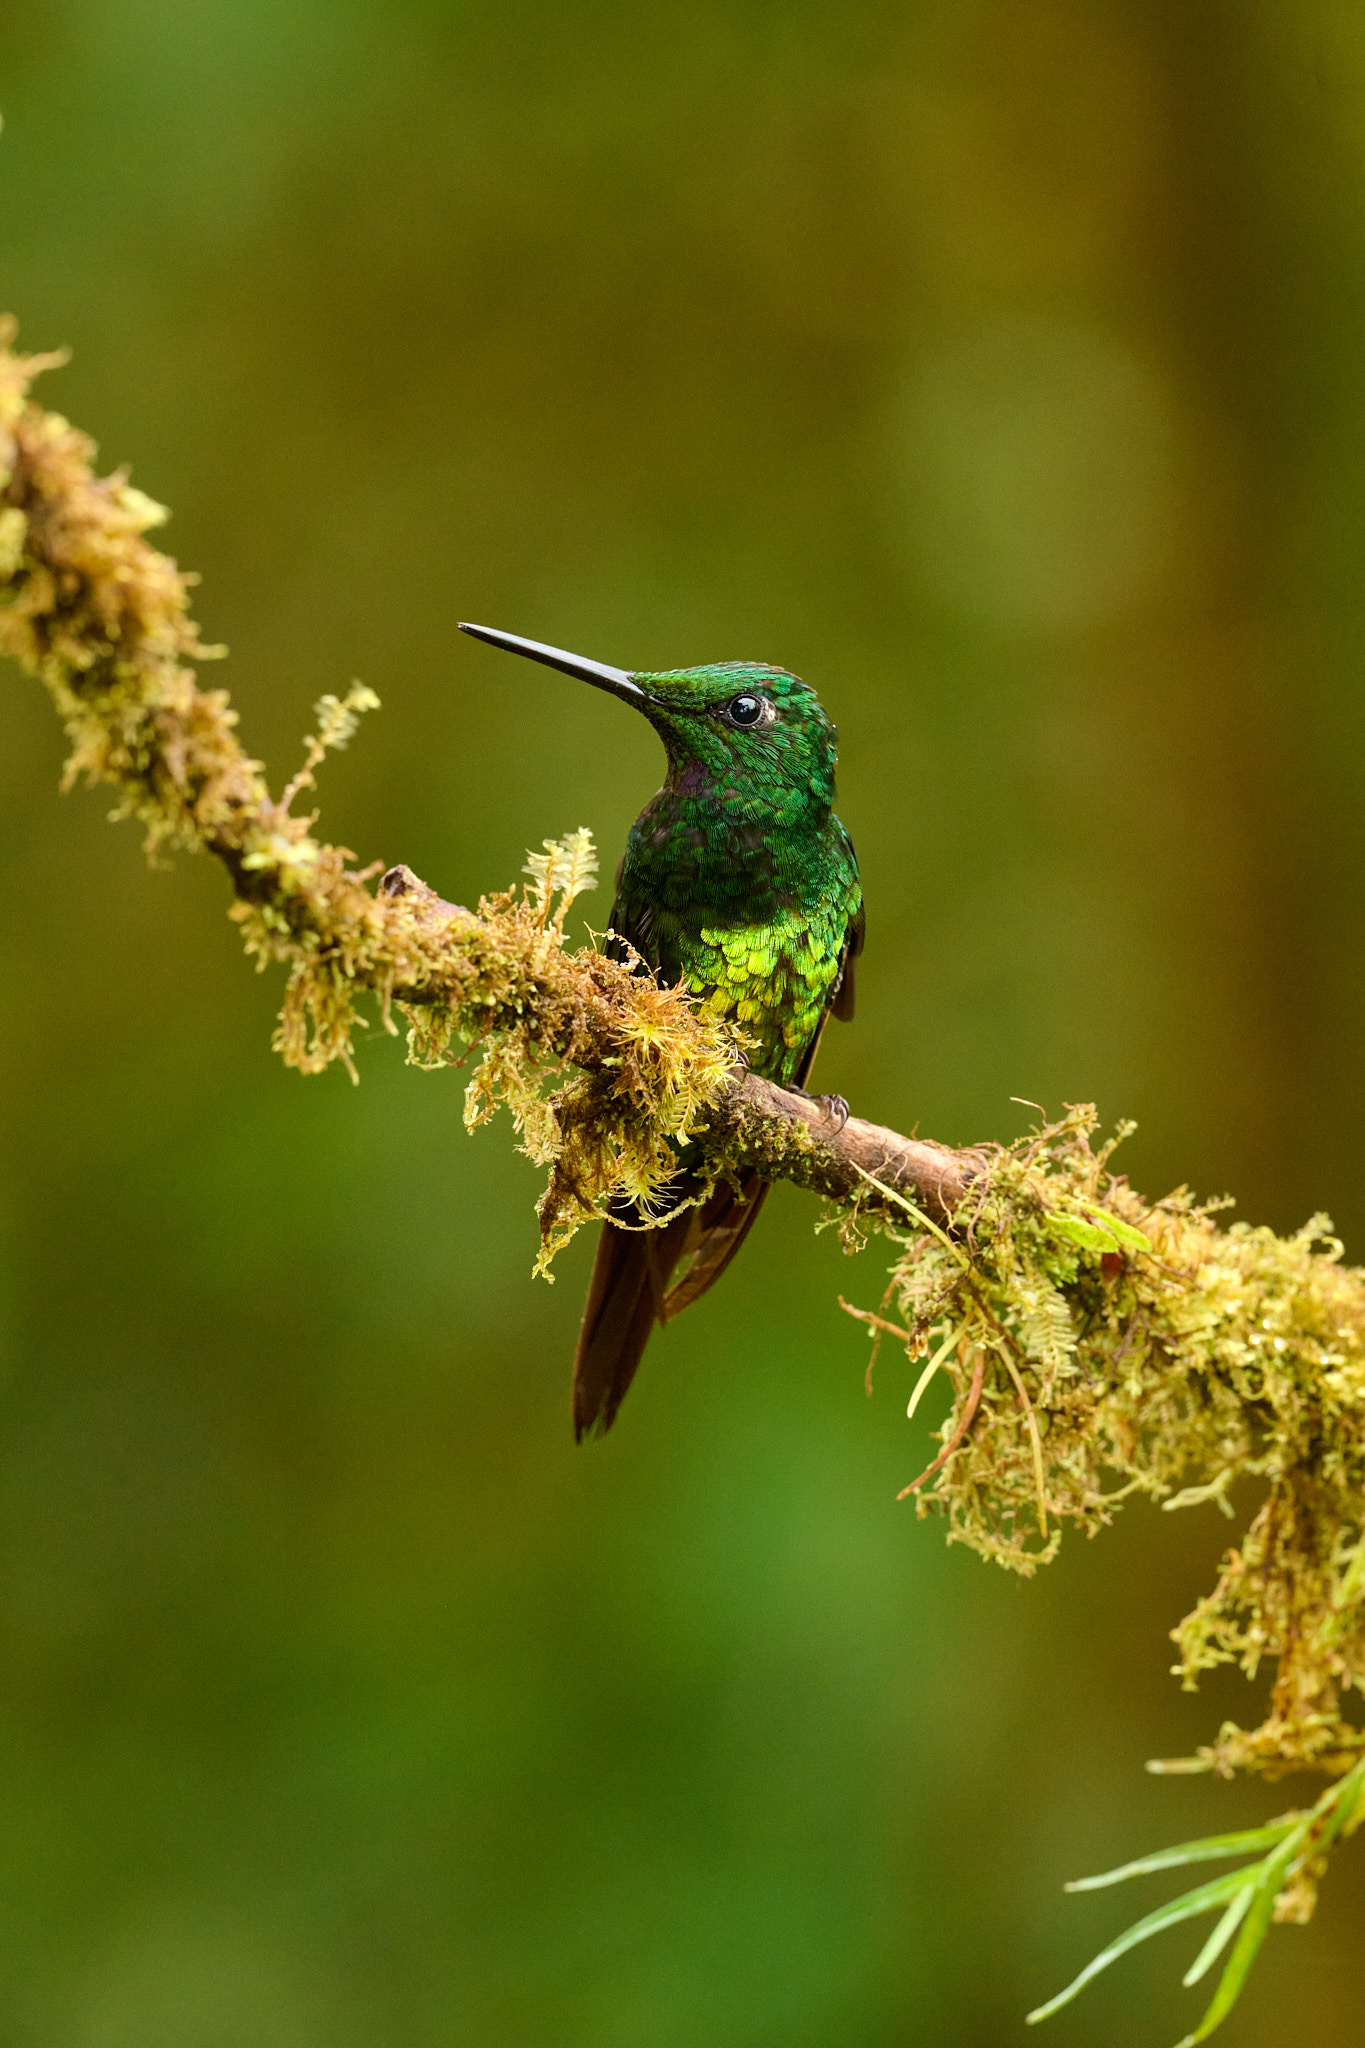
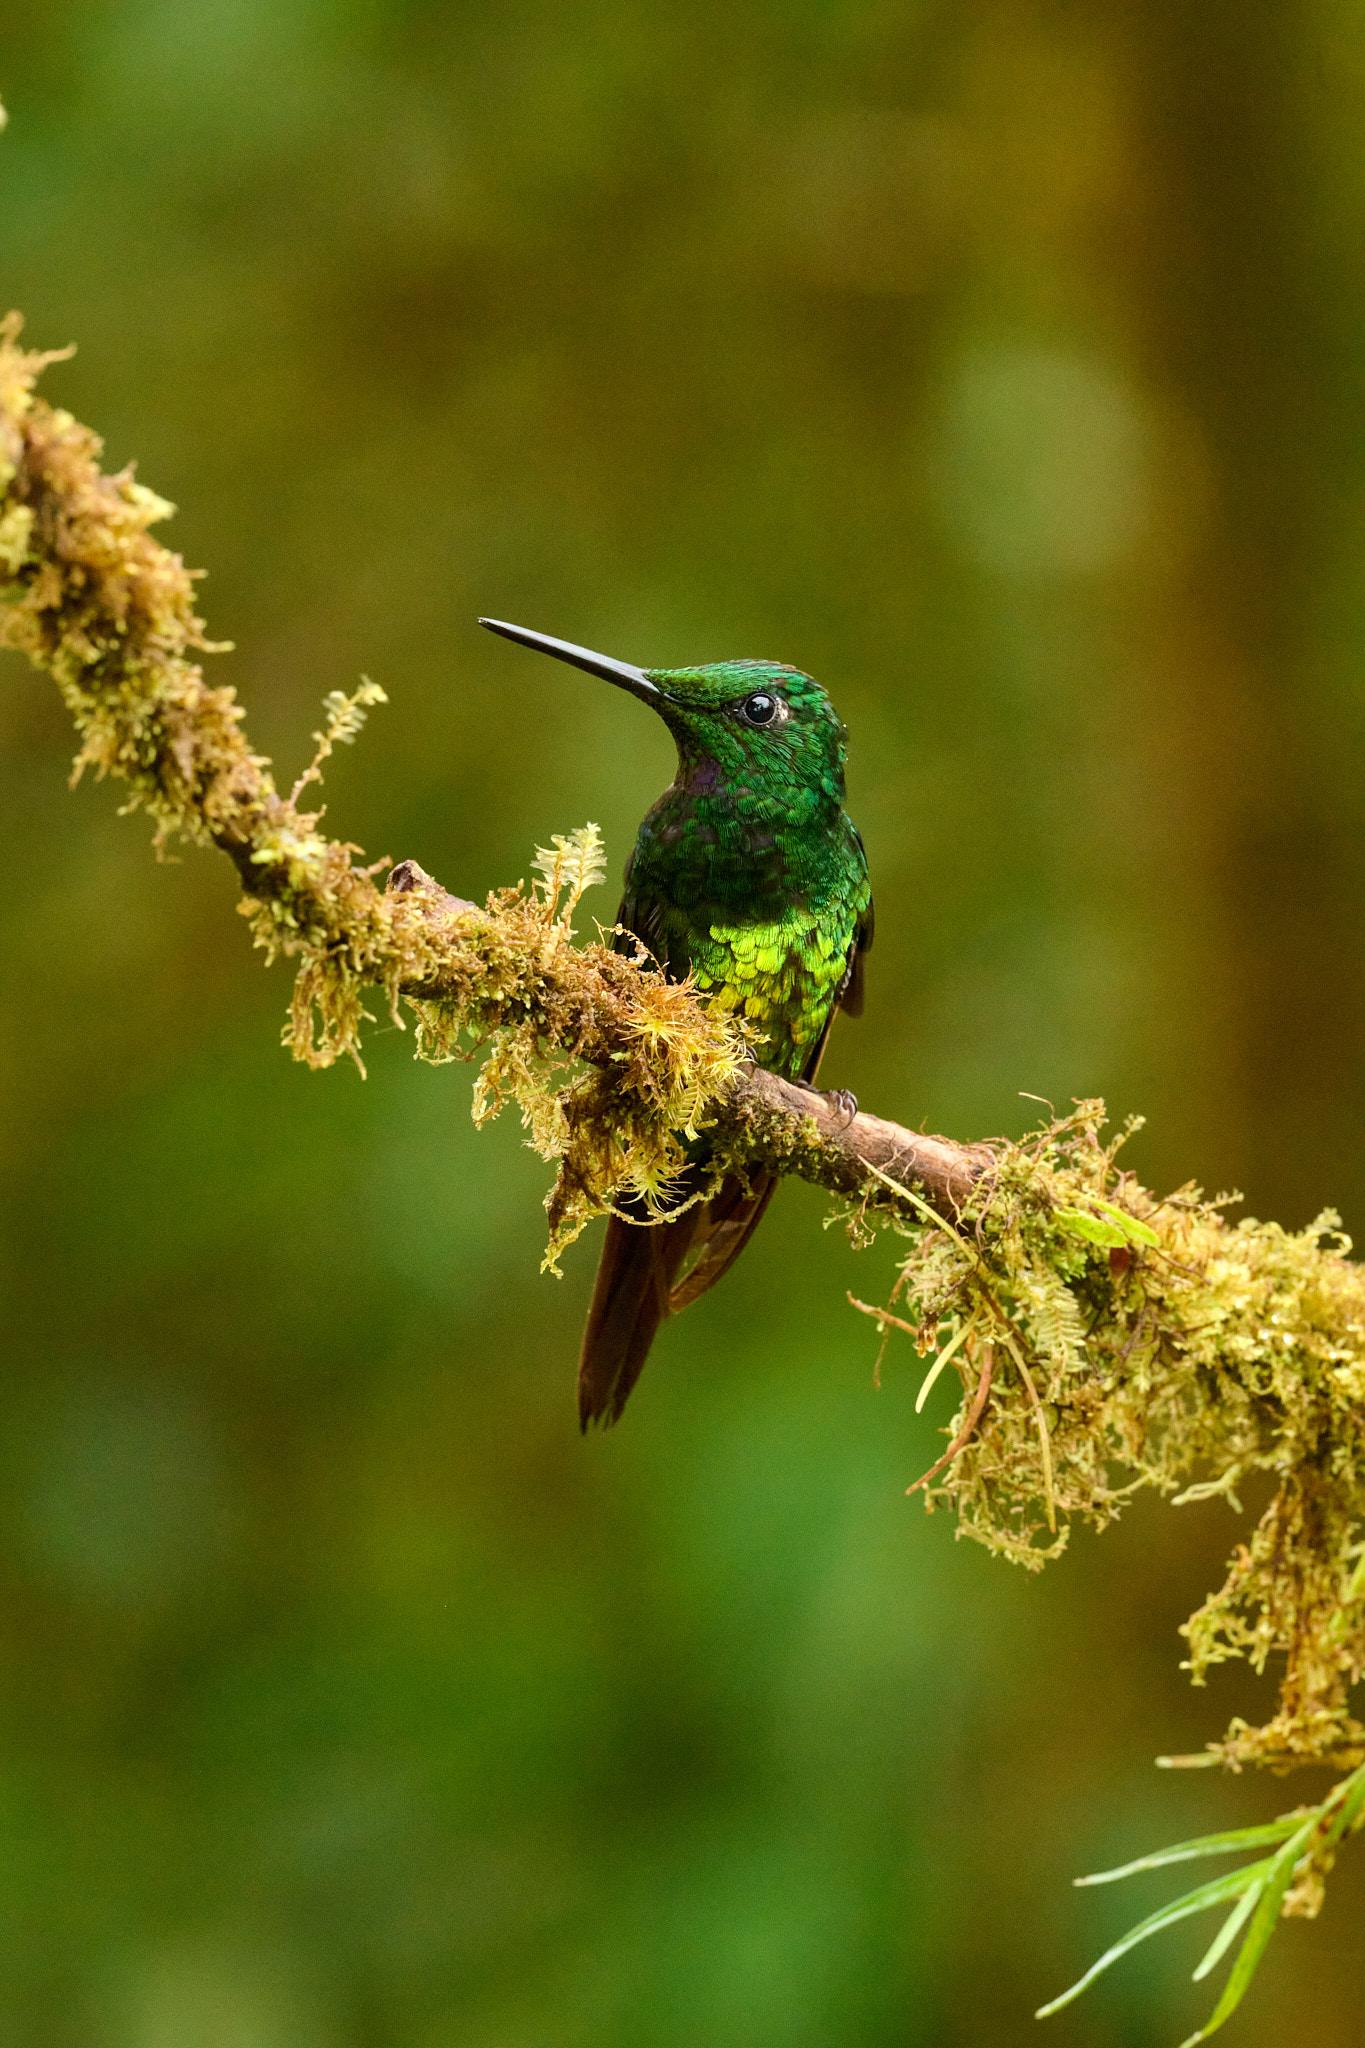
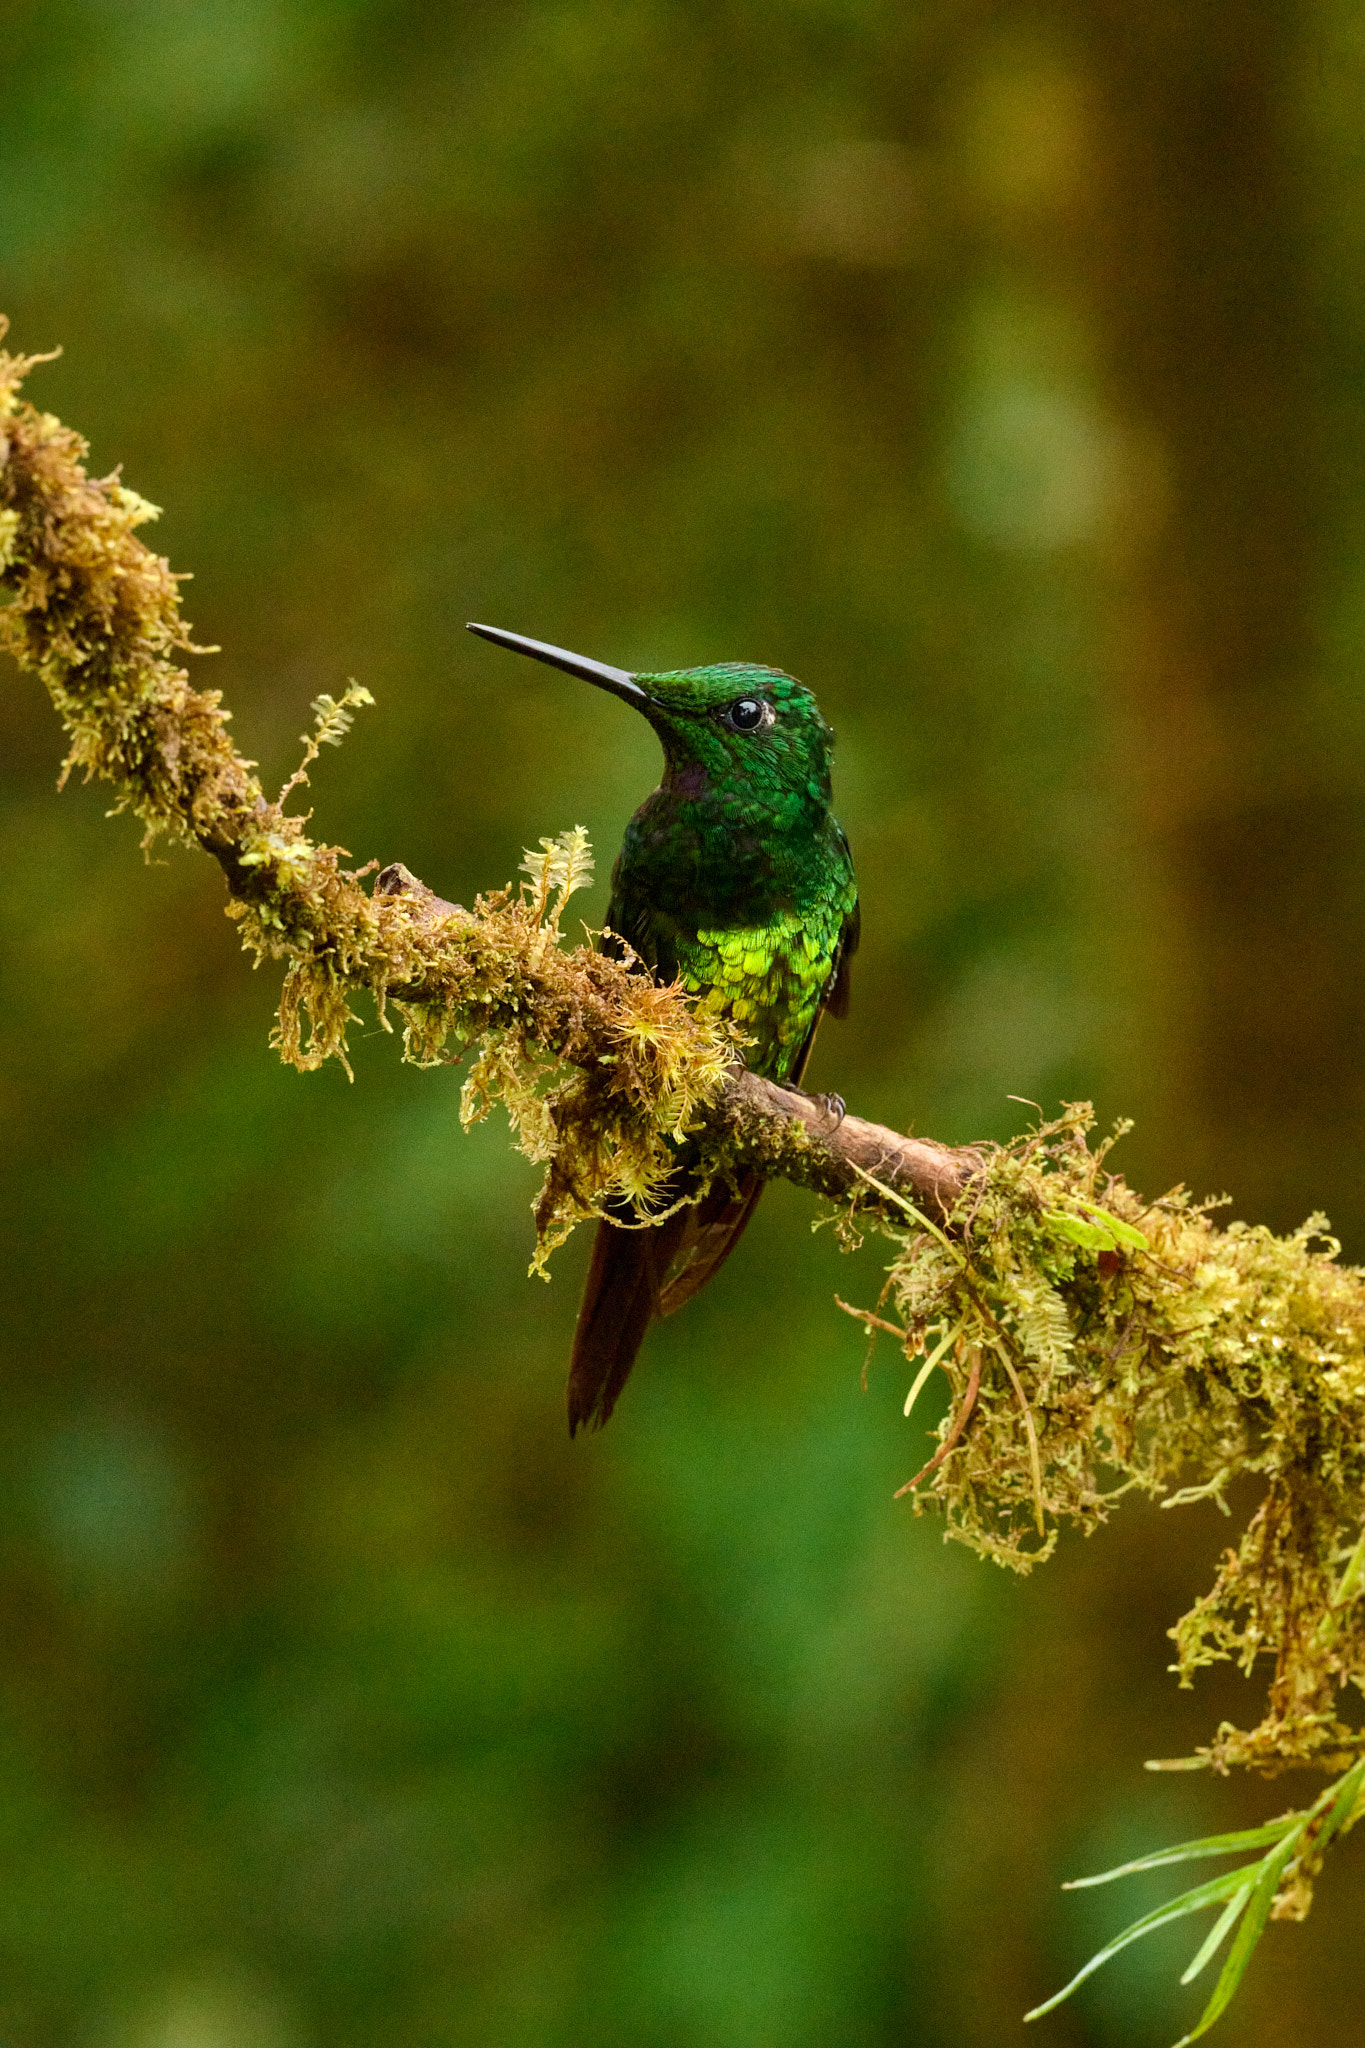
To date I’ve proven you pretty massive birds, from blackbirds to pigeons. However smaller birds require you to get a lot nearer. Within the case of hummingbirds, I reached the restrict of my lens’s close-focus capabilities.
On this case, I used to be coping with two conflicting targets. I needed a pointy picture of the hummingbird, together with particulars of its nest, whereas suppressing the complexity of the encompassing surroundings. The optimum aperture is subsequently a piece of compromise. Notice that even on the excessive aperture of f/22, the depth of area continues to be fairly shallow.
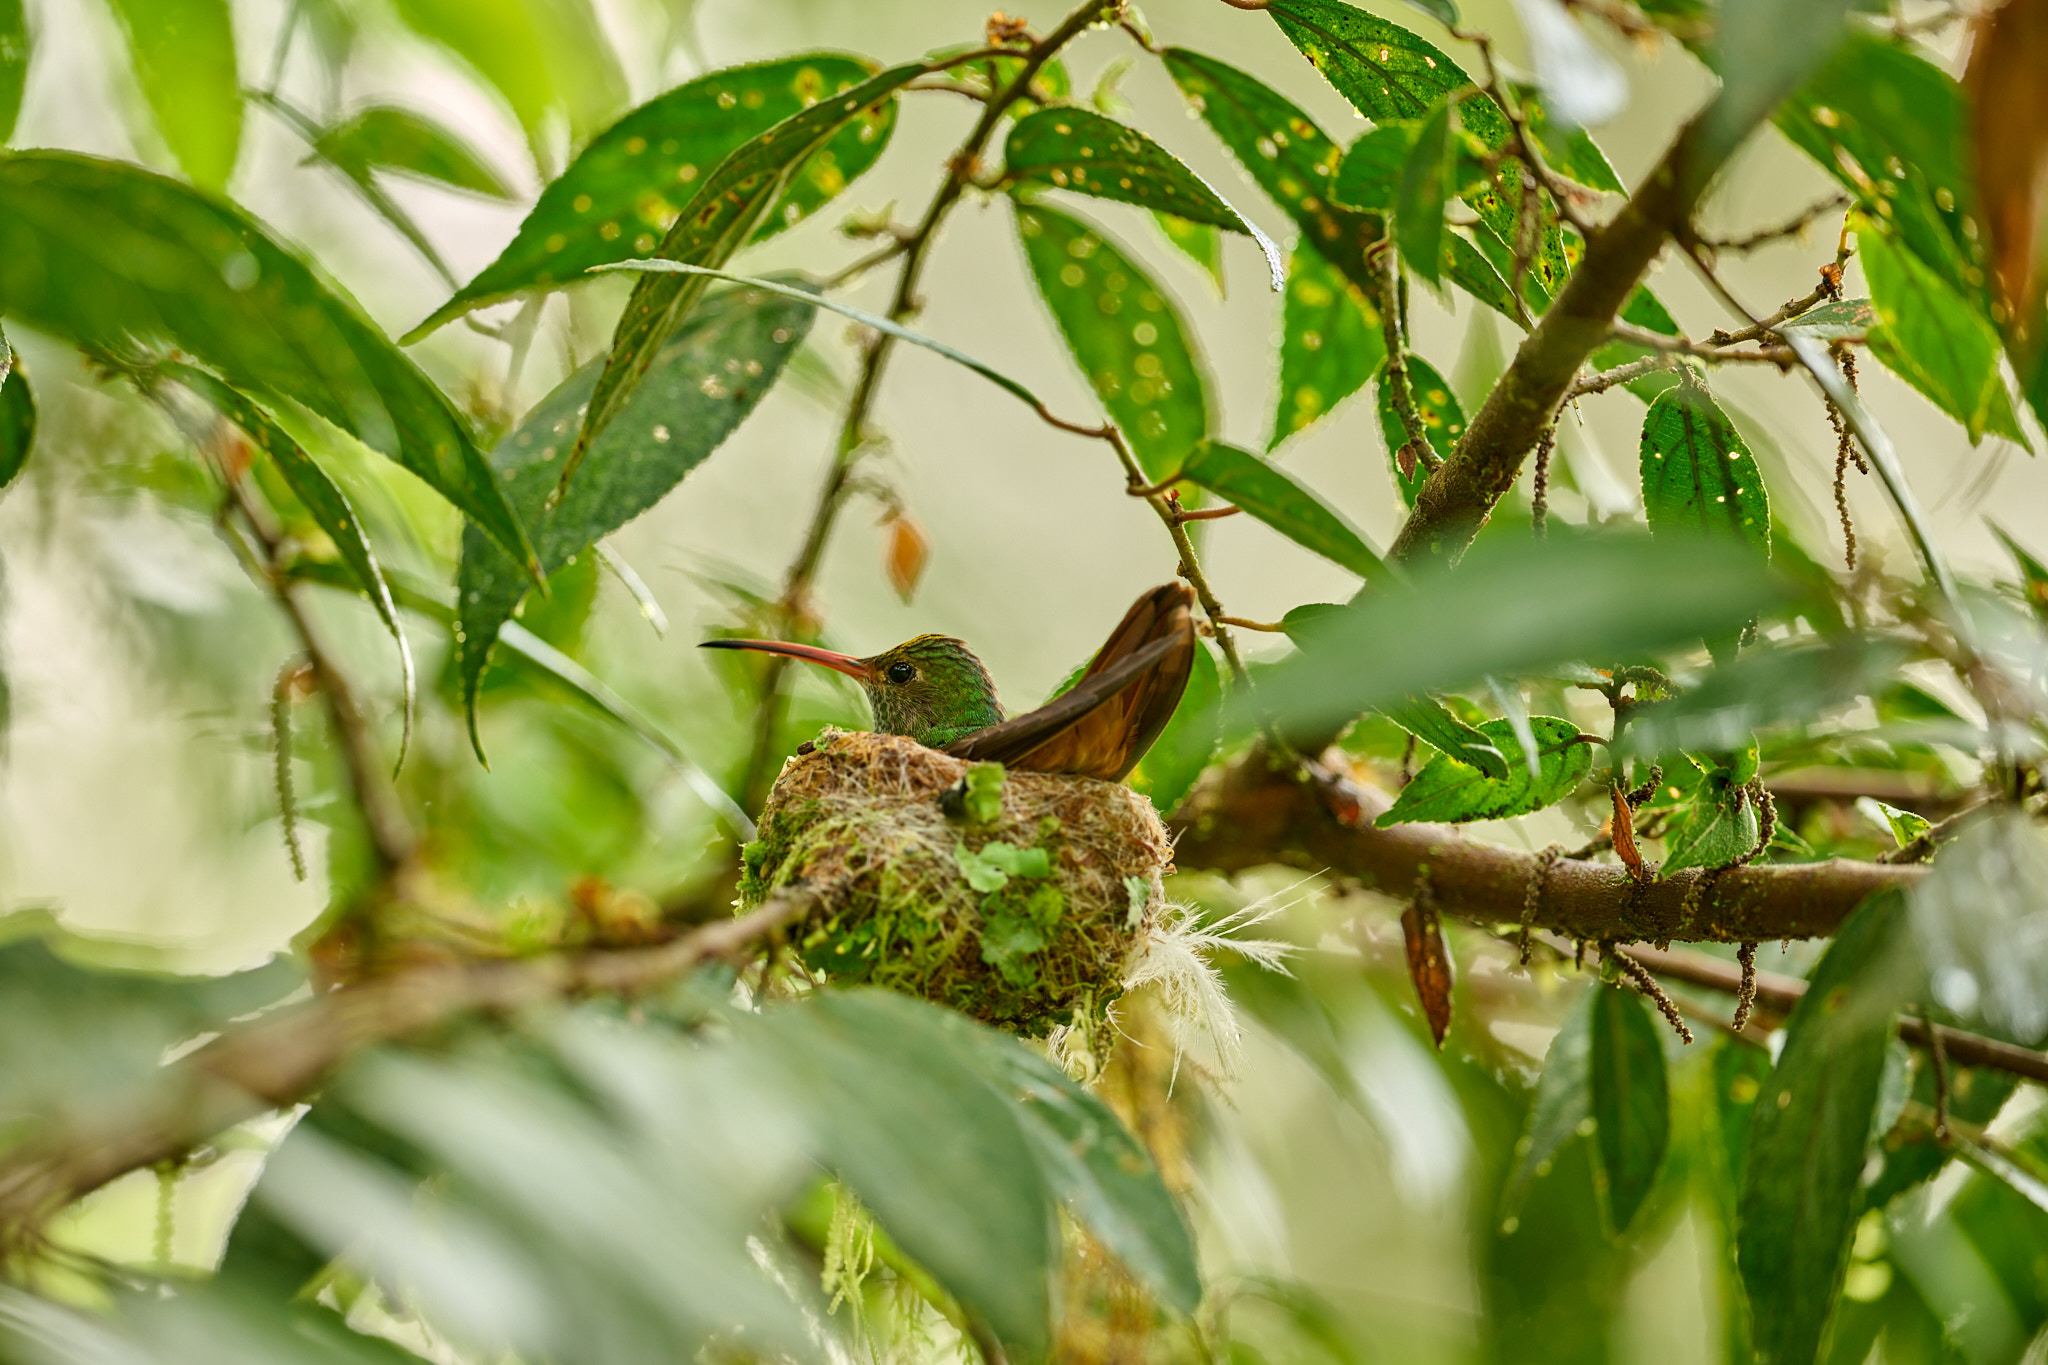
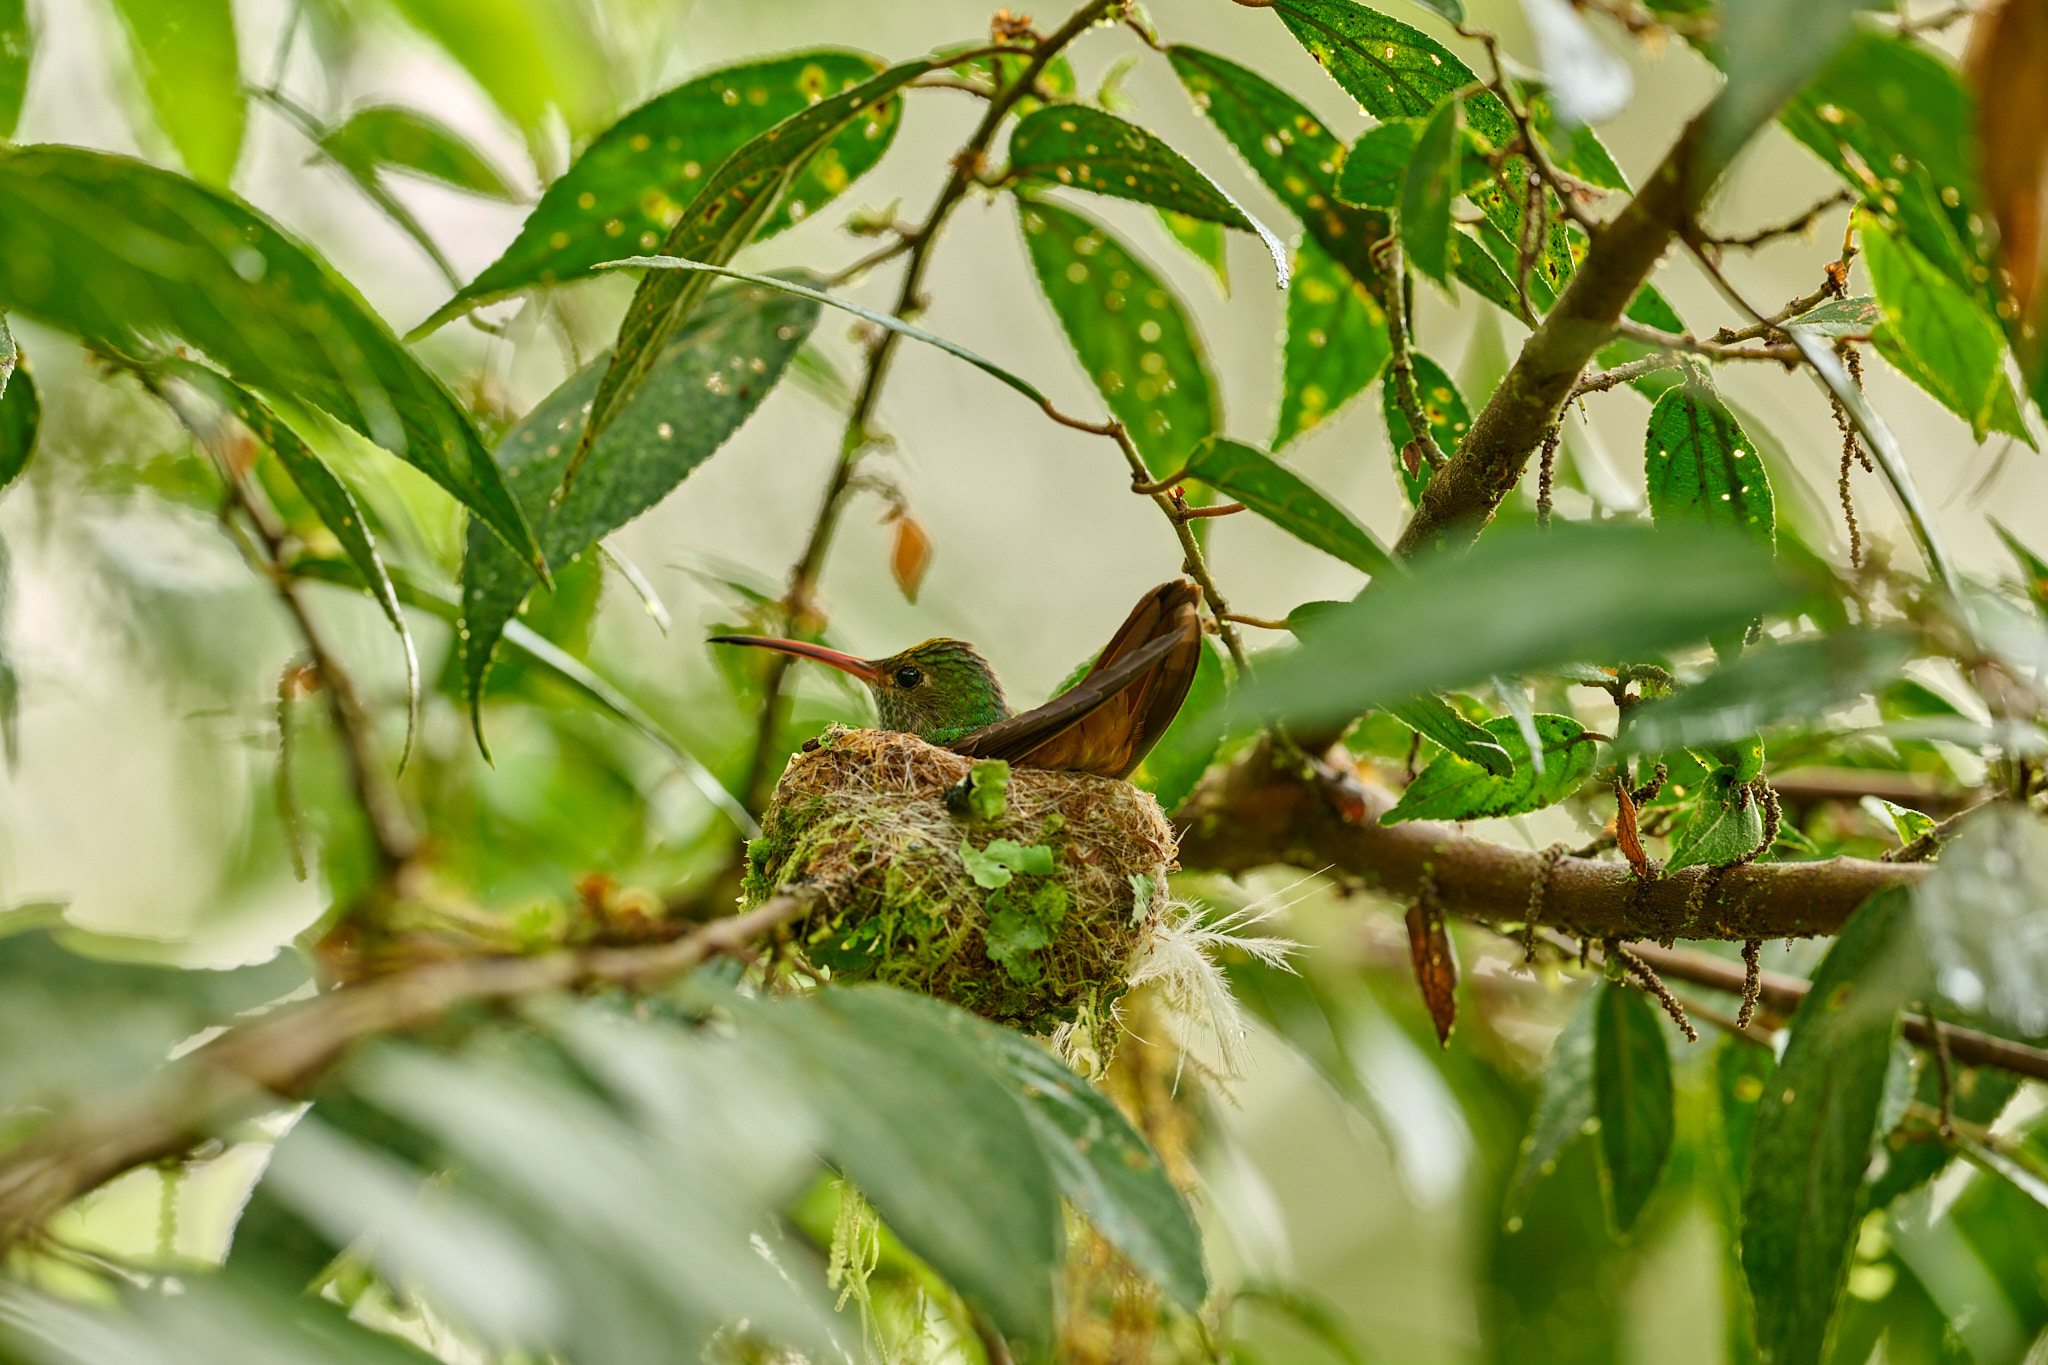
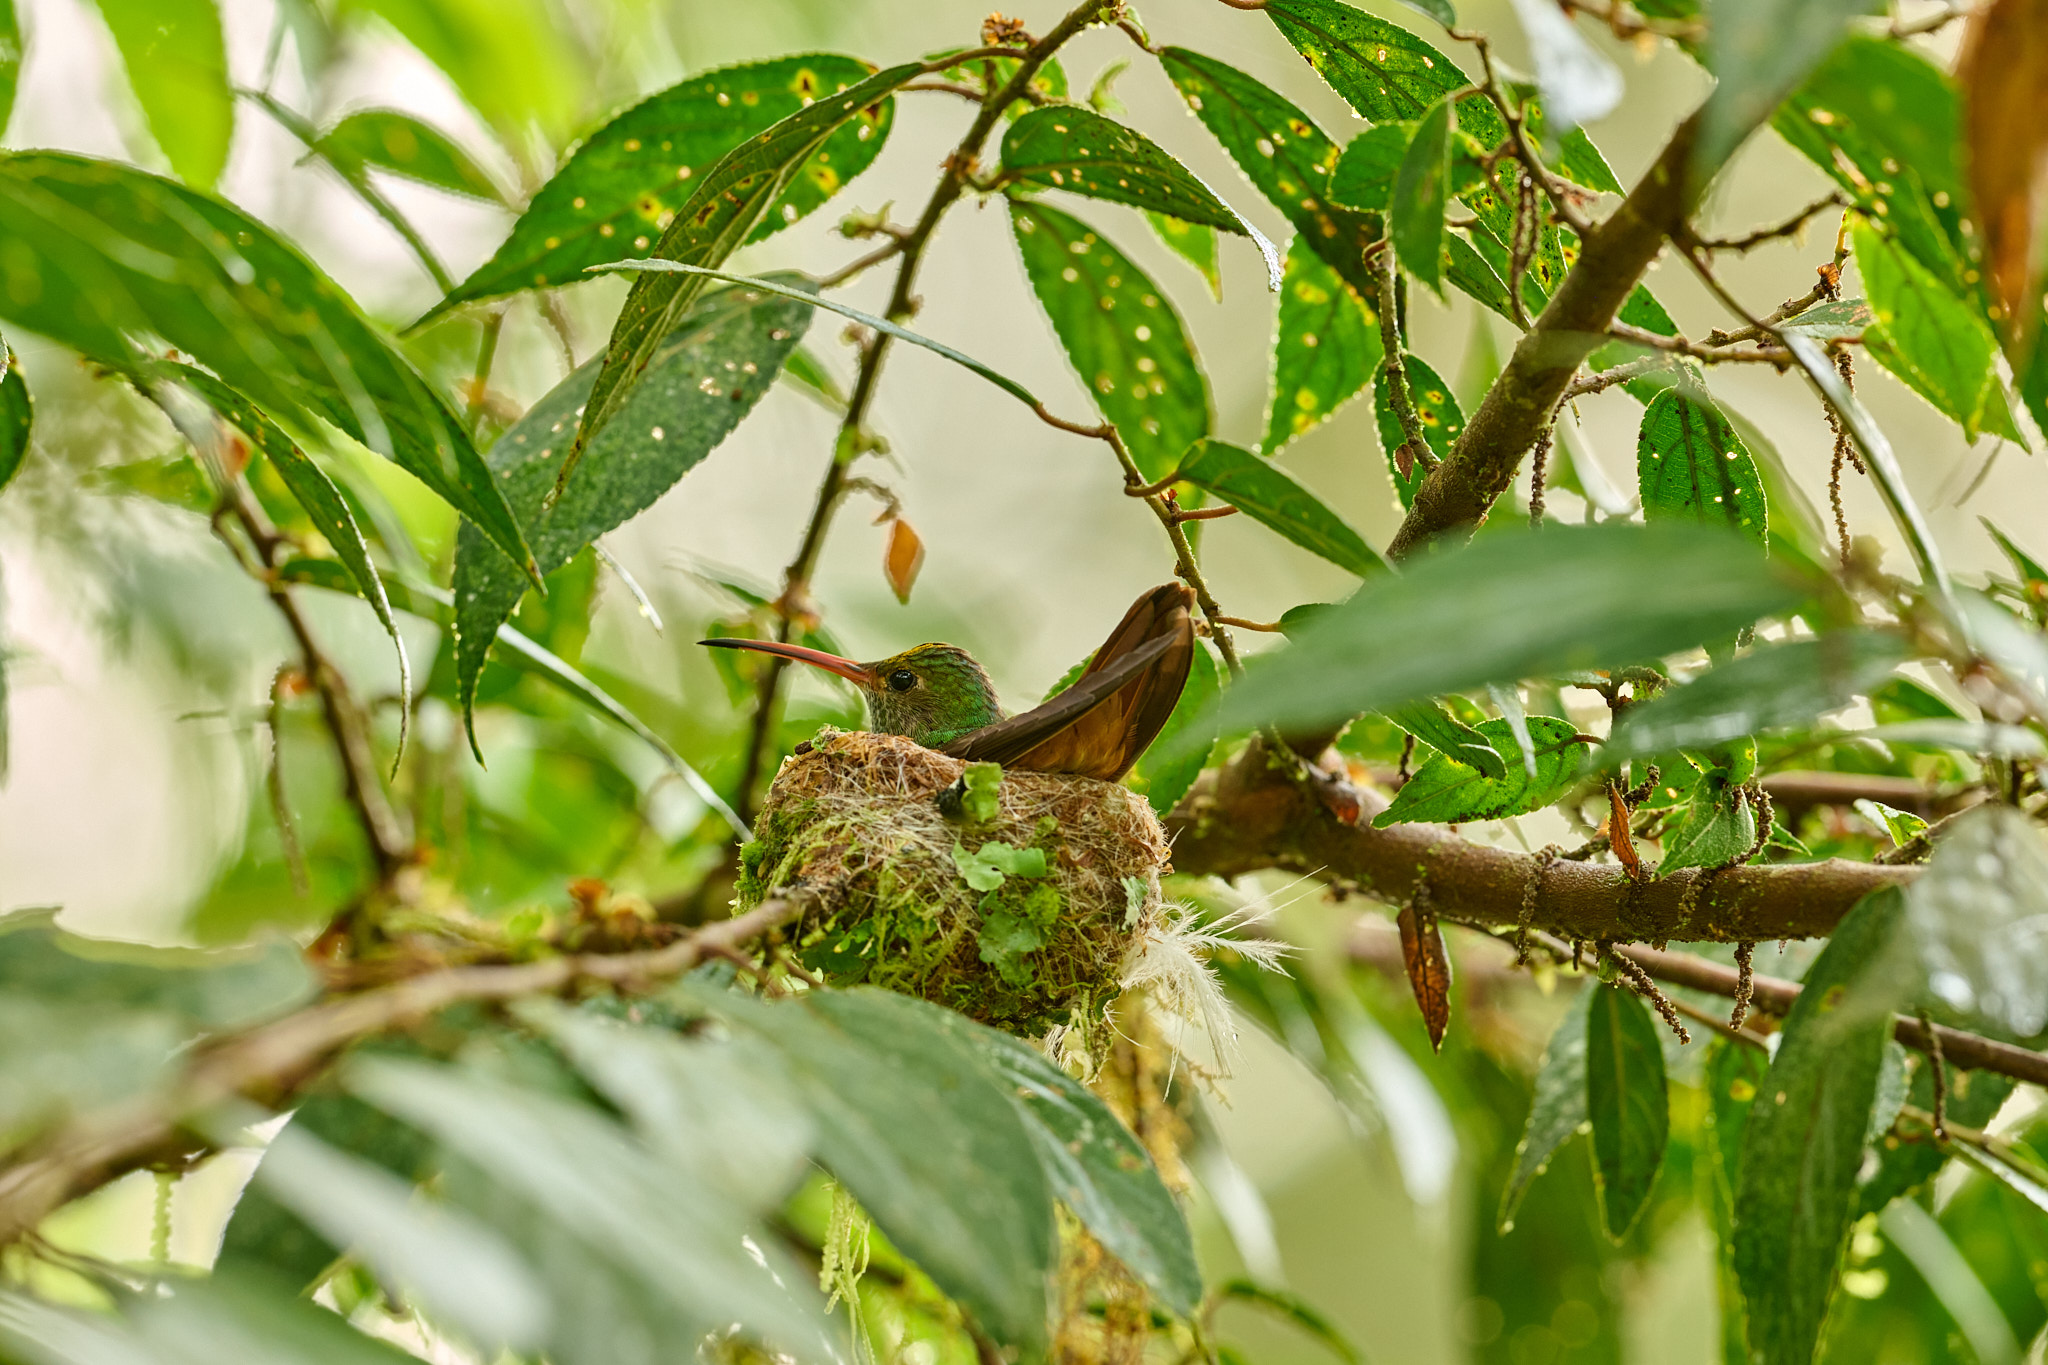
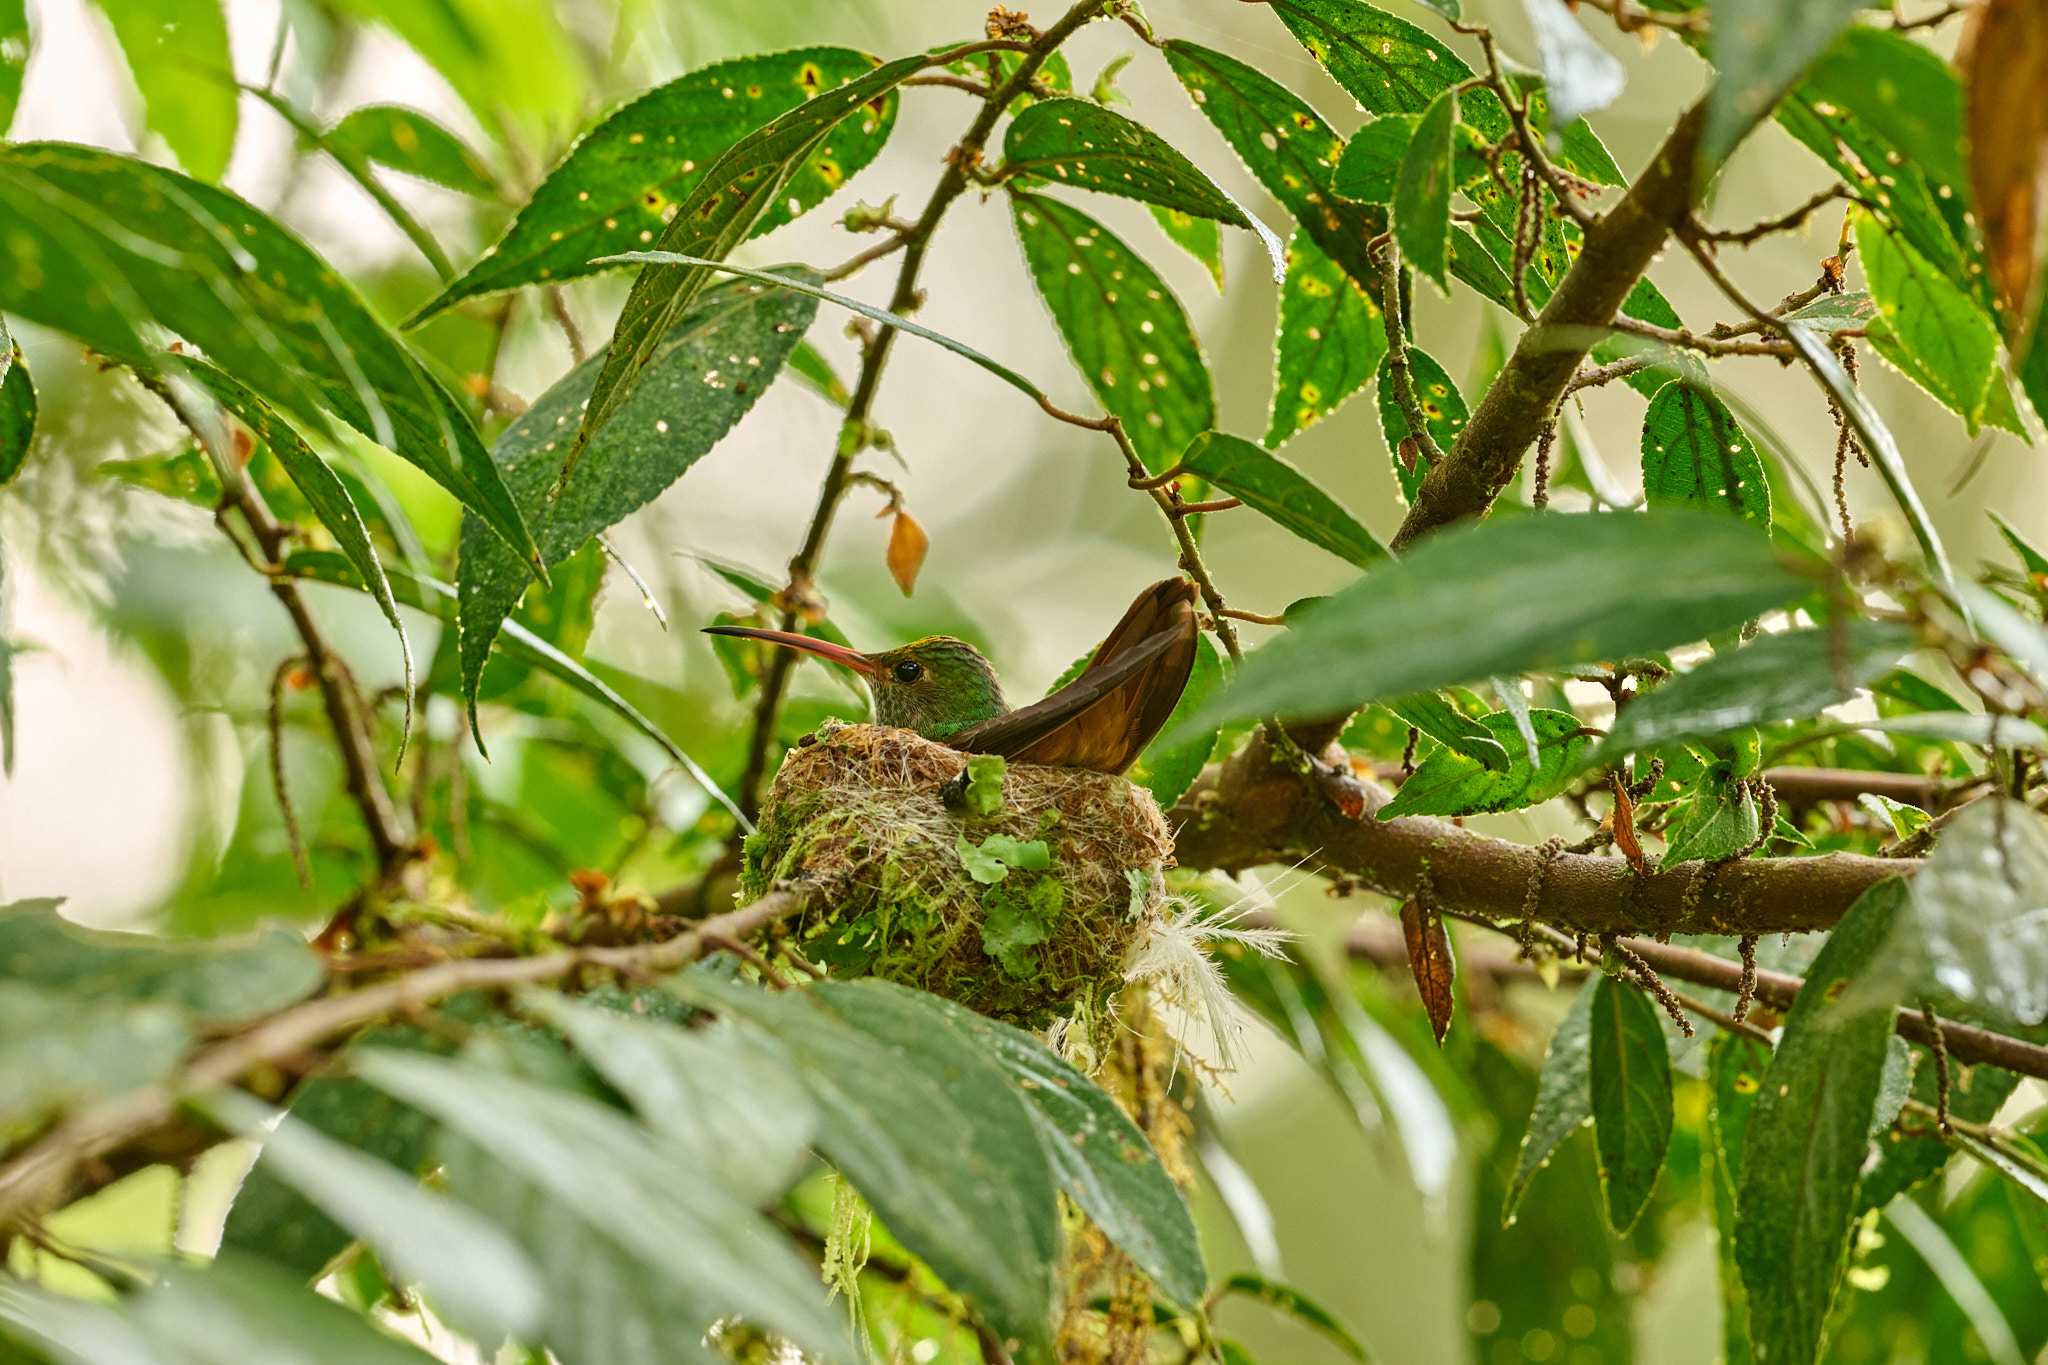
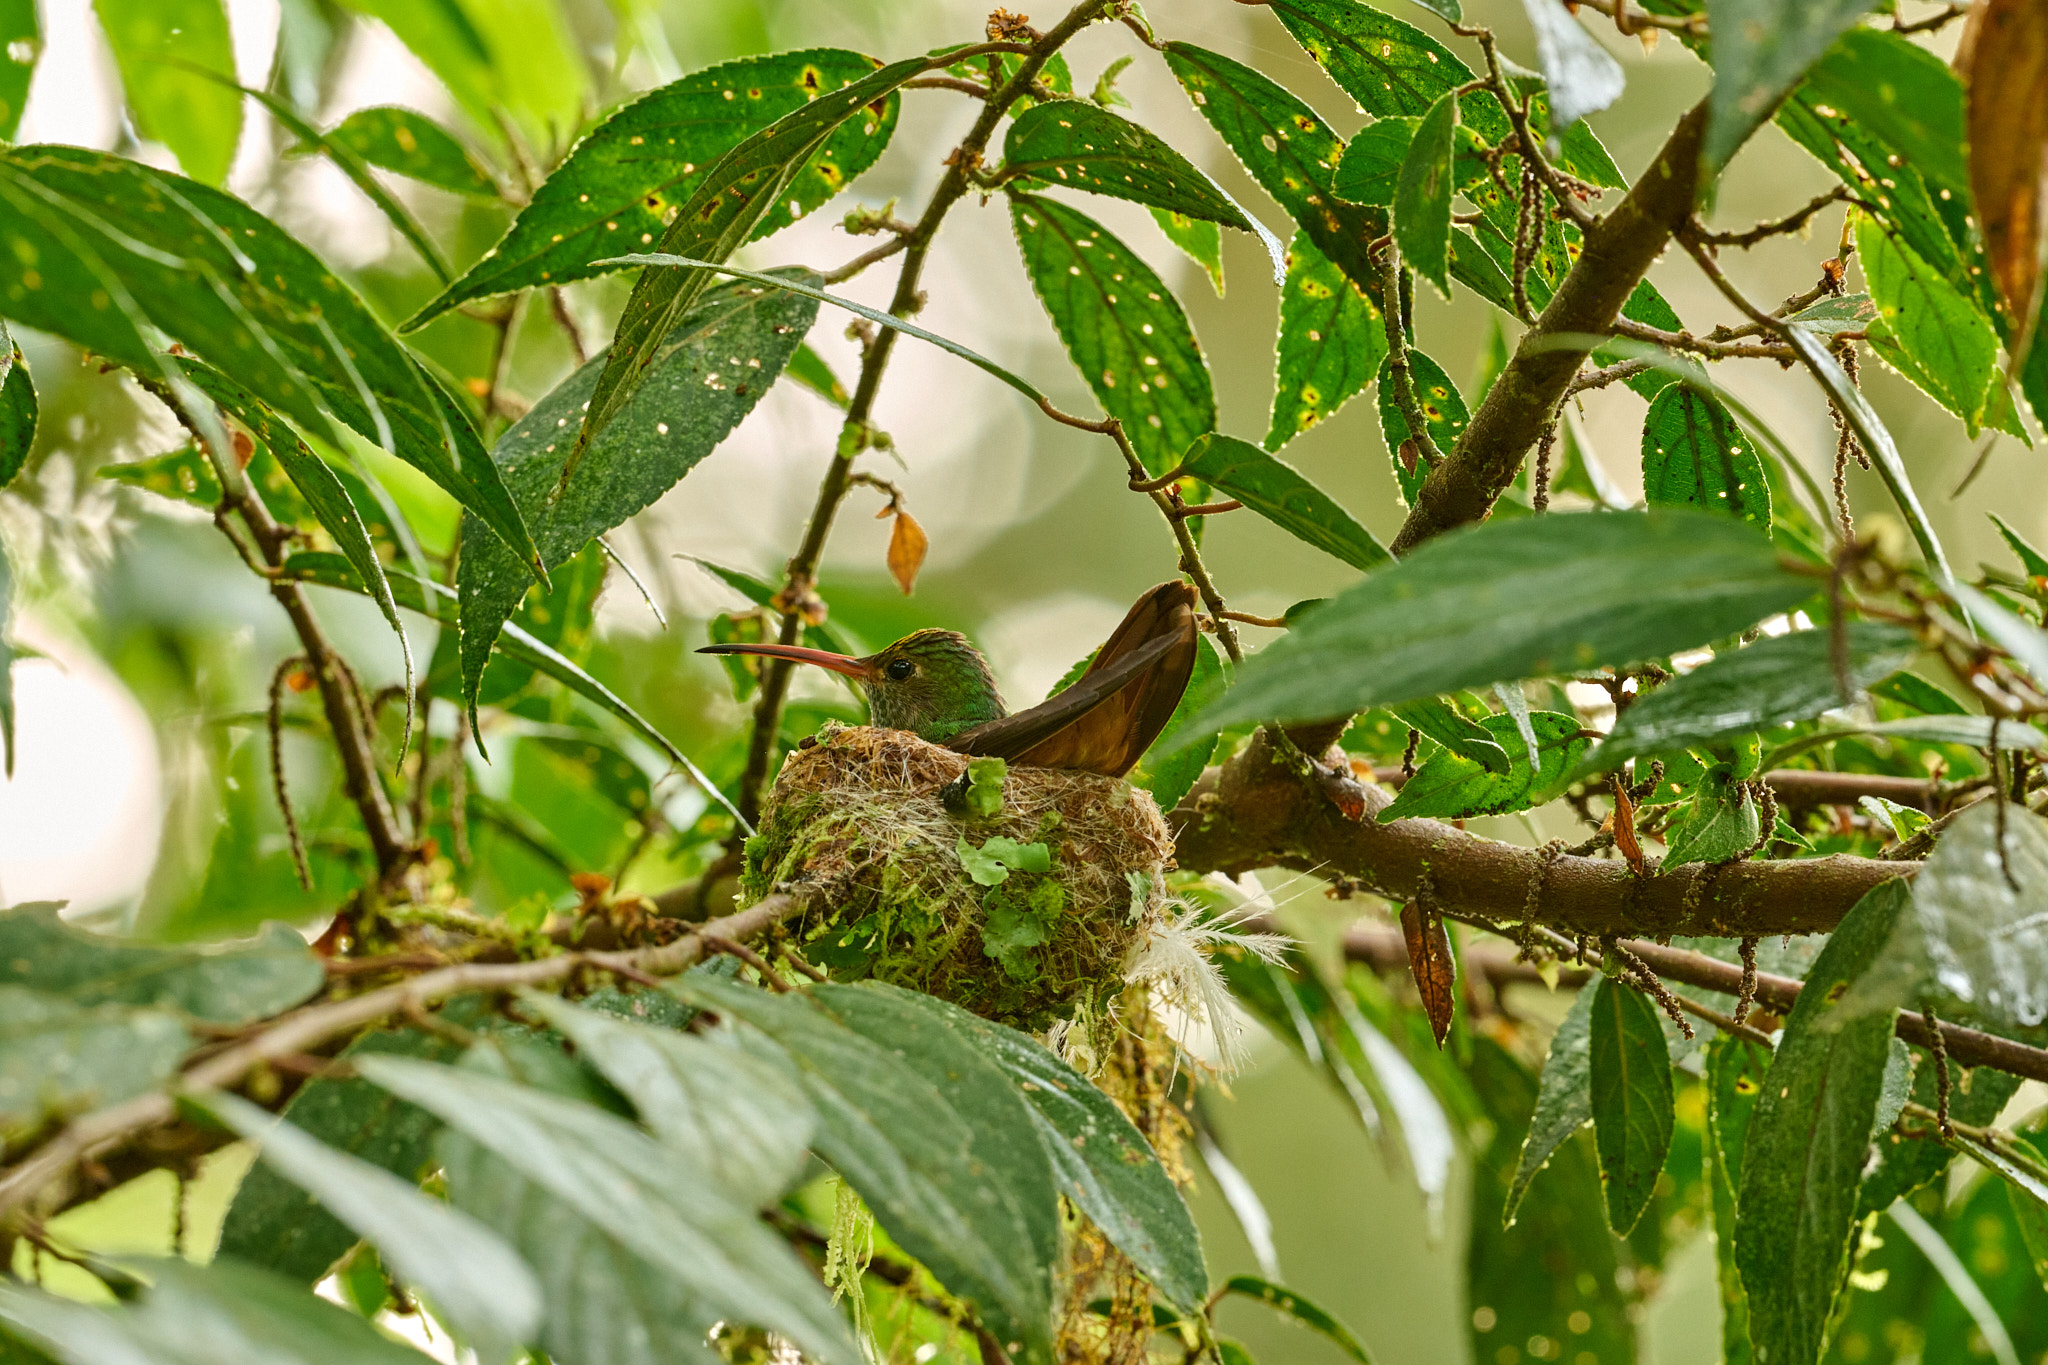
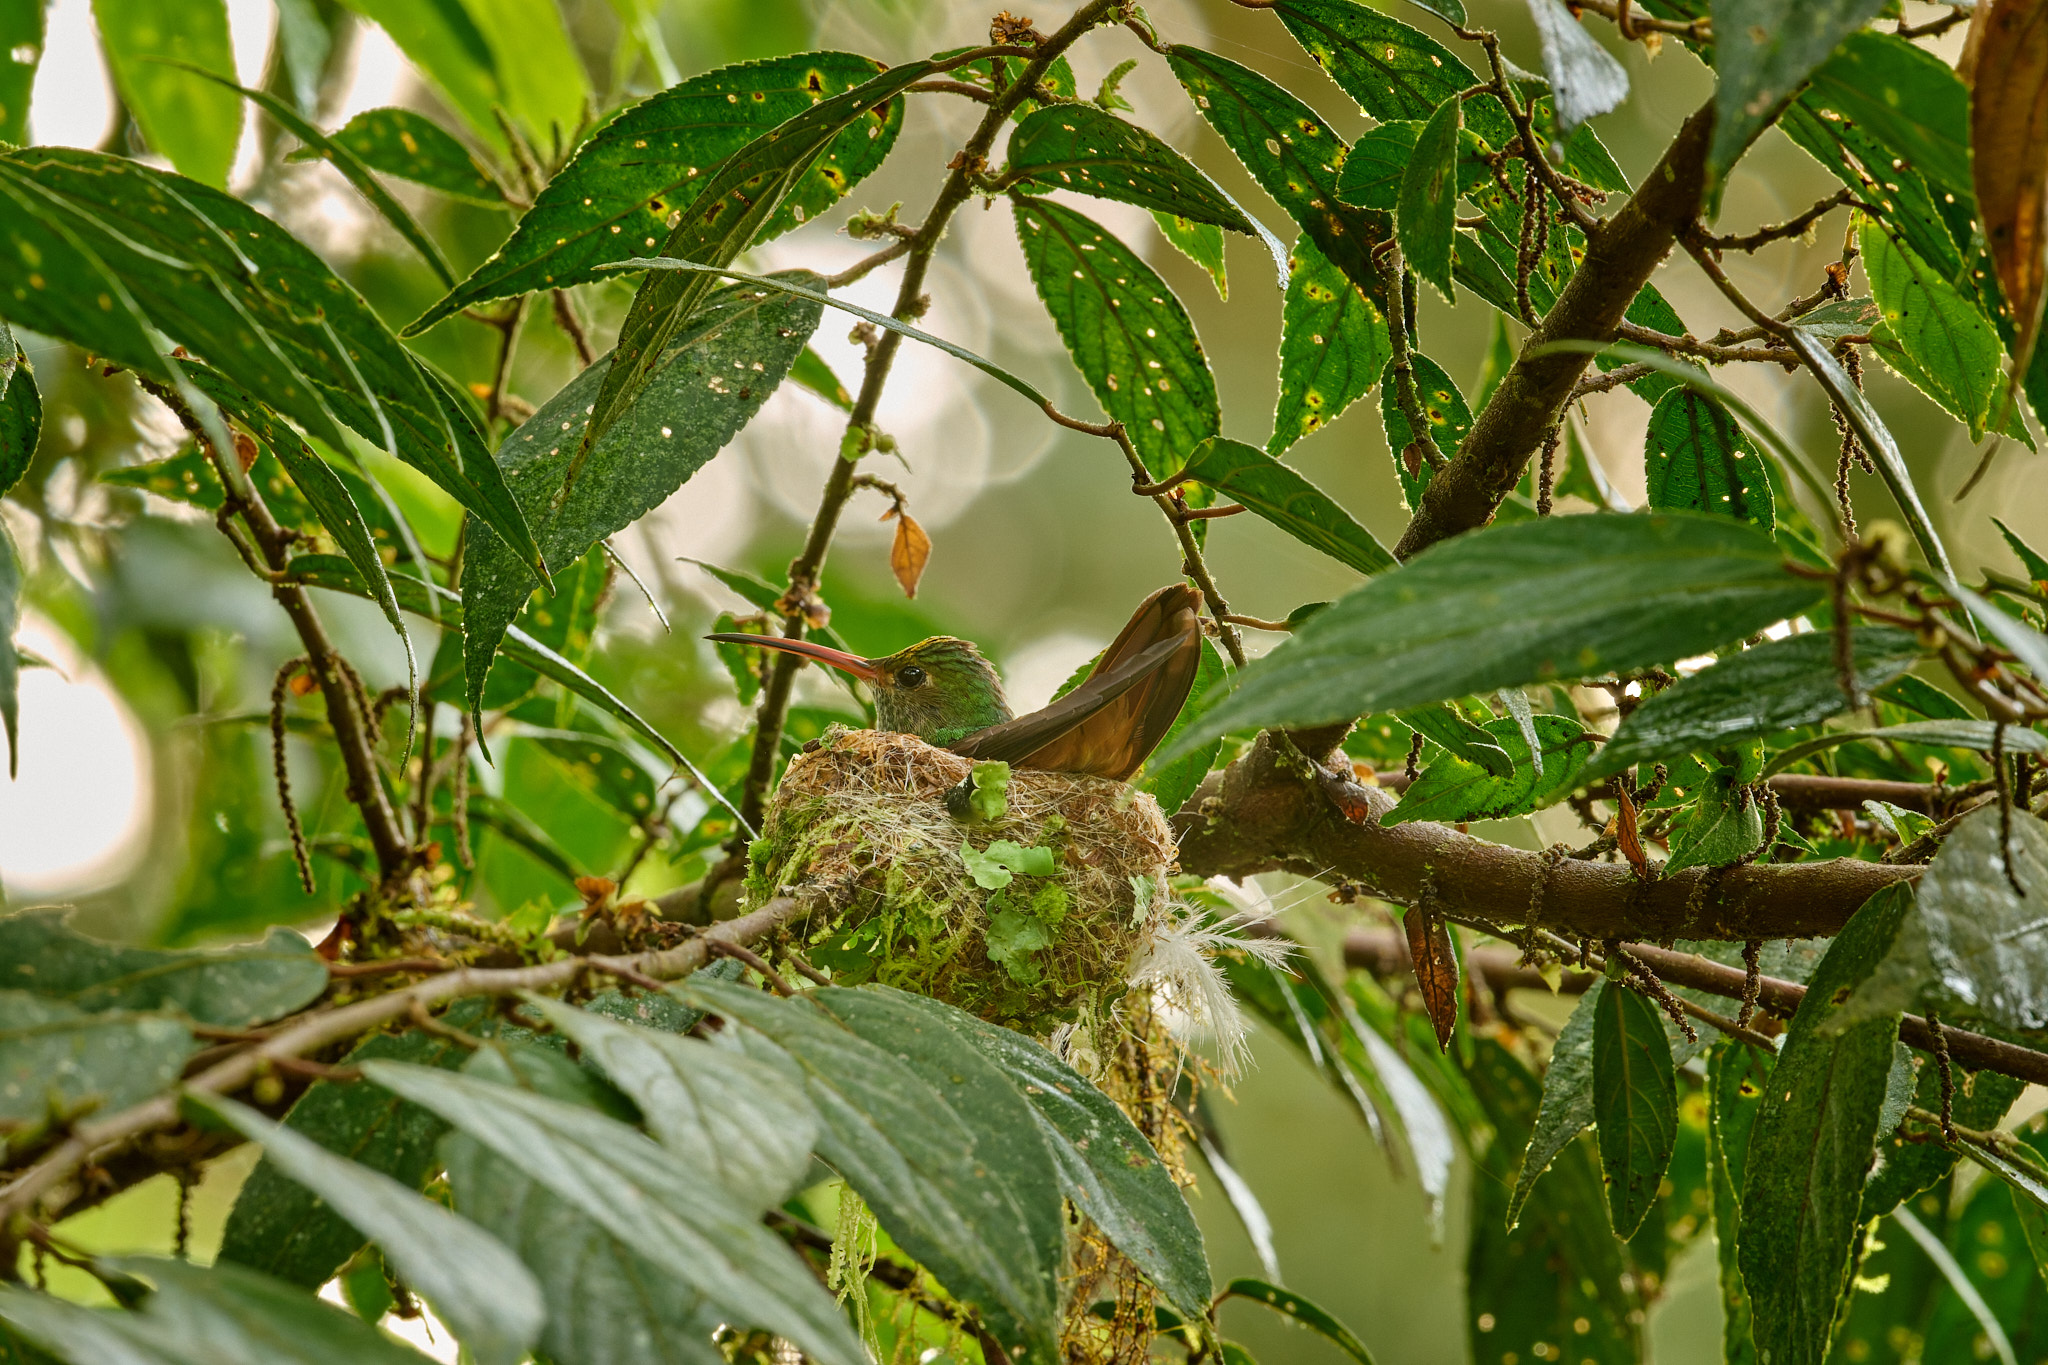
On this case, for telling a narrative, I choose the vary from f/5.6 to f/8. The utmost aperture of f/4 simply leaves the topic a little bit too blurry.
Within the final instance, we method one other small topic on the shut focus restrict of my digital camera. Though the Empress Sensible is without doubt one of the bigger hummingbird species, it’ll hardly fill the body.
Photographing hummingbirds is a type of motion macro pictures. You’ll be targeted so carefully that even a reasonable aperture offers you a really shallow depth of area. For this specific picture, I might contemplate an aperture of f/8 to be optimum. (Though hummingbirds generally pressure you to shoot at most aperture so as to use a greater shutter pace.)
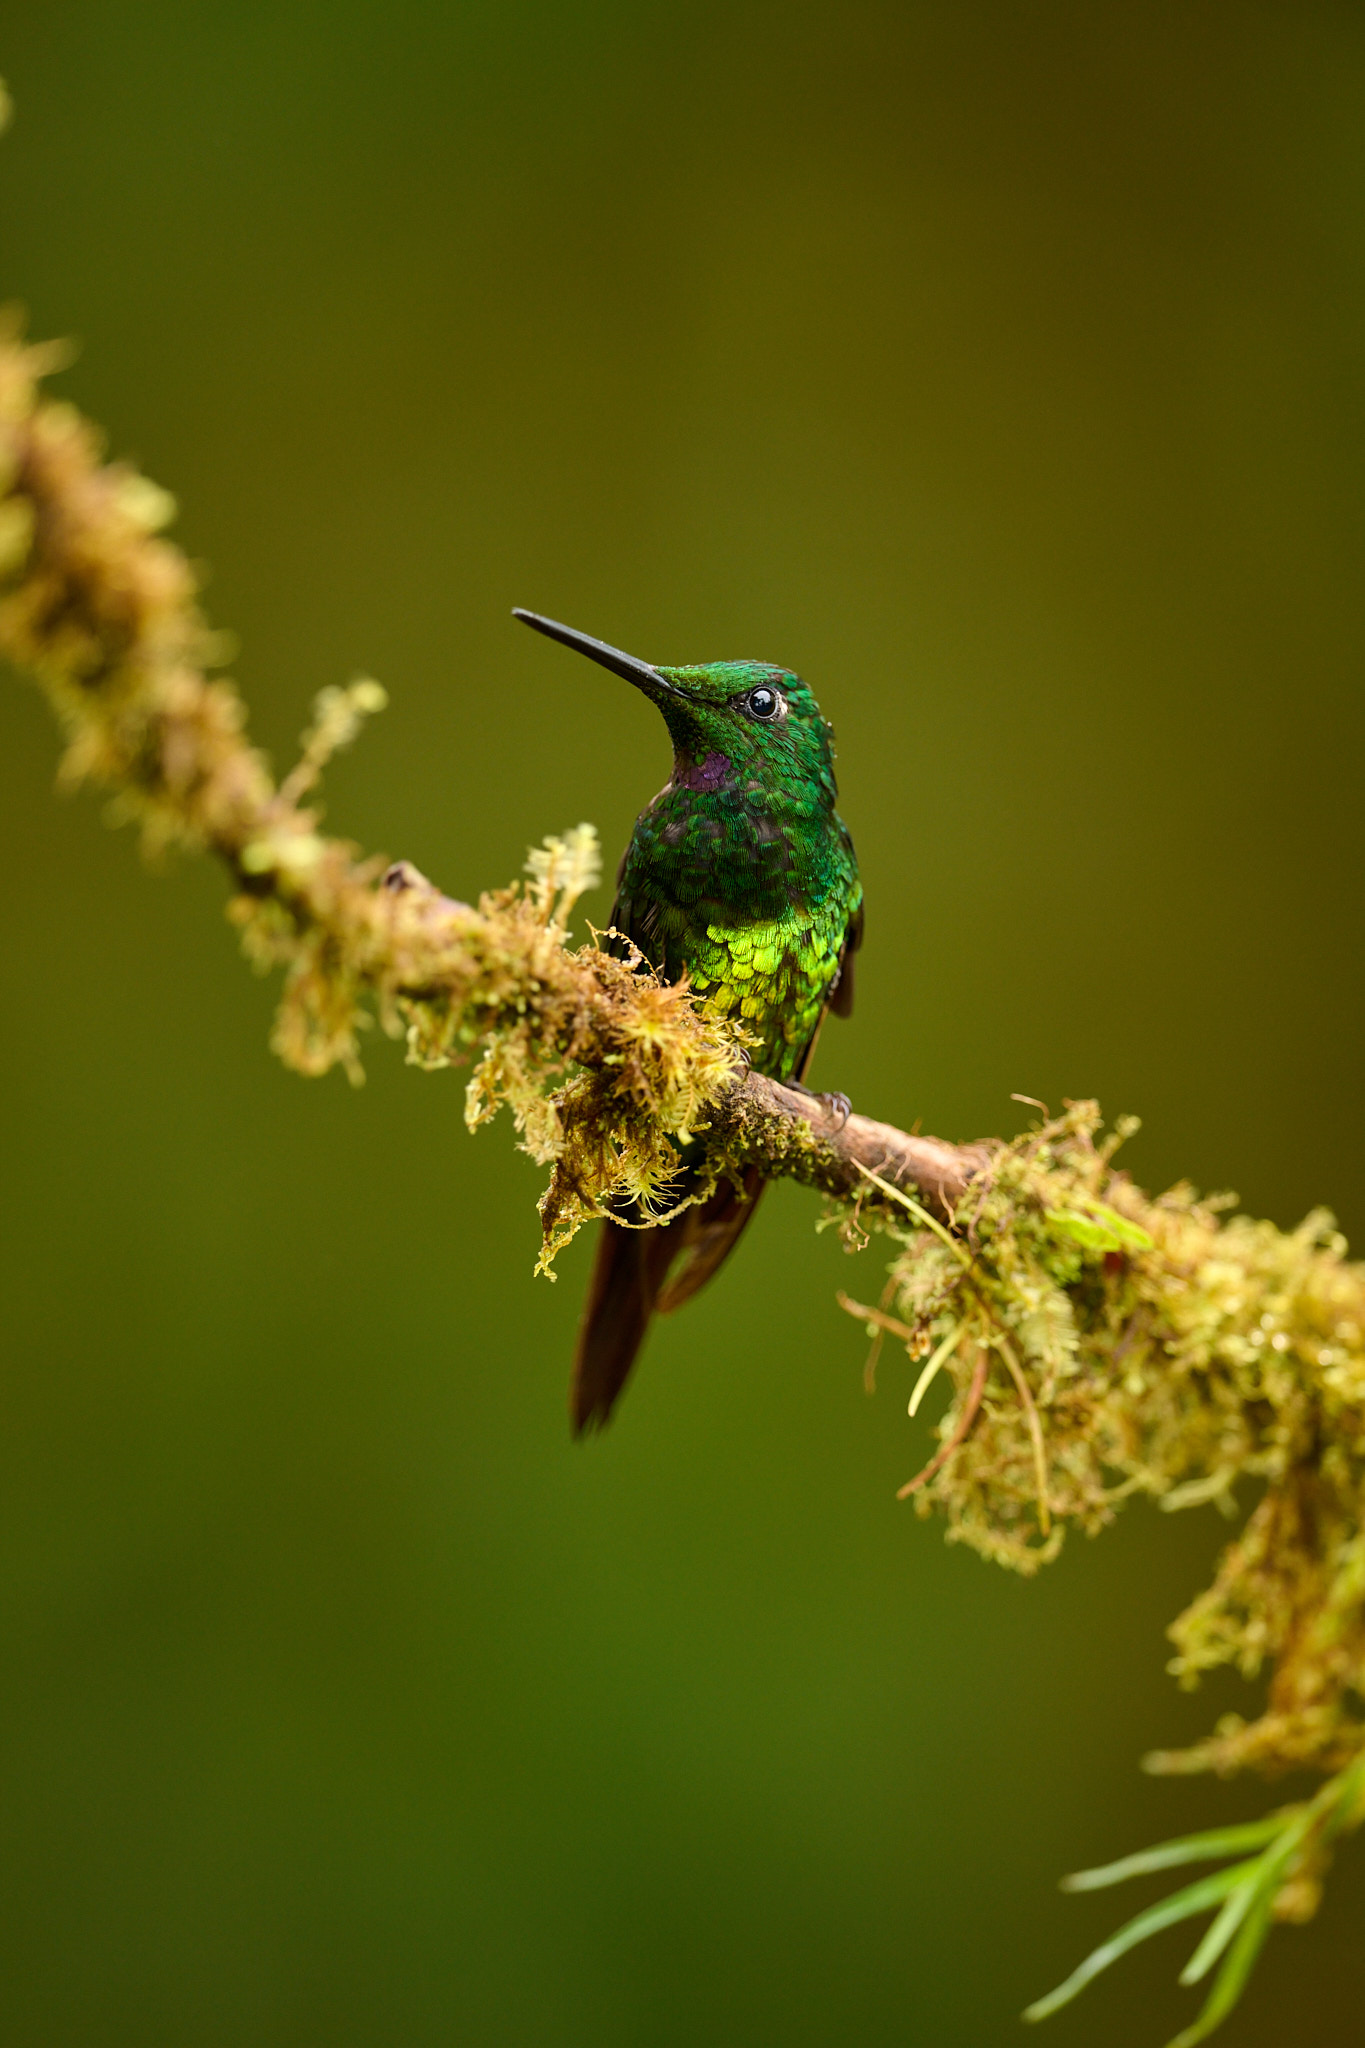
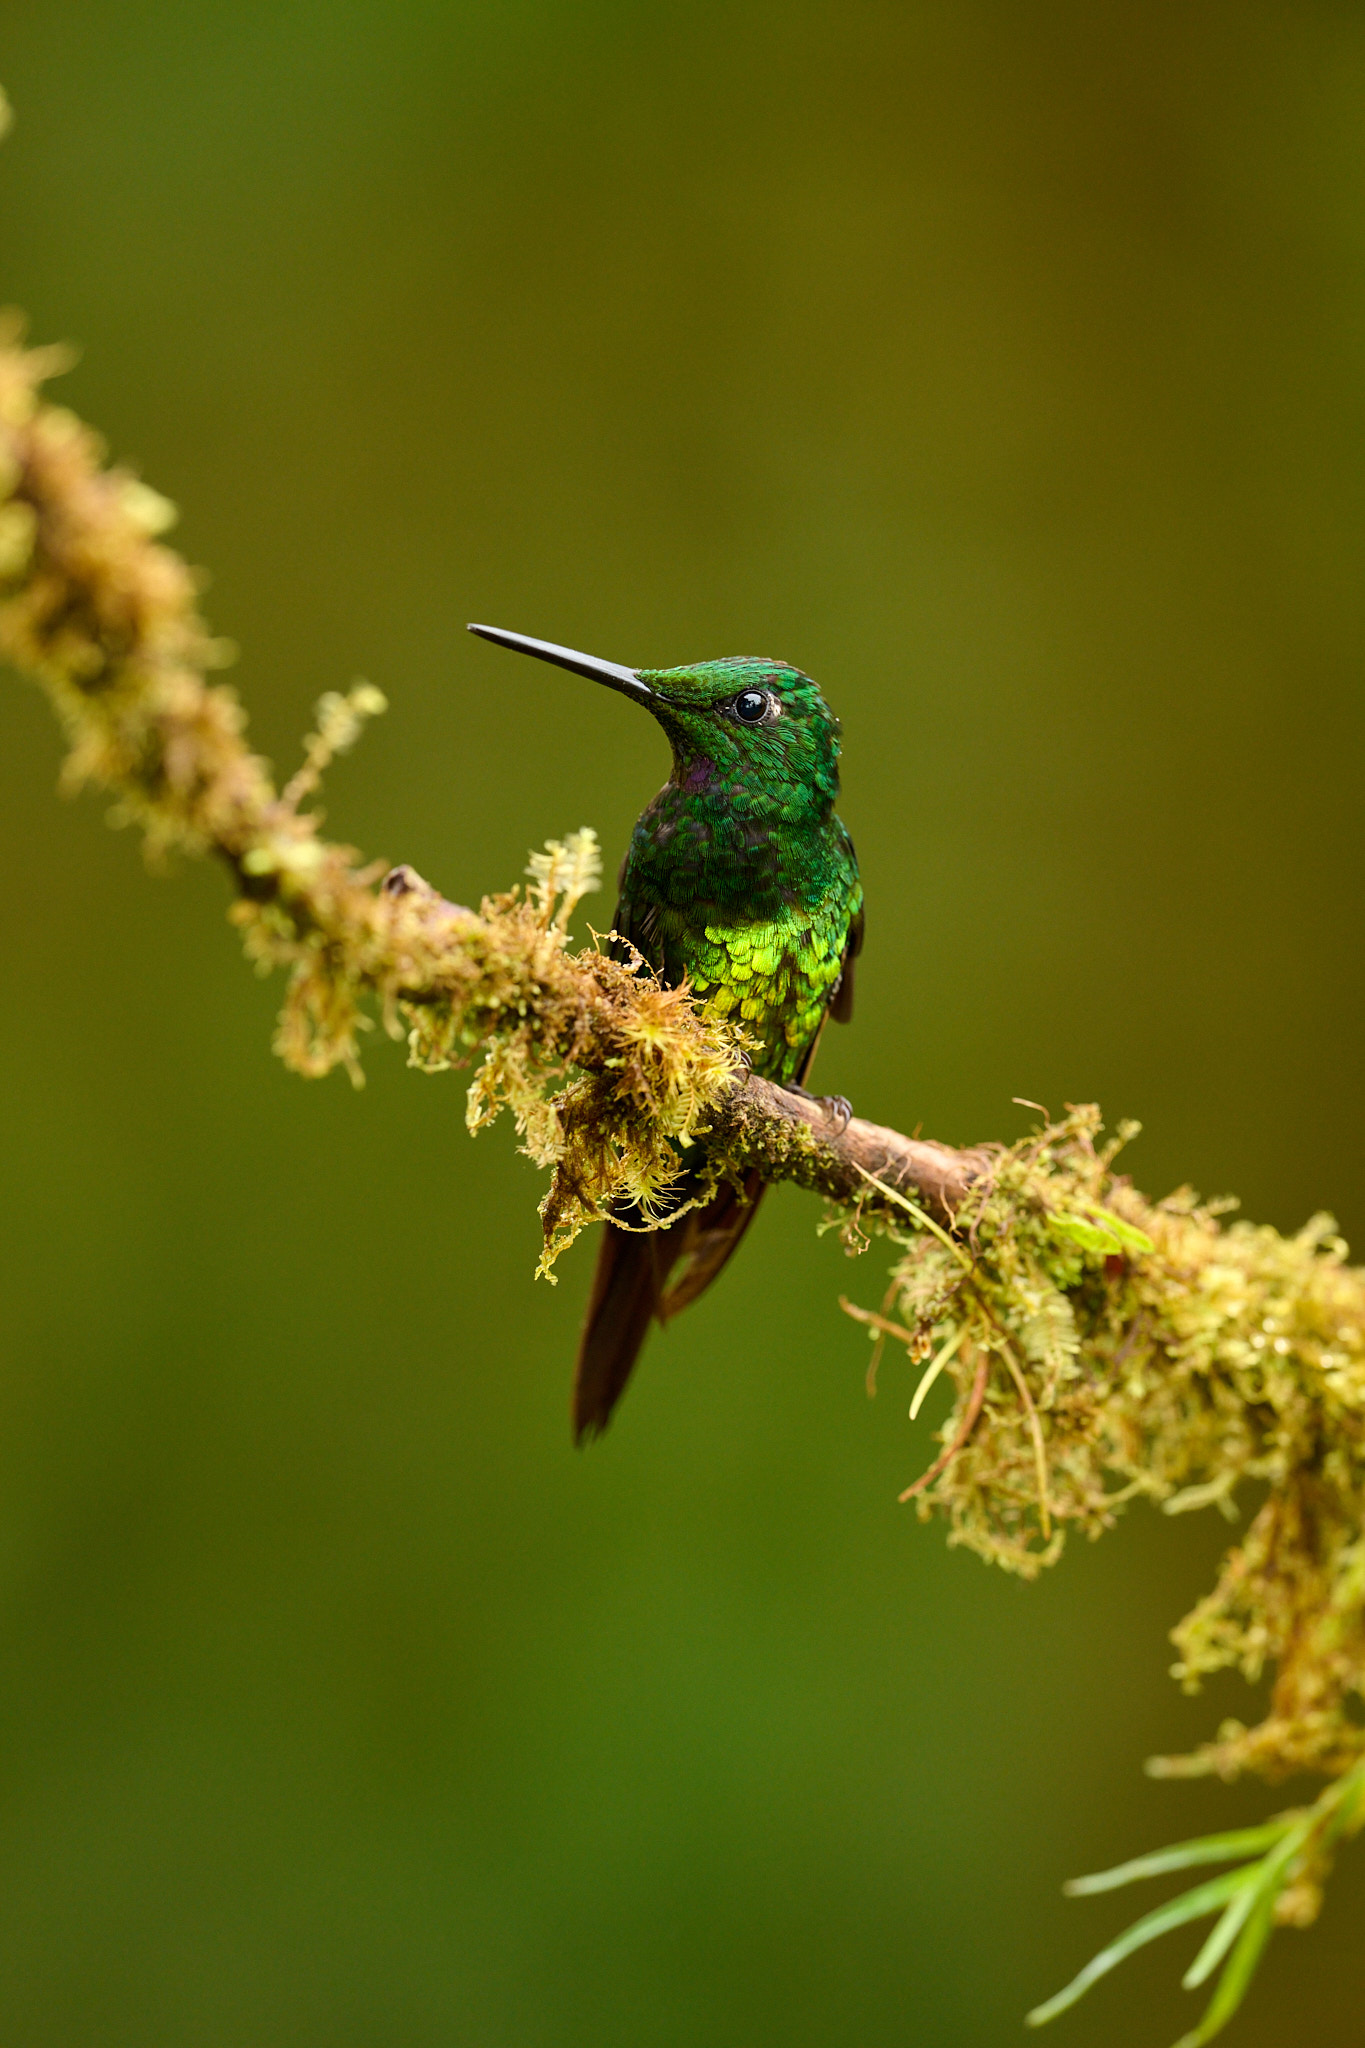
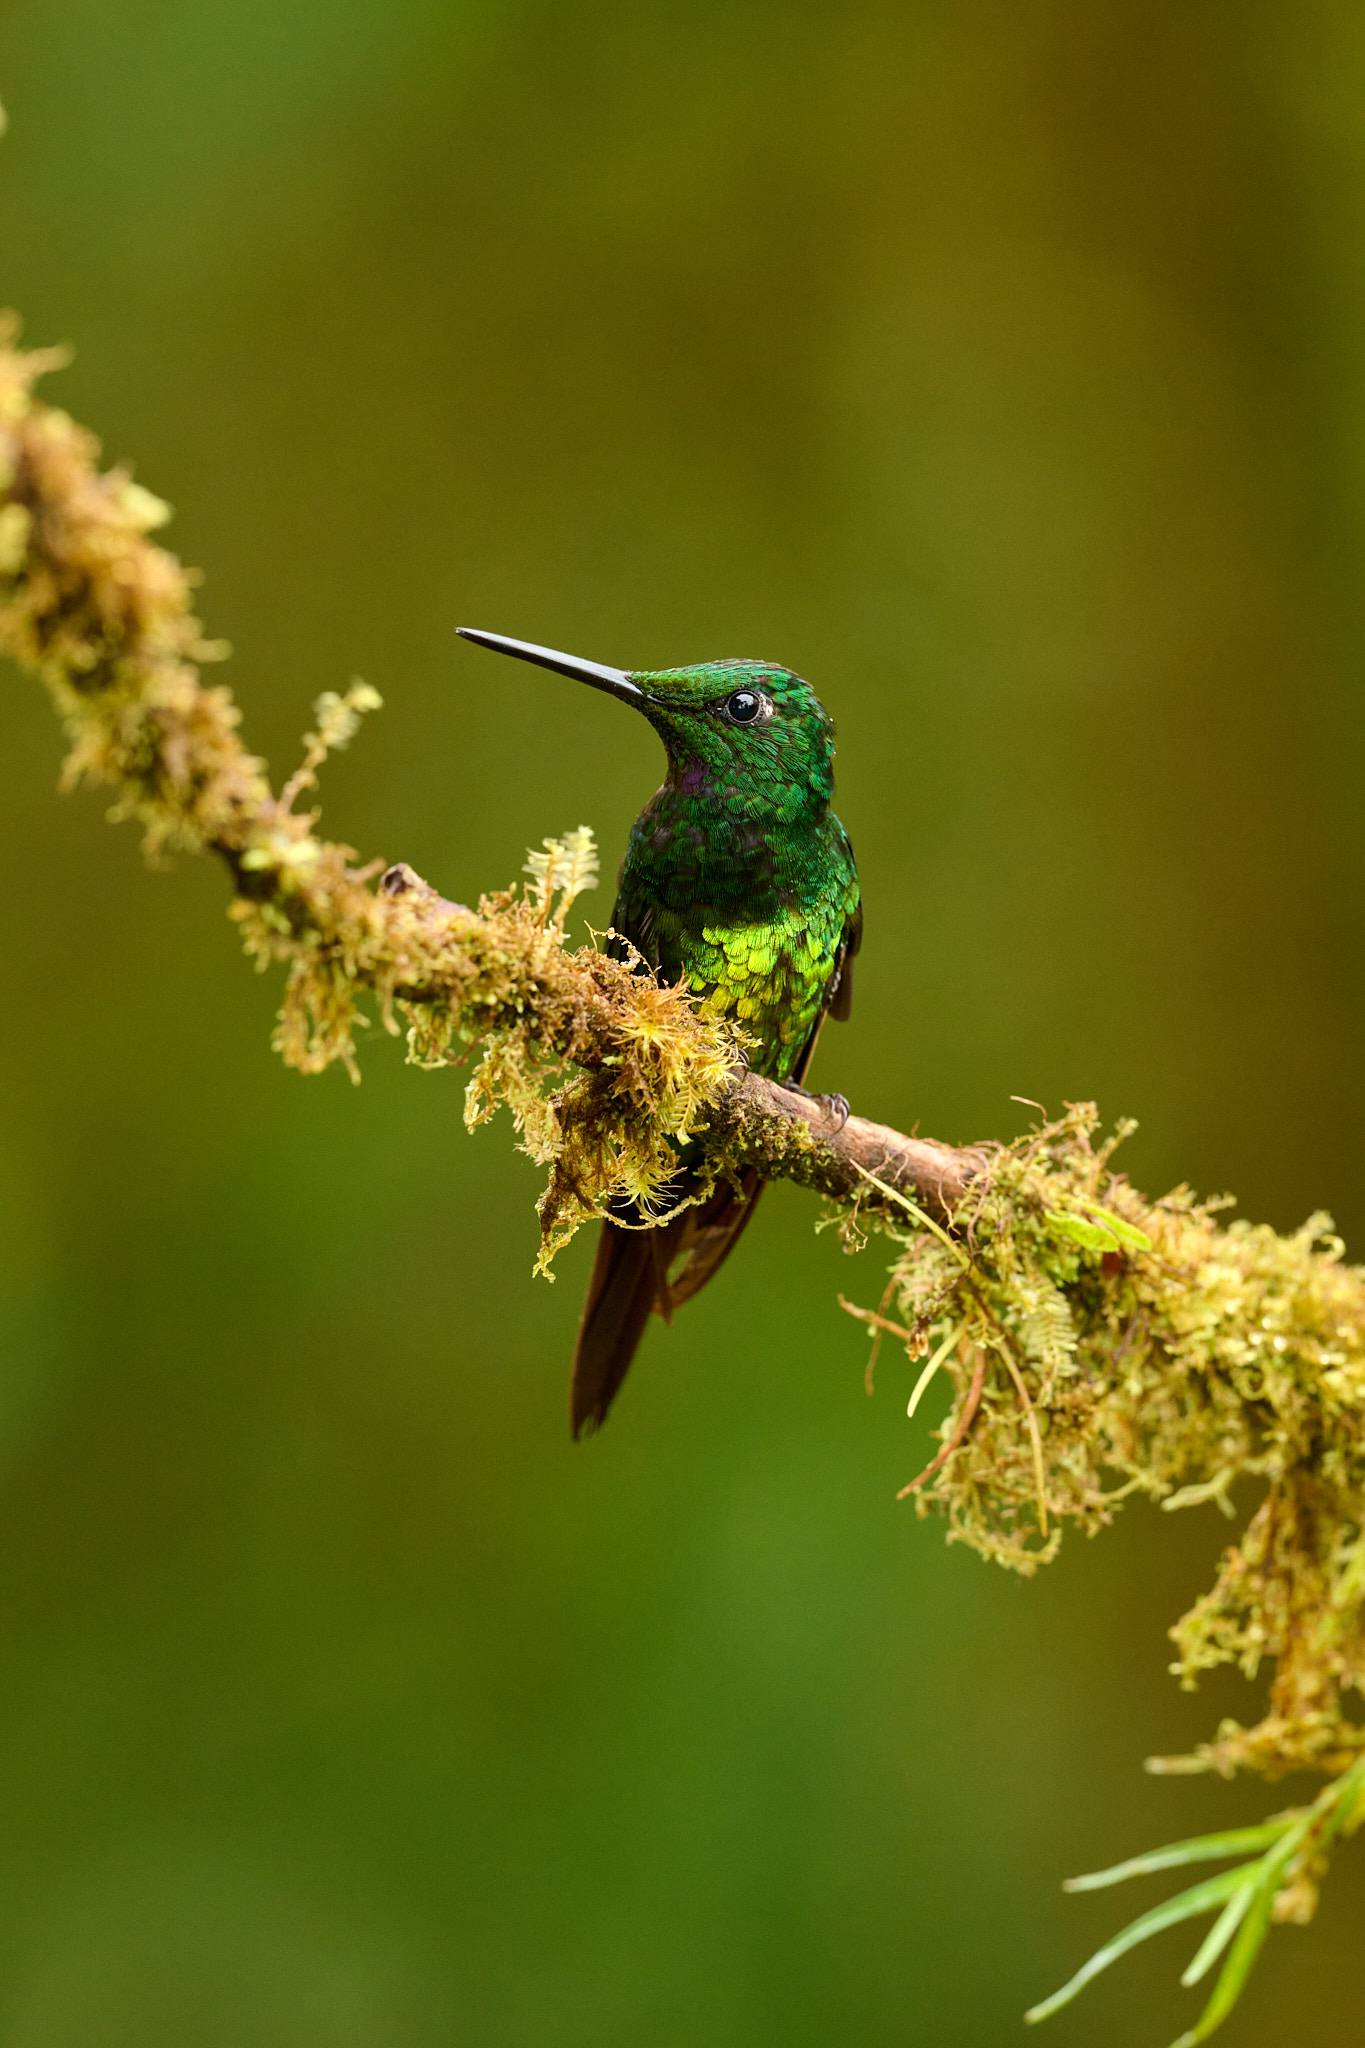
Even an aperture of f/11 isn’t fairly unusable. So in concept, you may take the Canon RF 600mm f/11 IS STM lens. However its minimal focusing distance is 4.5m, which might be limiting for the sort of pictures. Nonetheless, I’m extra involved in regards to the reliability of its autofocus, which must cope with a very small quantity of sunshine.
Conclusion
Within the examples above, I’ve demonstrated a spread of conditions the place your selection of aperture has an vital impact on the picture. And it wasn’t all the time the picture taken broad open at f/4 that I most well-liked. After all, there are conditions the place an aperture of f/4 and even f/2.8 is actually priceless with unique prime telephoto lenses. Nonetheless, even slower lenses with apertures of f/5.6 or a bit slower usually are not out of the query. Particularly for smaller topics, you might must cease down in order for you your topic to have sufficient depth of area.
After all, you’ll nonetheless run into different compromises like autofocus efficiency and the power to shoot in very low gentle. However with the higher autofocus methods and excessive ISO efficiency of immediately’s cameras, plus higher noise discount instruments, these concerns are much less vital than ever.
Lastly, I wish to spotlight that you just don’t get any additional depth of area by utilizing a shorter lens after which getting correspondingly nearer to your topic. In each instances, the magnification of your topic is identical dimension, so something that’s out of focus in a single picture will even be out of focus within the different (though the background will look considerably totally different). In case you want extra depth of area in your topic itself, utilizing a narrower aperture is the very best method. You would additionally again up or zoom out in order that the topic takes up a smaller quantity of house within the picture.
In case you’d prefer to study extra about depth of area, there are a number of sources on Images Life the place you’ll be able to broaden your information. For instance, you’ll be able to learn Understanding Depth of Discipline – A Newbie’s Information by Elizabeth. Then you’ll be able to transfer on to Spencer’s Depth of Discipline Myths: The Largest Misconceptions or Hyperfocal Distance Defined.