When taking a photograph, components like composition, gentle, colour, and topic all play a vital function. In nearly all of those areas, one factor you are able to do to enhance your pictures is to concentrate to your digital camera peak – and particularly, in wildlife pictures, to take footage on the topic’s eye degree.
Typically, this implies decreasing the place of the digital camera to the bottom. By doing so, probably the most notable change is the creation of a lovely out-of-focus space, each in entrance and behind the topic, even at narrower apertures. That is particularly useful when utilizing reasonably priced lenses as a substitute of unique supertelephotos. Additionally, it offers extra alternatives to make eye contact together with your topic, leading to a extra intimate really feel to the photograph.
On this article, I’ll clarify why taking wildlife pictures at eye degree is so helpful in enhancing the influence of your pictures. I will even talk about tips on how to overcome some sensible difficulties in taking footage from such low vantage factors.
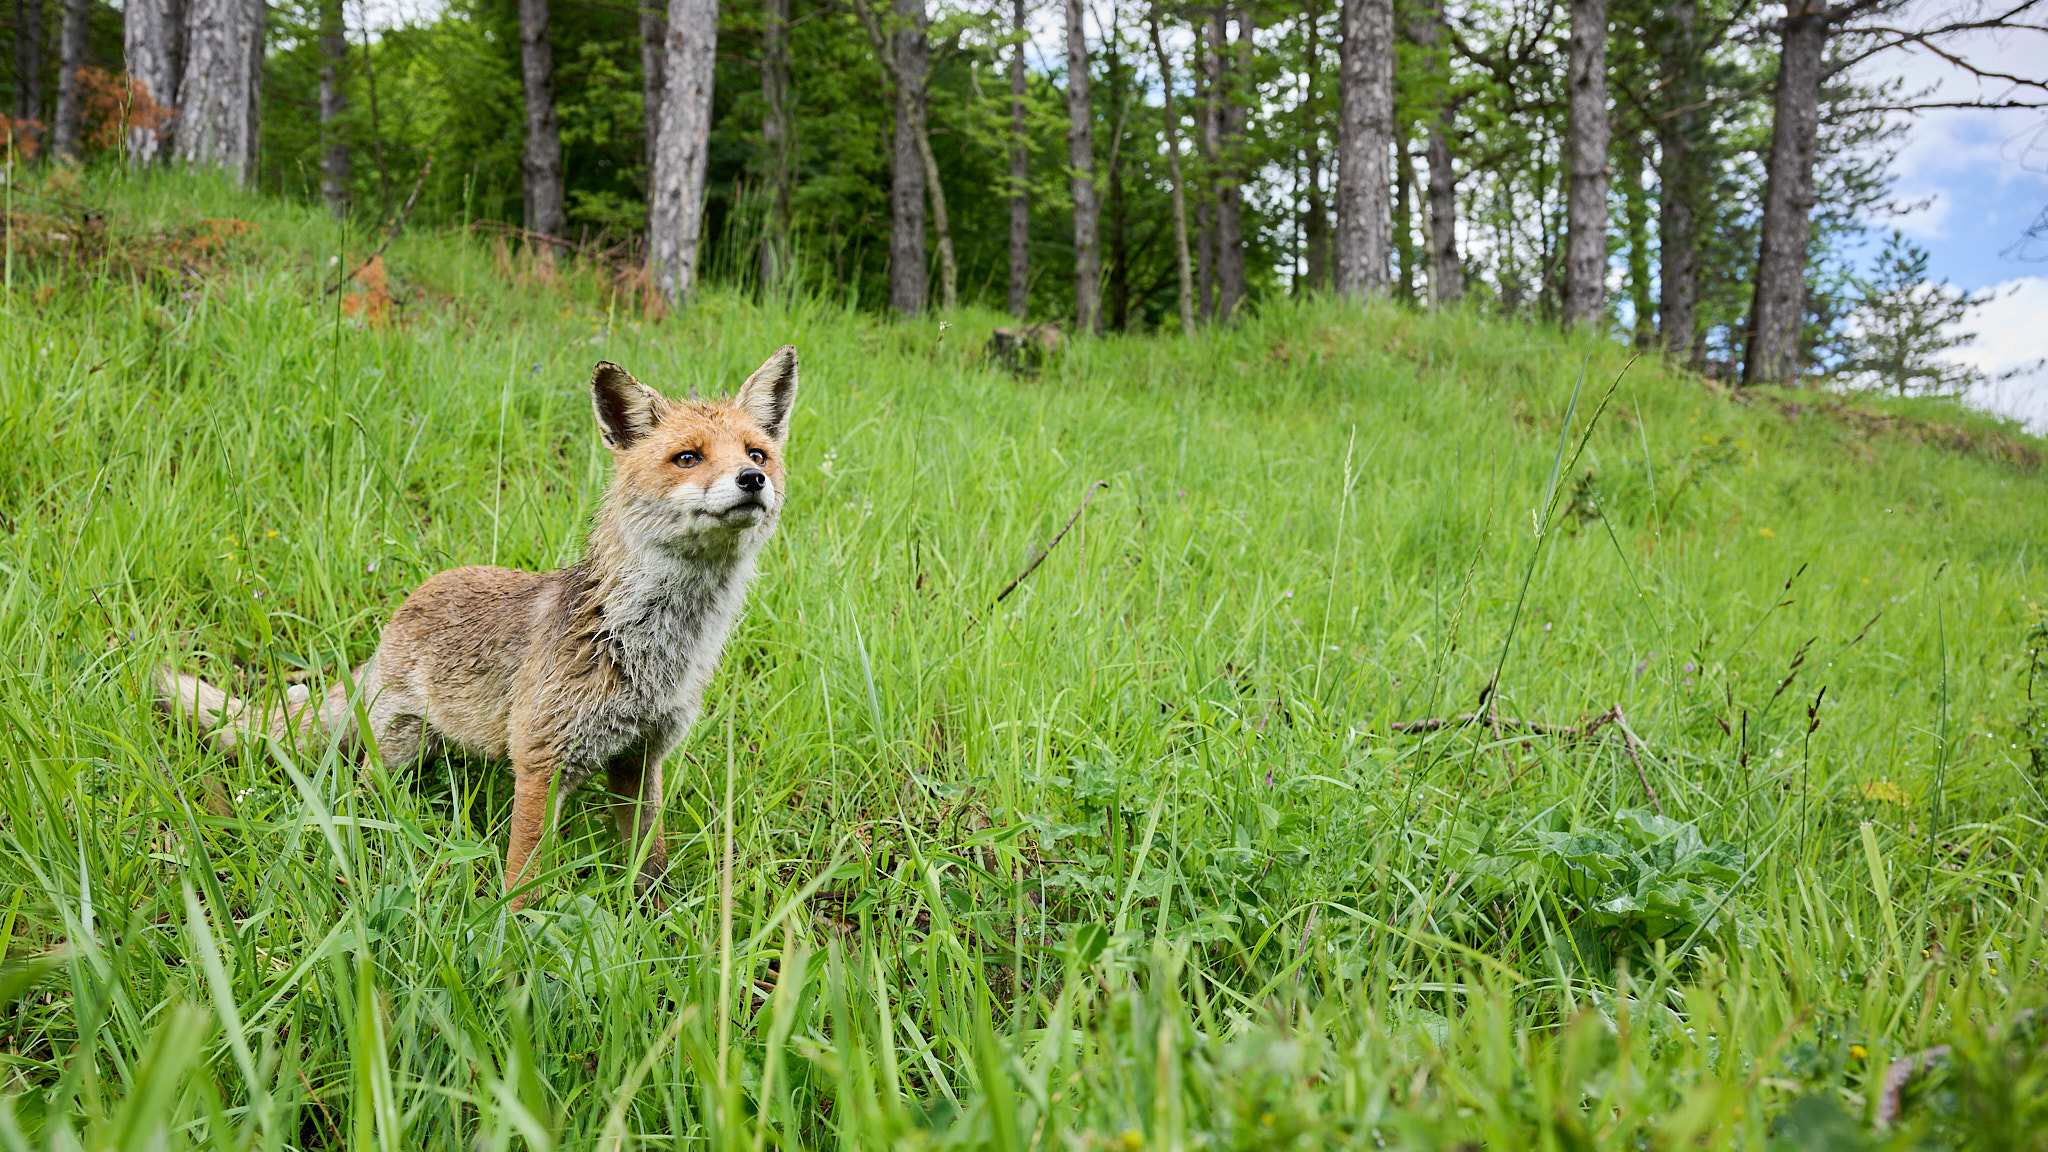
Let’s begin with an instance. I took the next two footage a couple of minutes aside with the identical lens, focal size, and aperture.
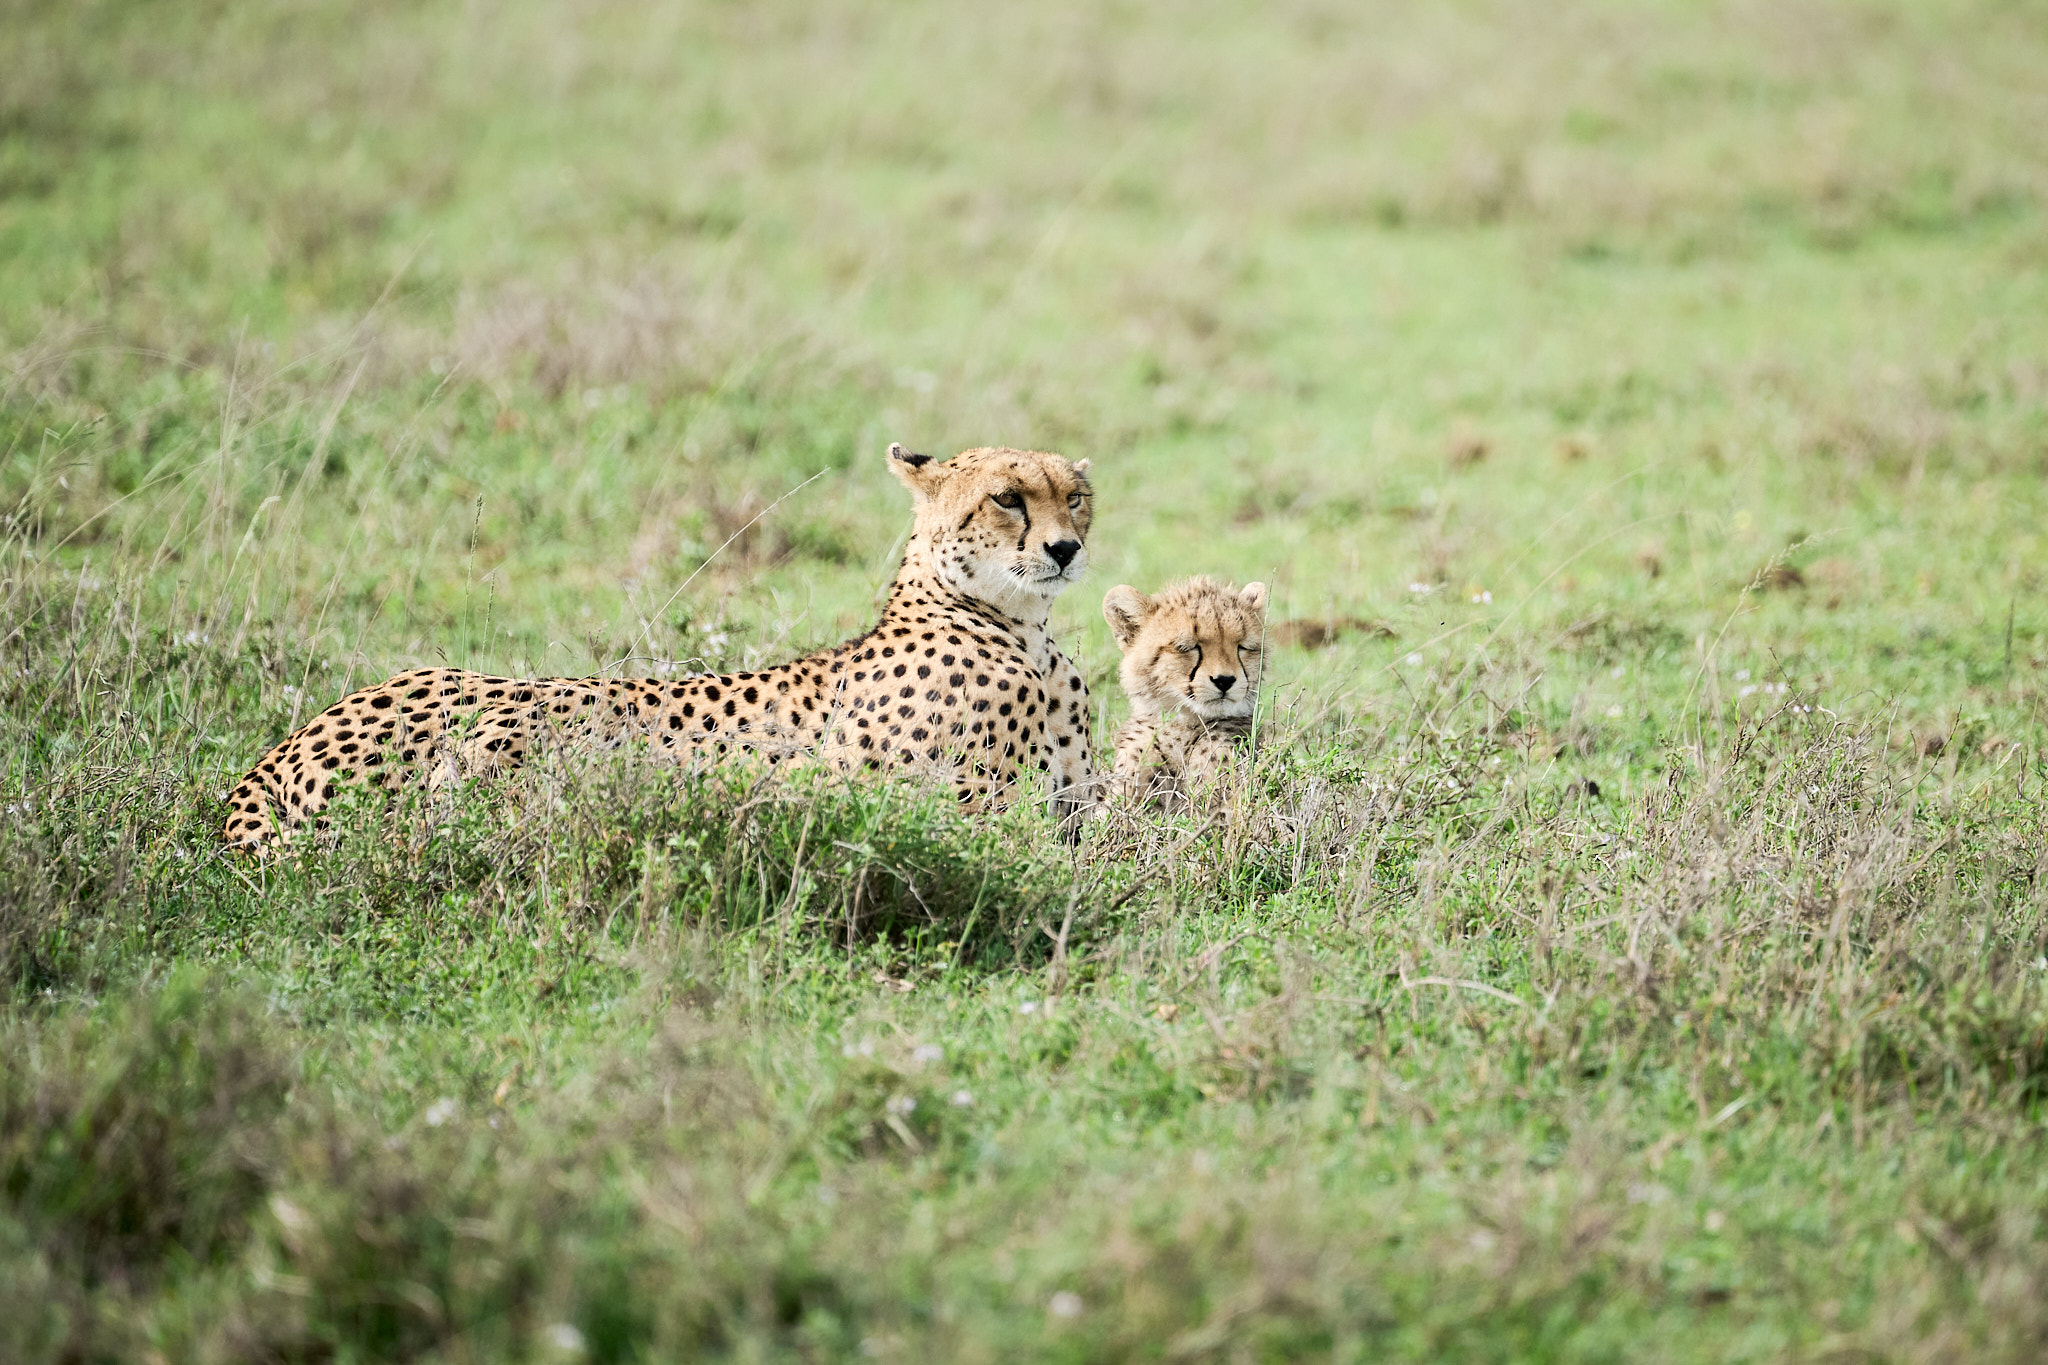
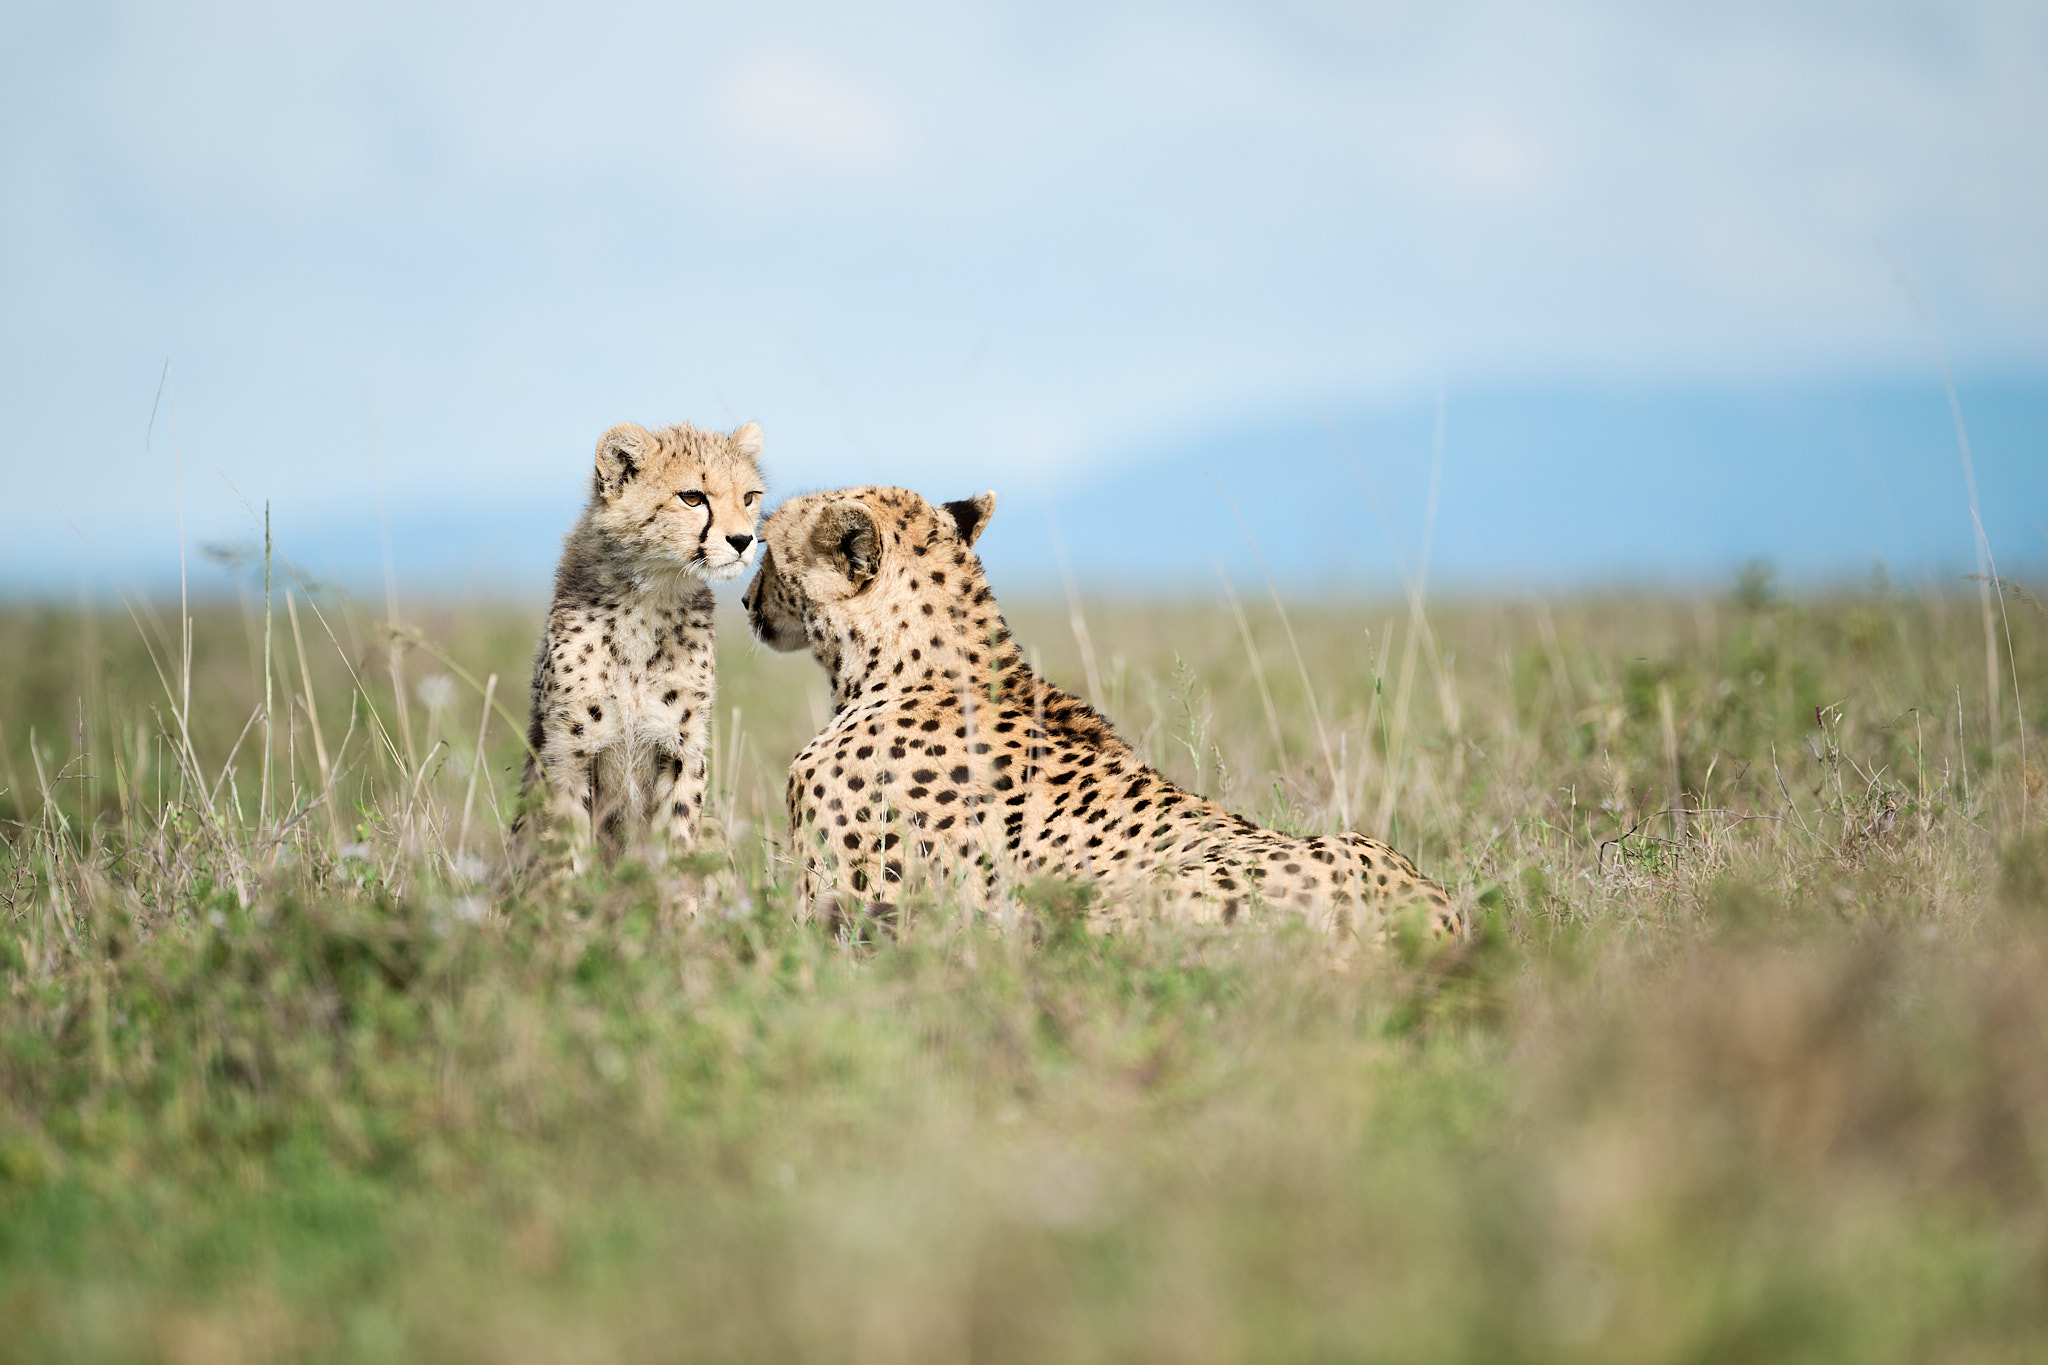
I believe these two photographs above absolutely illustrate the distinction between the traditional “safari” shot, taken from the automobile window, and what you may get by inserting the lens near the bottom. The second photograph feels extra placing to me and helps the topic really stand out.
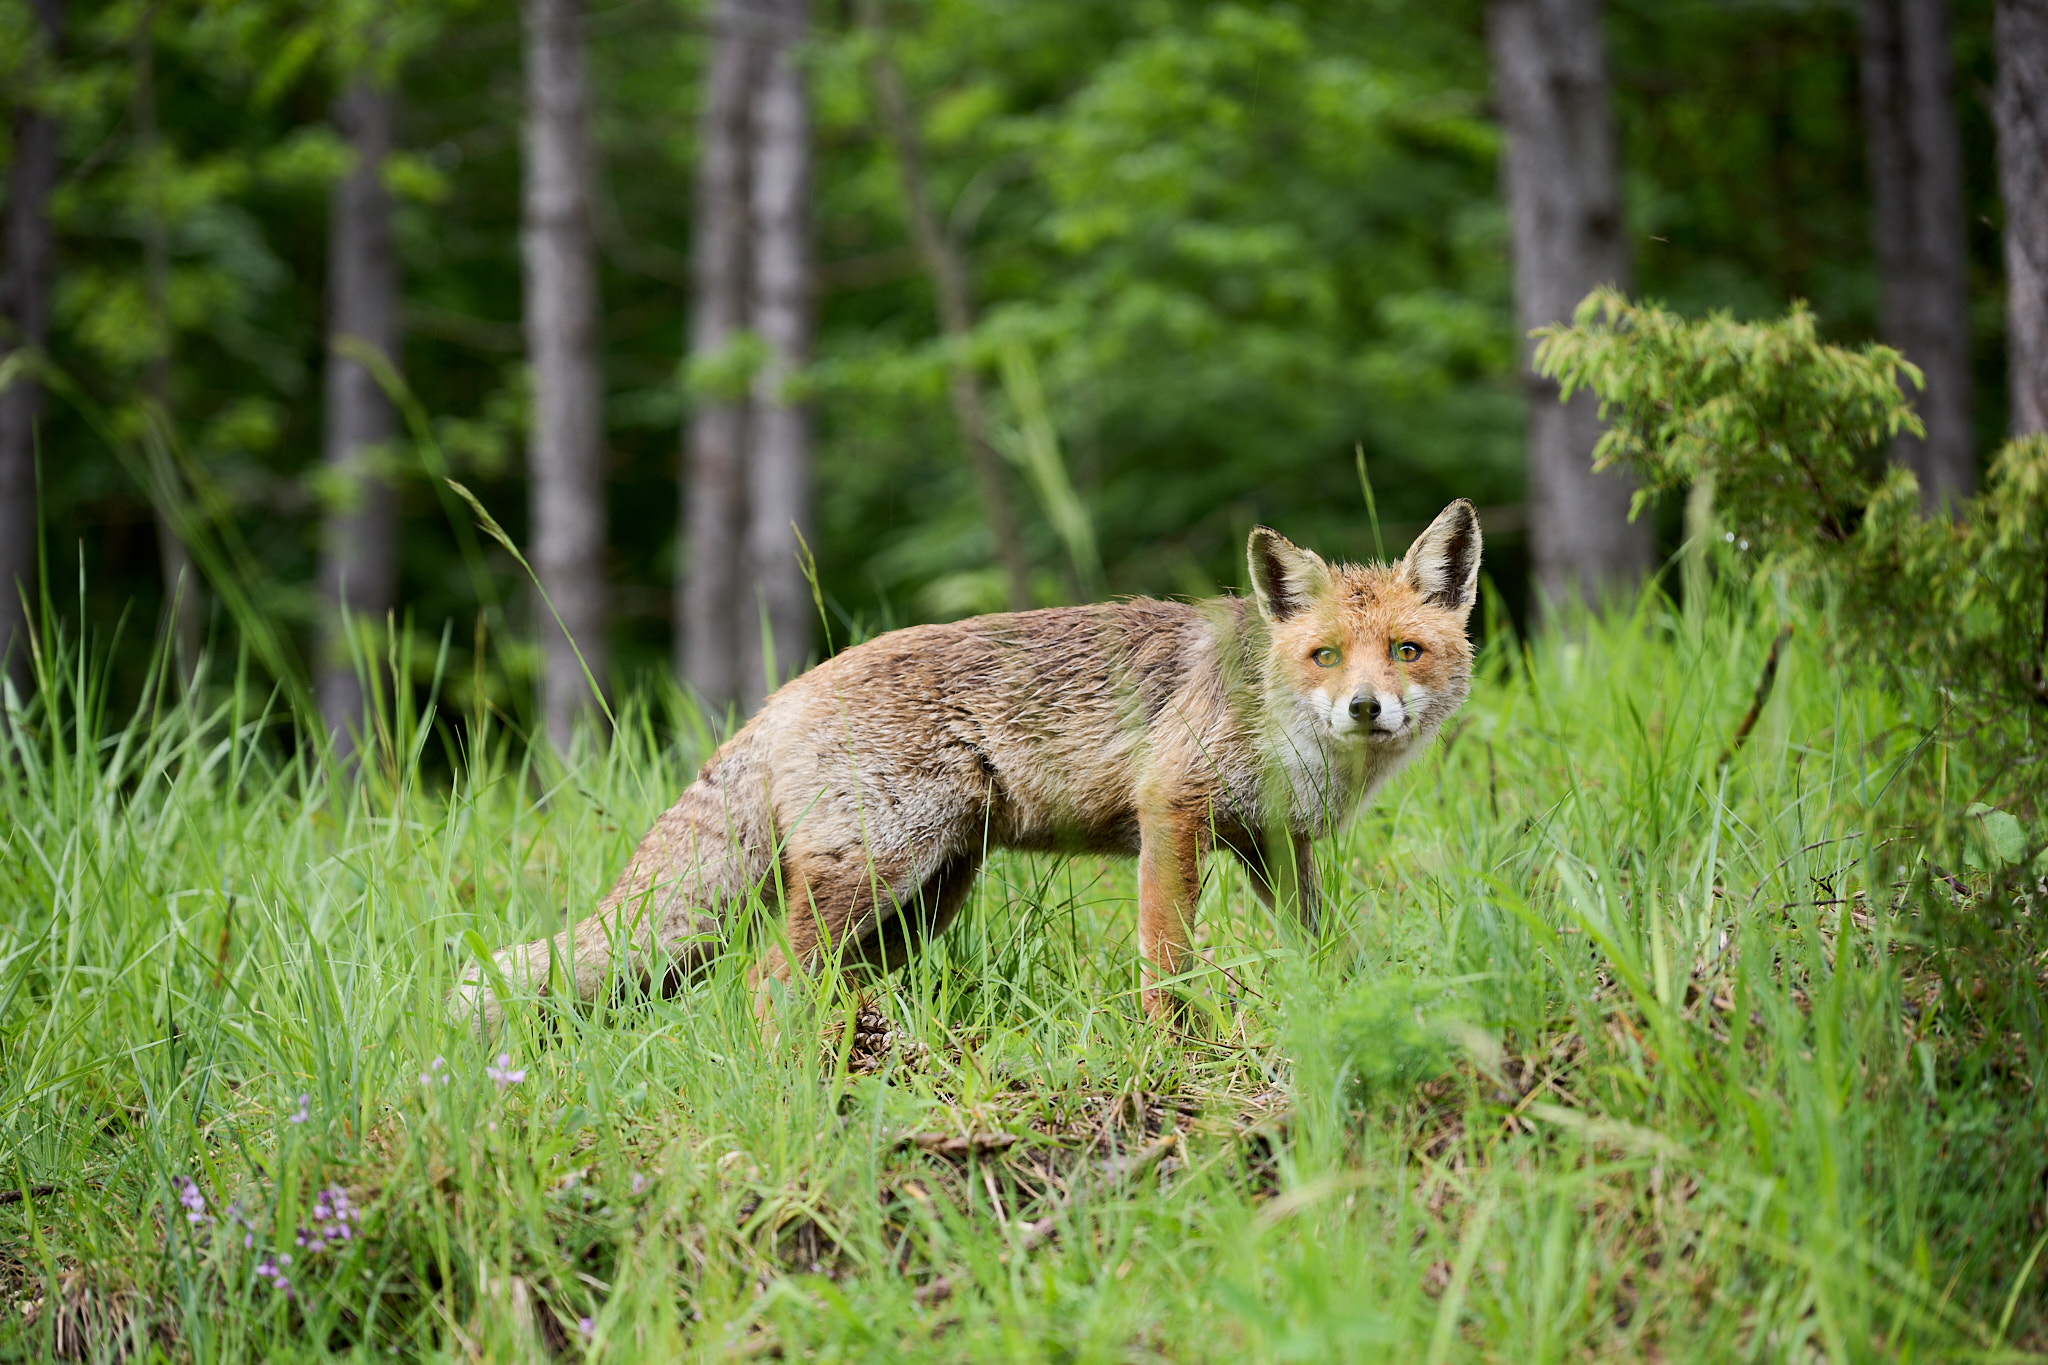
Right here’s one other instance. I’ve discovered that mendacity down or kneeling makes it simpler to keep away from scaring or stressing animals delicate to human presence. Maybe they see us as smaller and fewer intimidating once we aren’t standing over them.
Taking footage on this manner is usually simpler for the photographer when utilizing heavy cameras or lenses with no huge tripod, or not utilizing a tripod in any respect. For those who plan to do ground-level pictures all alongside, you possibly can convey alongside a miniature tripod and lower down the quantity of weight you carry.
I’ve just a few suggestions to assist make this sort of pictures simpler. First, hold a rubbish bag in your backpack to make use of when sitting down and the land is moist or muddy. Bean luggage, small tripods, and particular instruments equivalent to floor pods are all helpful working this fashion. However don’t underestimate the usefulness of merely utilizing your backpack as an enormous bean bag.
If mendacity on the bottom or kneeling is uncomfortable for you, a light-weight tenting chair or stool may help you get an analogous perspective whereas permitting you to sit down comfortably.

For those who’re undecided about kneeling or not, think about using knee pads, equivalent to these designed for gardening or sports activities. They could be a lot extra comfy than the naked floor and permit you to get to an eye-level place extra simply. I discover it comfy to kneel with one knee on the bottom and the opposite up, with my elbow resting on my knee and supporting the hand-held lens. However completely different photographers will discover their very own methods to get the digital camera to floor degree extra comfortably. Check out just a few completely different prospects at dwelling earlier than you follow it within the area.
When I’ve the chance, I like combining working on the topic’s eye degree with using a large angle lens. It’s attainable solely with very assured topics, however it’s price attempting in the suitable circumstances. It actually is best than taking an eye-level wildlife photograph trying downward with a large angle lens.
My recommendation is to make use of a zoom equivalent to a 24-120mm, shifting slowly and taking the time wanted to align the topic and the foreground. If every little thing comes collectively, the outcomes might be distinctive offering a really private and intimate view.
Generally expertise helps the photographer. I took the next photograph of a guillemot by leaning out of the Zodiac boat with my chest resting on the air-filled tube, with the digital camera just a few inches from the water! I used the display tilted upwards to border the shot. If in case you have a digital camera with a tilting LCD and speedy autofocus capabilities (or bird-eye autofocus) in dwell view, related pictures could also be simpler than you’ll assume.
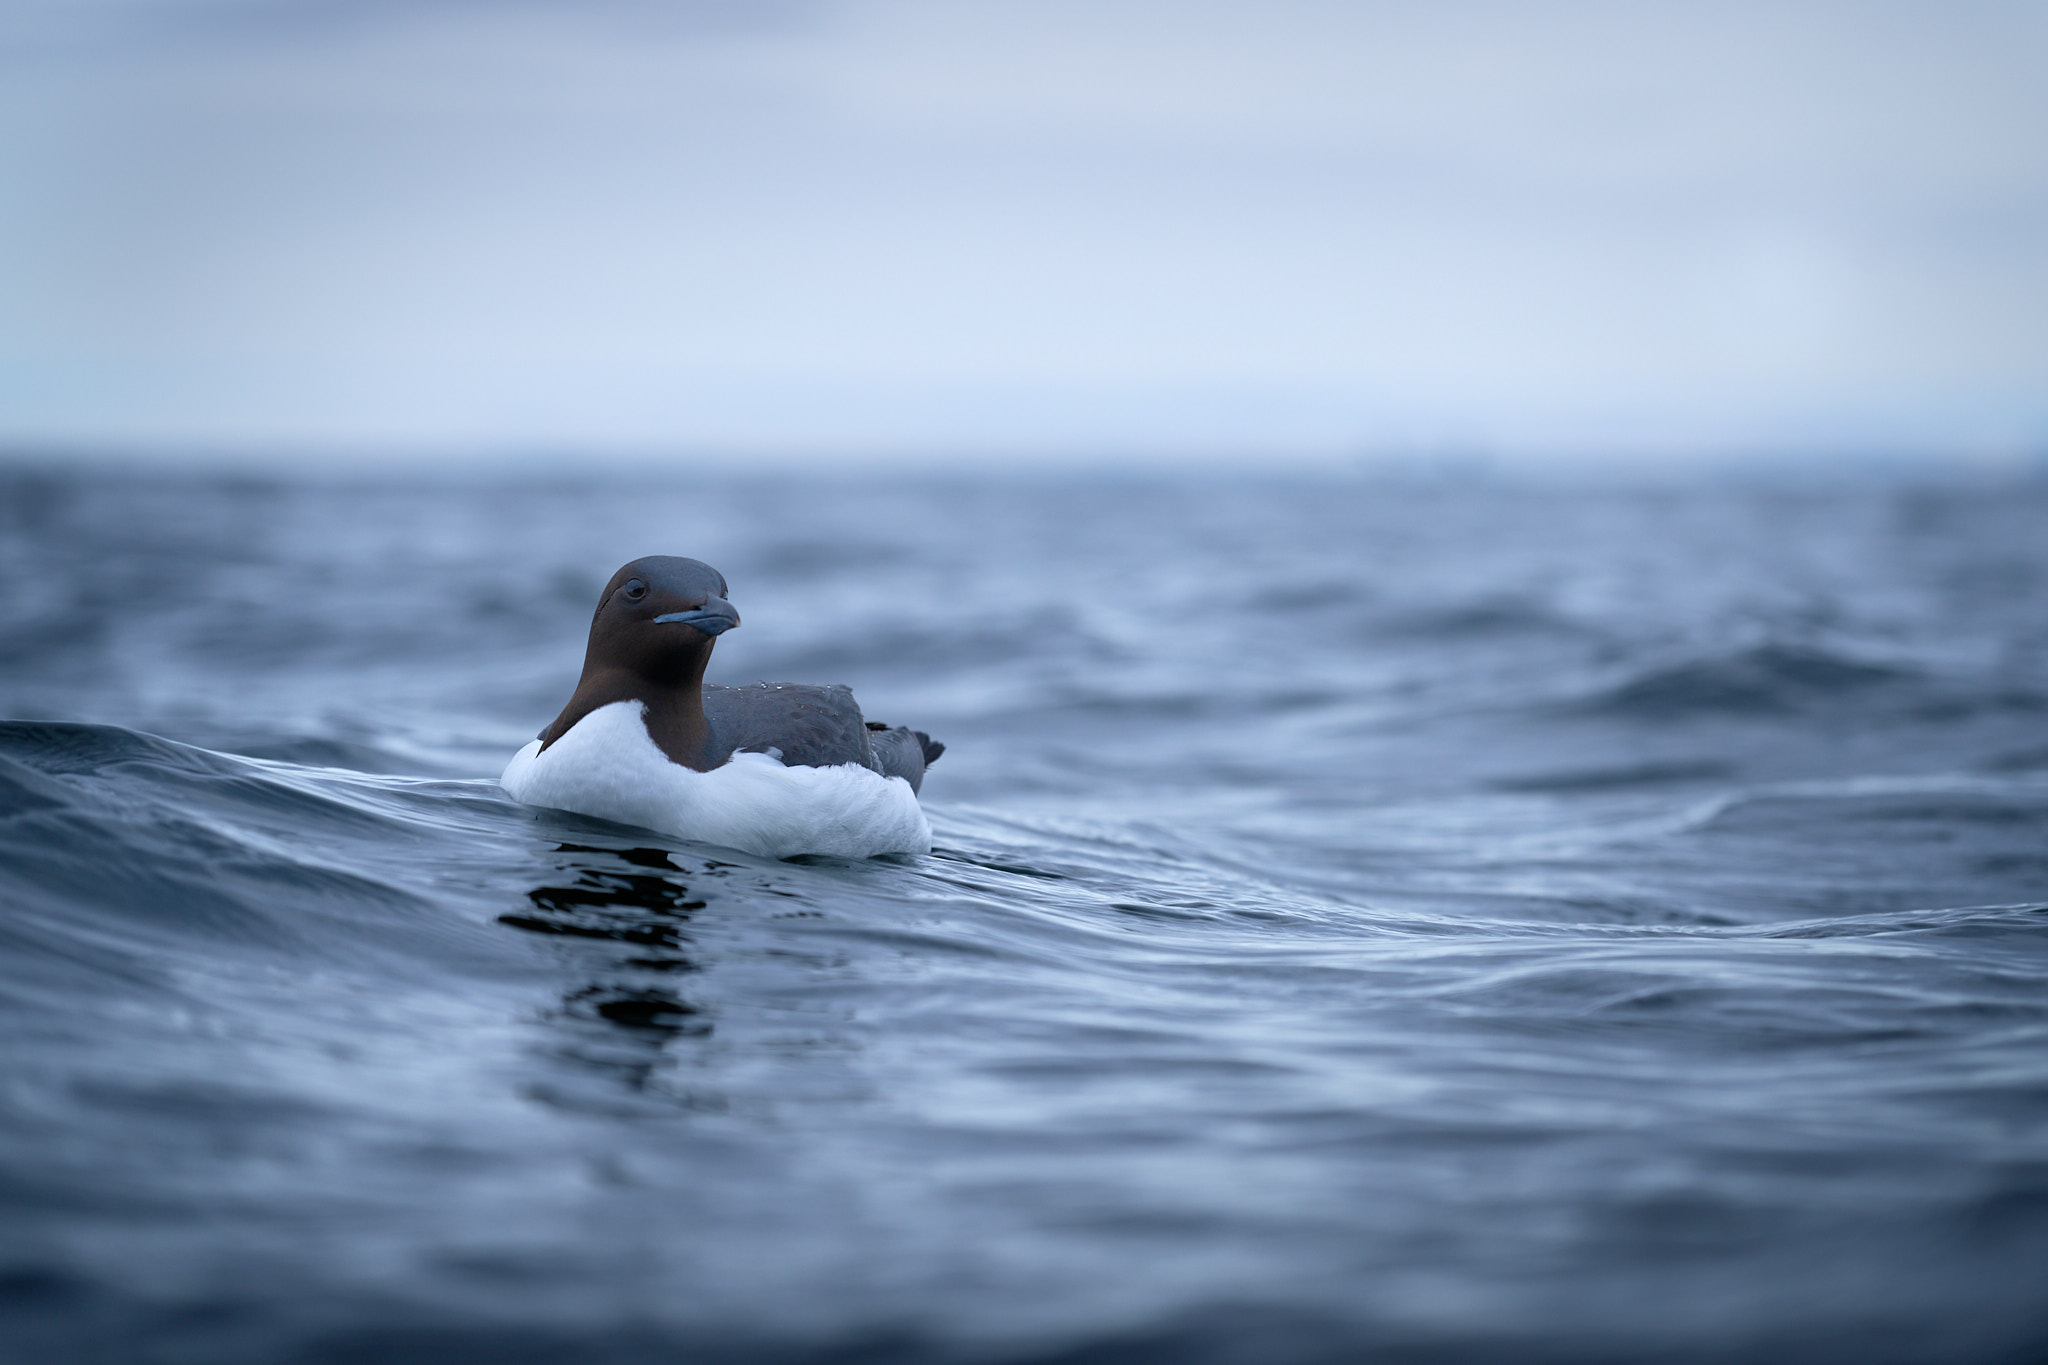
Not that I like to recommend leaning out of a ship to take a photograph, however once I did, I made positive that my digital camera was not in danger. One hand was beneath the lens and will really feel the water if I received too low. The opposite was working the shutter button with my thumb. And the digital camera was round my neck in order that it wasn’t liable to dropping into the water (not less than, as lengthy I didn’t fall in)!
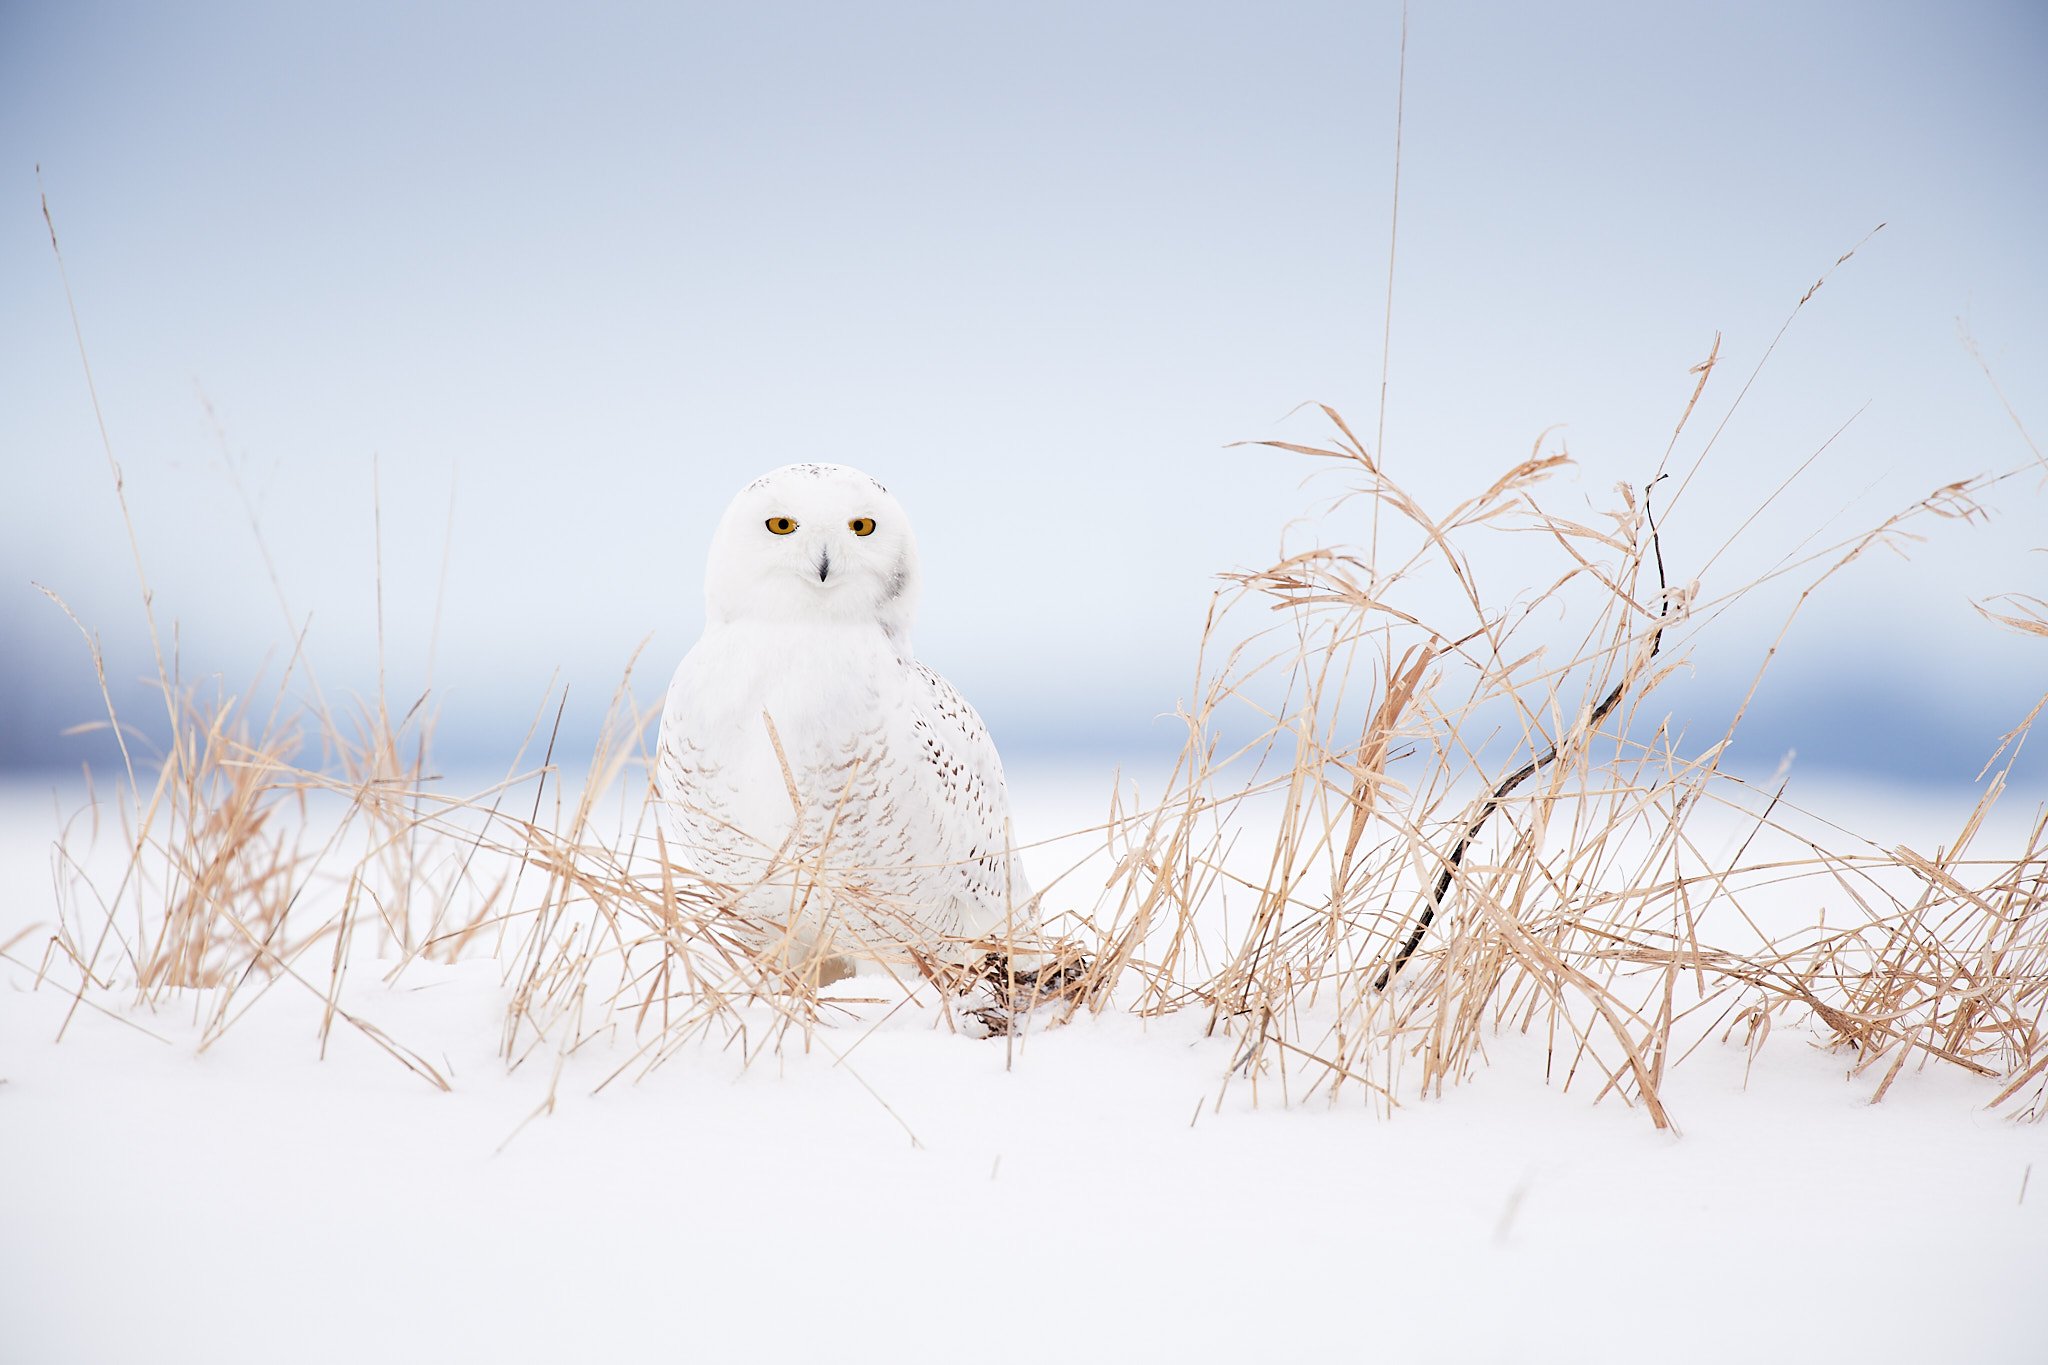
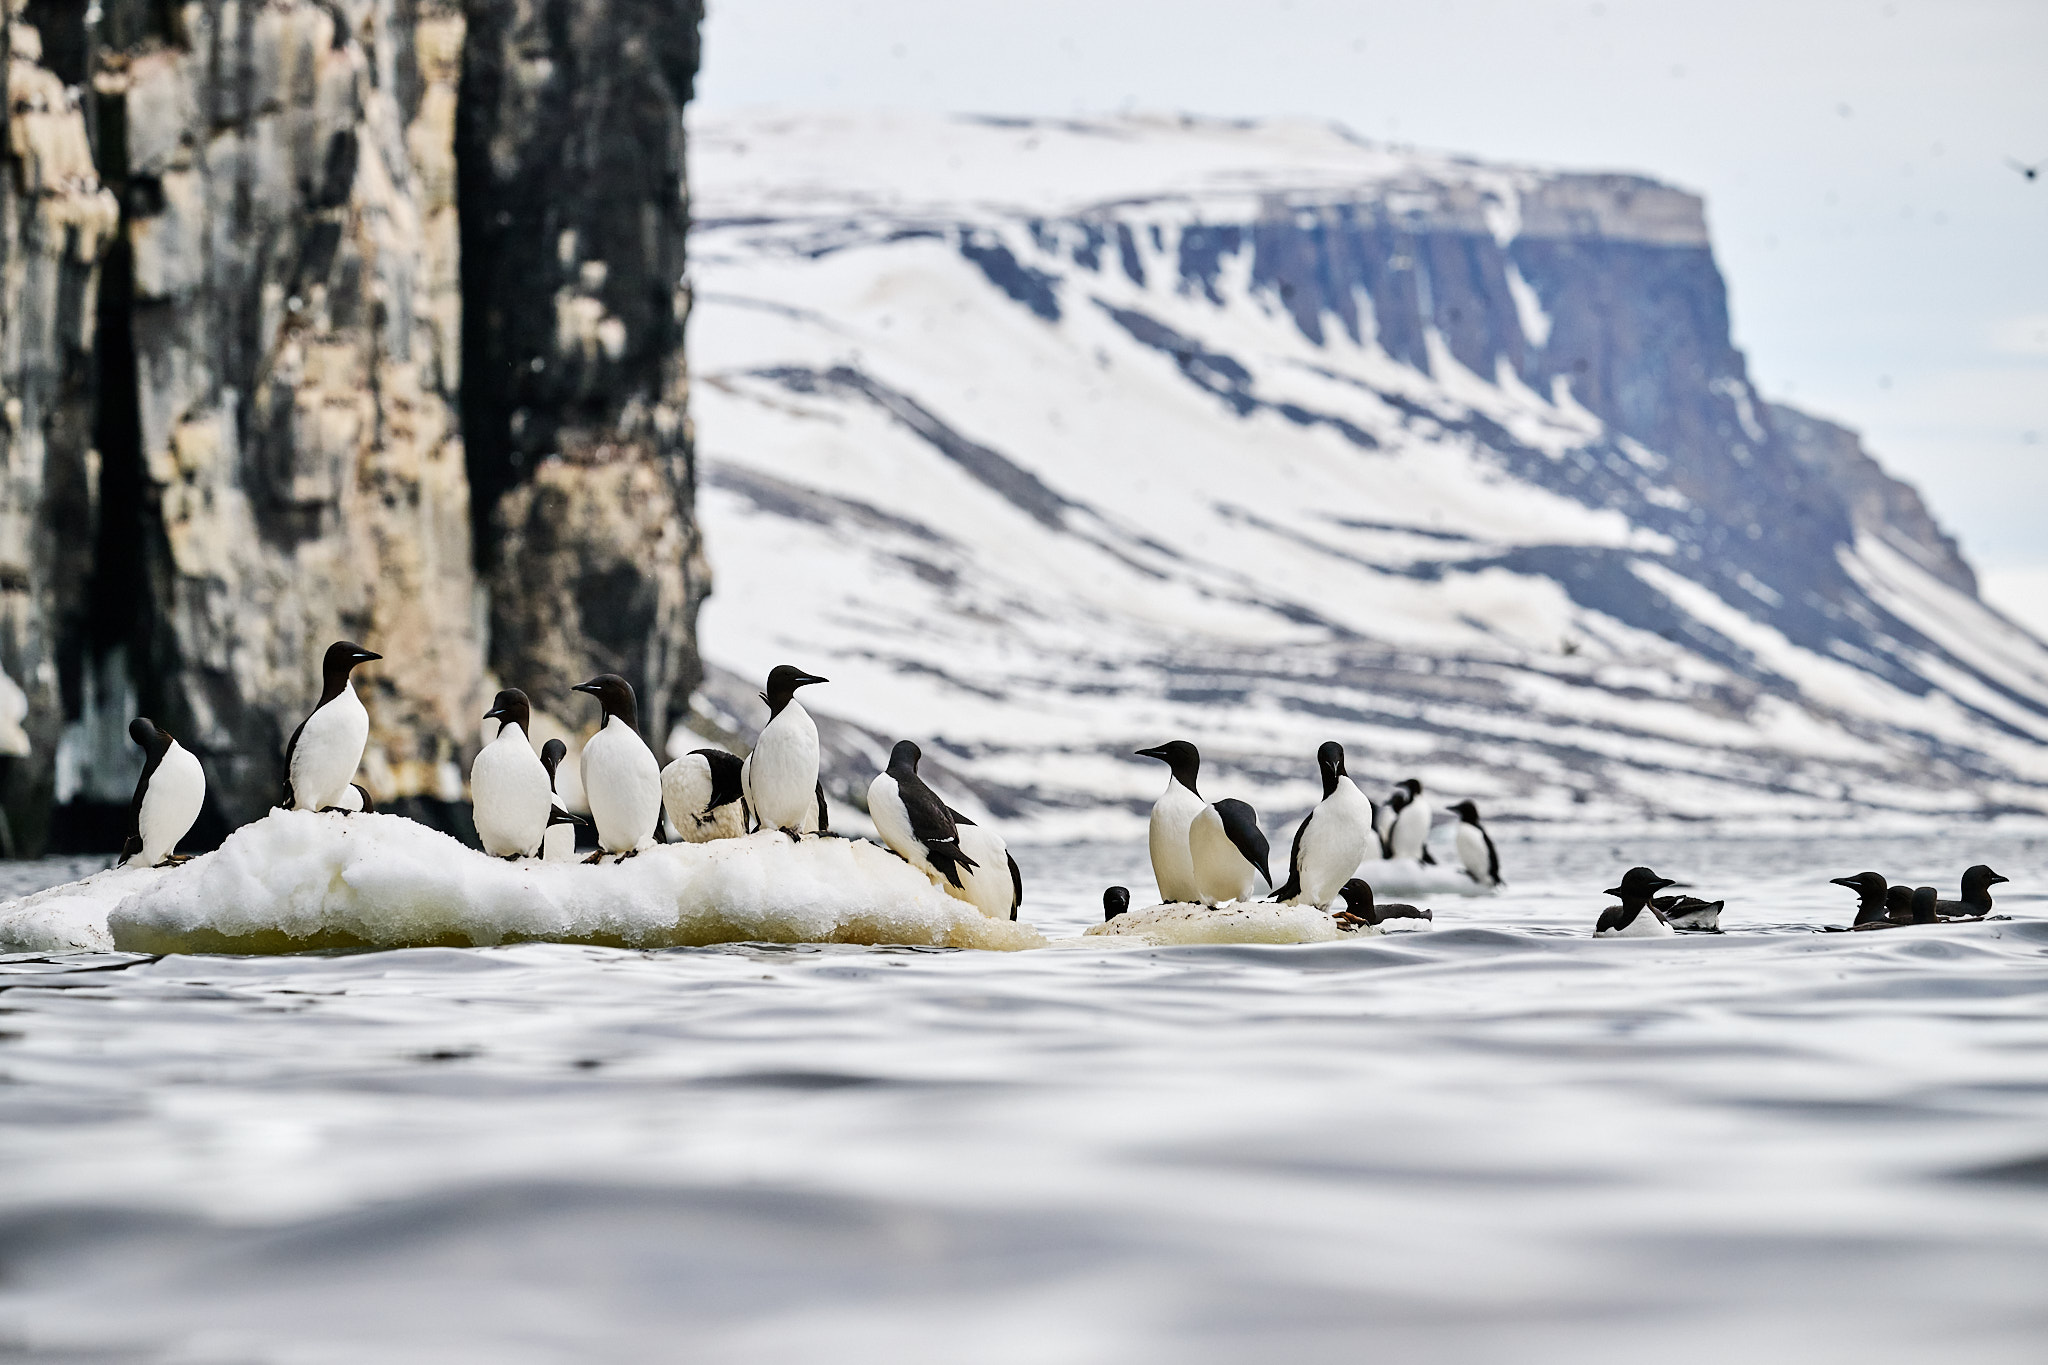
Thus far, I’ve proven some examples the place a low digital camera place provides you higher out-of-focus backgrounds. However you may as well use this system if you wish to make an “animalscape” the place you showcase the themes inside their surroundings. The outcome will nonetheless be an uncommon standpoint, capable of give a brisker look to your photographs and telling a very fascinating story.
Returning to the primary two photographs on this article, of the cheetah pair, I confronted an additional problem I didn’t point out but. I took these pictures throughout a safari in Serengeti from a 4×4 Jeep, and it wasn’t an choice to put the digital camera close to the bottom. So how did I get such a low perspective? I used a monopod screwed into the lens tripod mount to get the digital camera out of the window and low to the bottom. That’s how vital I take into account ground-level wildlife pictures to be!
Taking pictures this fashion was not simple, however utilizing the distant shutter app on my cellphone allowed me to border, focus, and shoot. I additionally relied fairly closely on my digital camera’s eye-recognition autofocus system. Lastly, in case you can enlist somebody’s assist to carry the smartphone for you whilst you transfer the digital camera, it makes issues so much simpler.
I need to finish this text with a ultimate photograph that represents a counterexample. Generally, getting low isn’t helpful. That’s true of the next photograph, portraying a few Frequent Merganser. A decrease place would have prevented me from capturing the reflection of the timber on the lake, parts that make this {photograph} extra visually compelling.
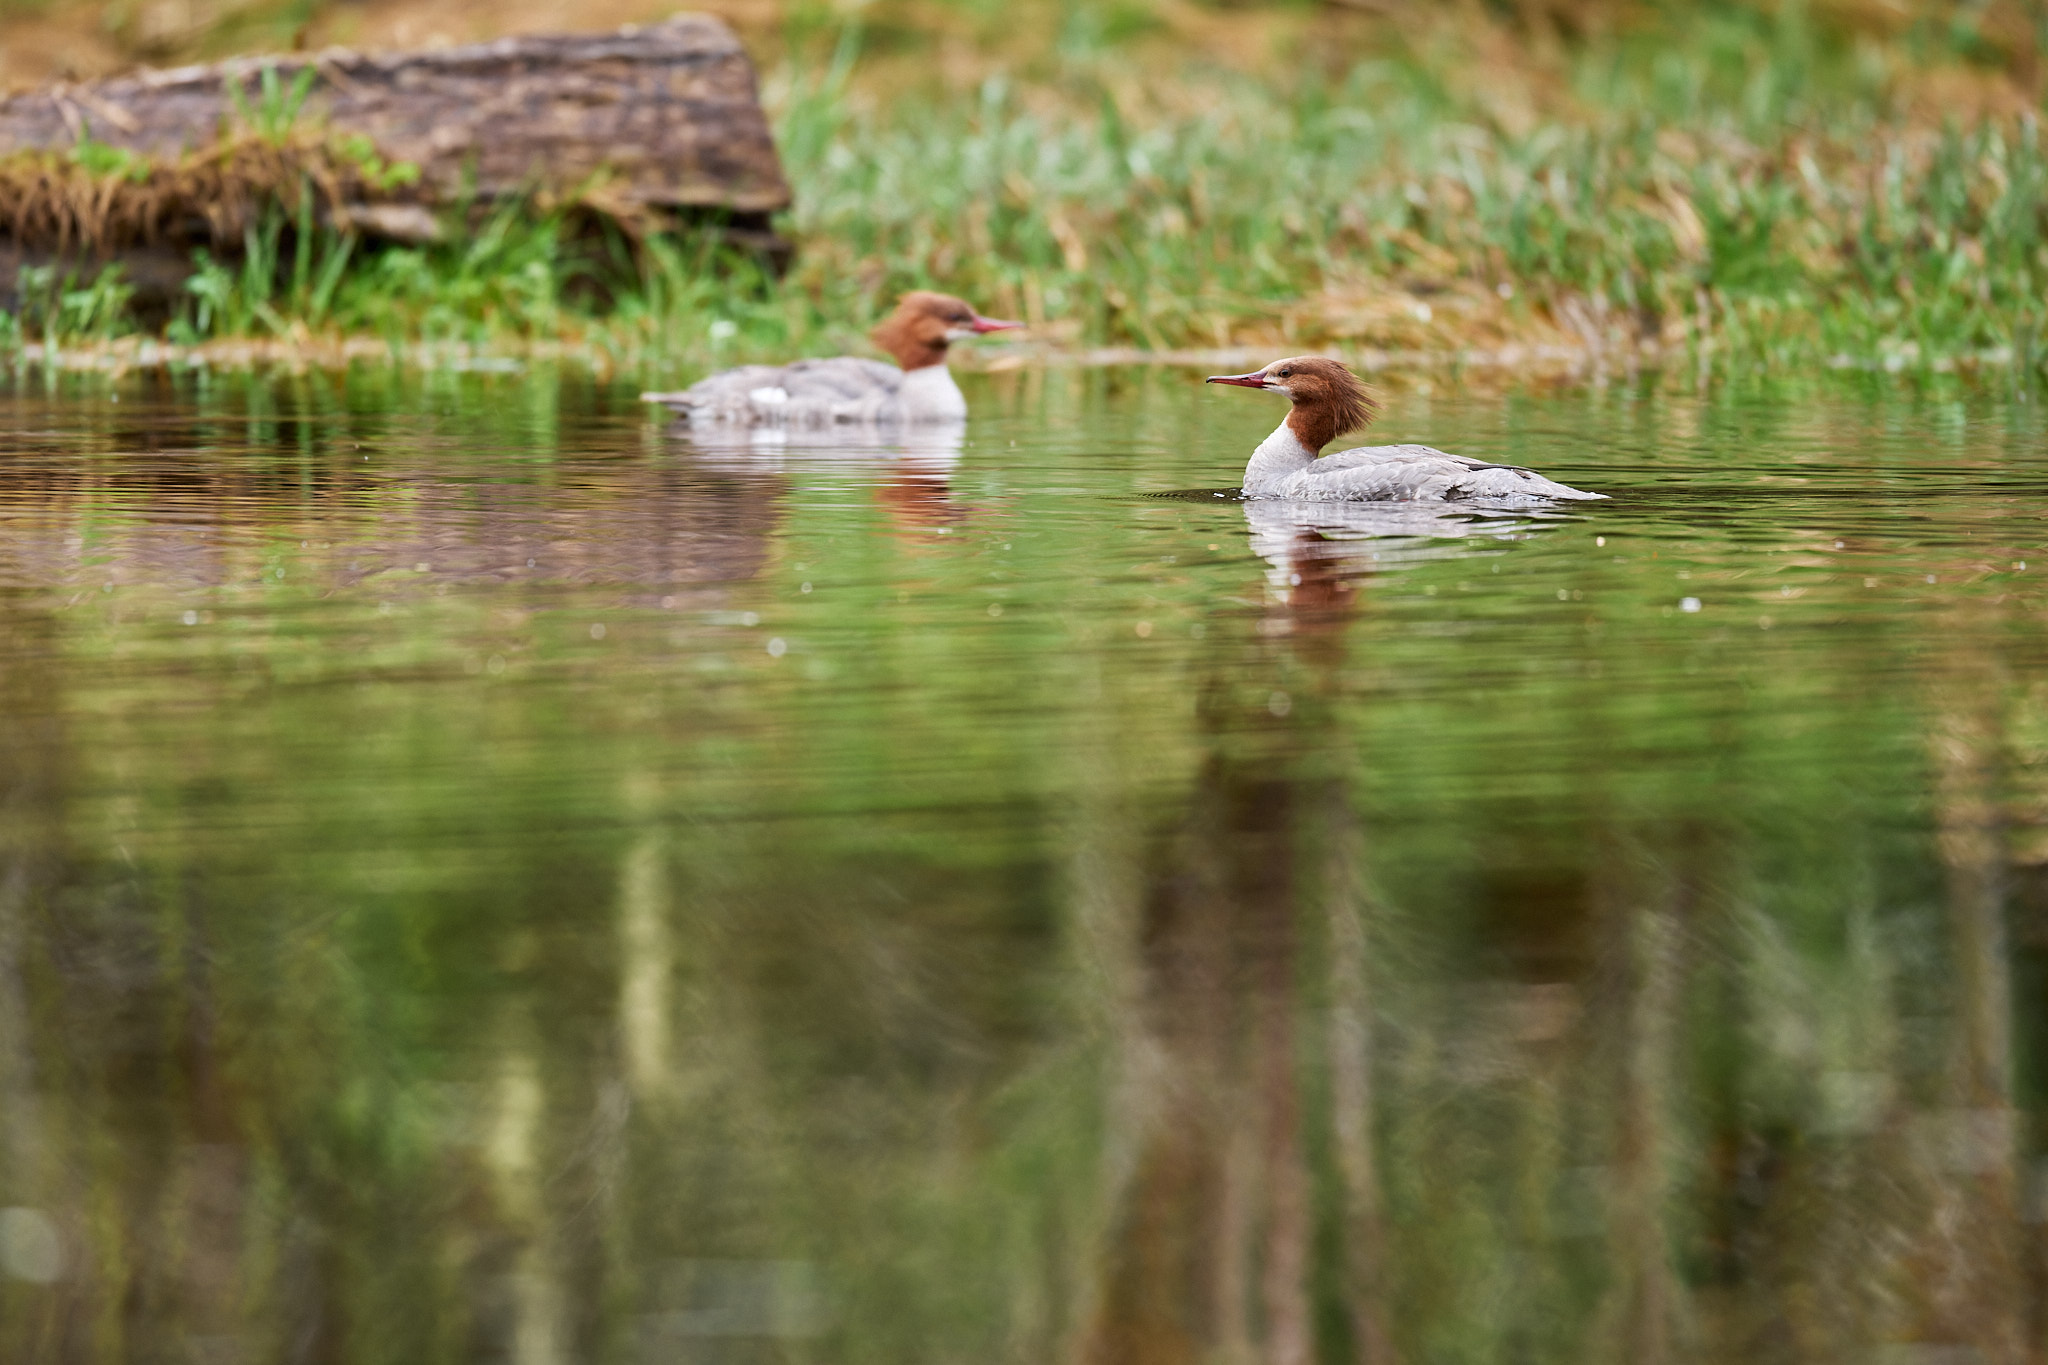
So, getting right down to eye degree shouldn’t be one thing that at all times results in higher pictures although it’s a good default in wildlife pictures. There will even be different circumstances the place your topic is excessive in a tree or flying above you, and attending to eye degree isn’t even attainable. However when you possibly can, I believe you need to. Eye degree wildlife pictures may be very highly effective and oftentimes improves the pictures you may get.
I hope you loved this text on the significance of getting right down to eye degree together with your topic and tips on how to overcome challenges in doing so. If in case you have any questions or suggestions, please be at liberty to let me know within the feedback part beneath.