As, photographers we frequently battle with an absence of sunshine, necessitating uncomfortably excessive ISOs or dangerously lengthy shutter speeds. However there are events with the alternative downside: an excessive amount of mild. In these moments, impartial density filters are invaluable.
What Are Impartial Density Filters?
Impartial density (ND) filters are merely darkish filters which cut back the sunshine that reaches your digital camera sensor. These filters have been given the title “impartial,” as a result of they’re meant to don’t have any impact on the colours of your {photograph}.
Impartial density filters are available quite a lot of densities. The densest can block a lot mild that you’d want an hour-long publicity even within the noon solar. However which density must you select in your ND filter? And underneath what circumstances do it’s essential use these filters within the first place? On this article, I’ll reply these questions and clarify what it’s essential learn about impartial density filters as a photographer. Who is aware of, even when you have already got a bag stuffed with ND filters, perhaps you’ll be taught one thing new!
Typical Eventualities for Utilizing ND Filters in Pictures
As a common rule, impartial density filters are used to be able to set a longer-than-usual shutter pace. There are a number of explanation why you might have considered trying such longer exposures, which I’ll element beneath.
Dynamic rendering of transferring topics
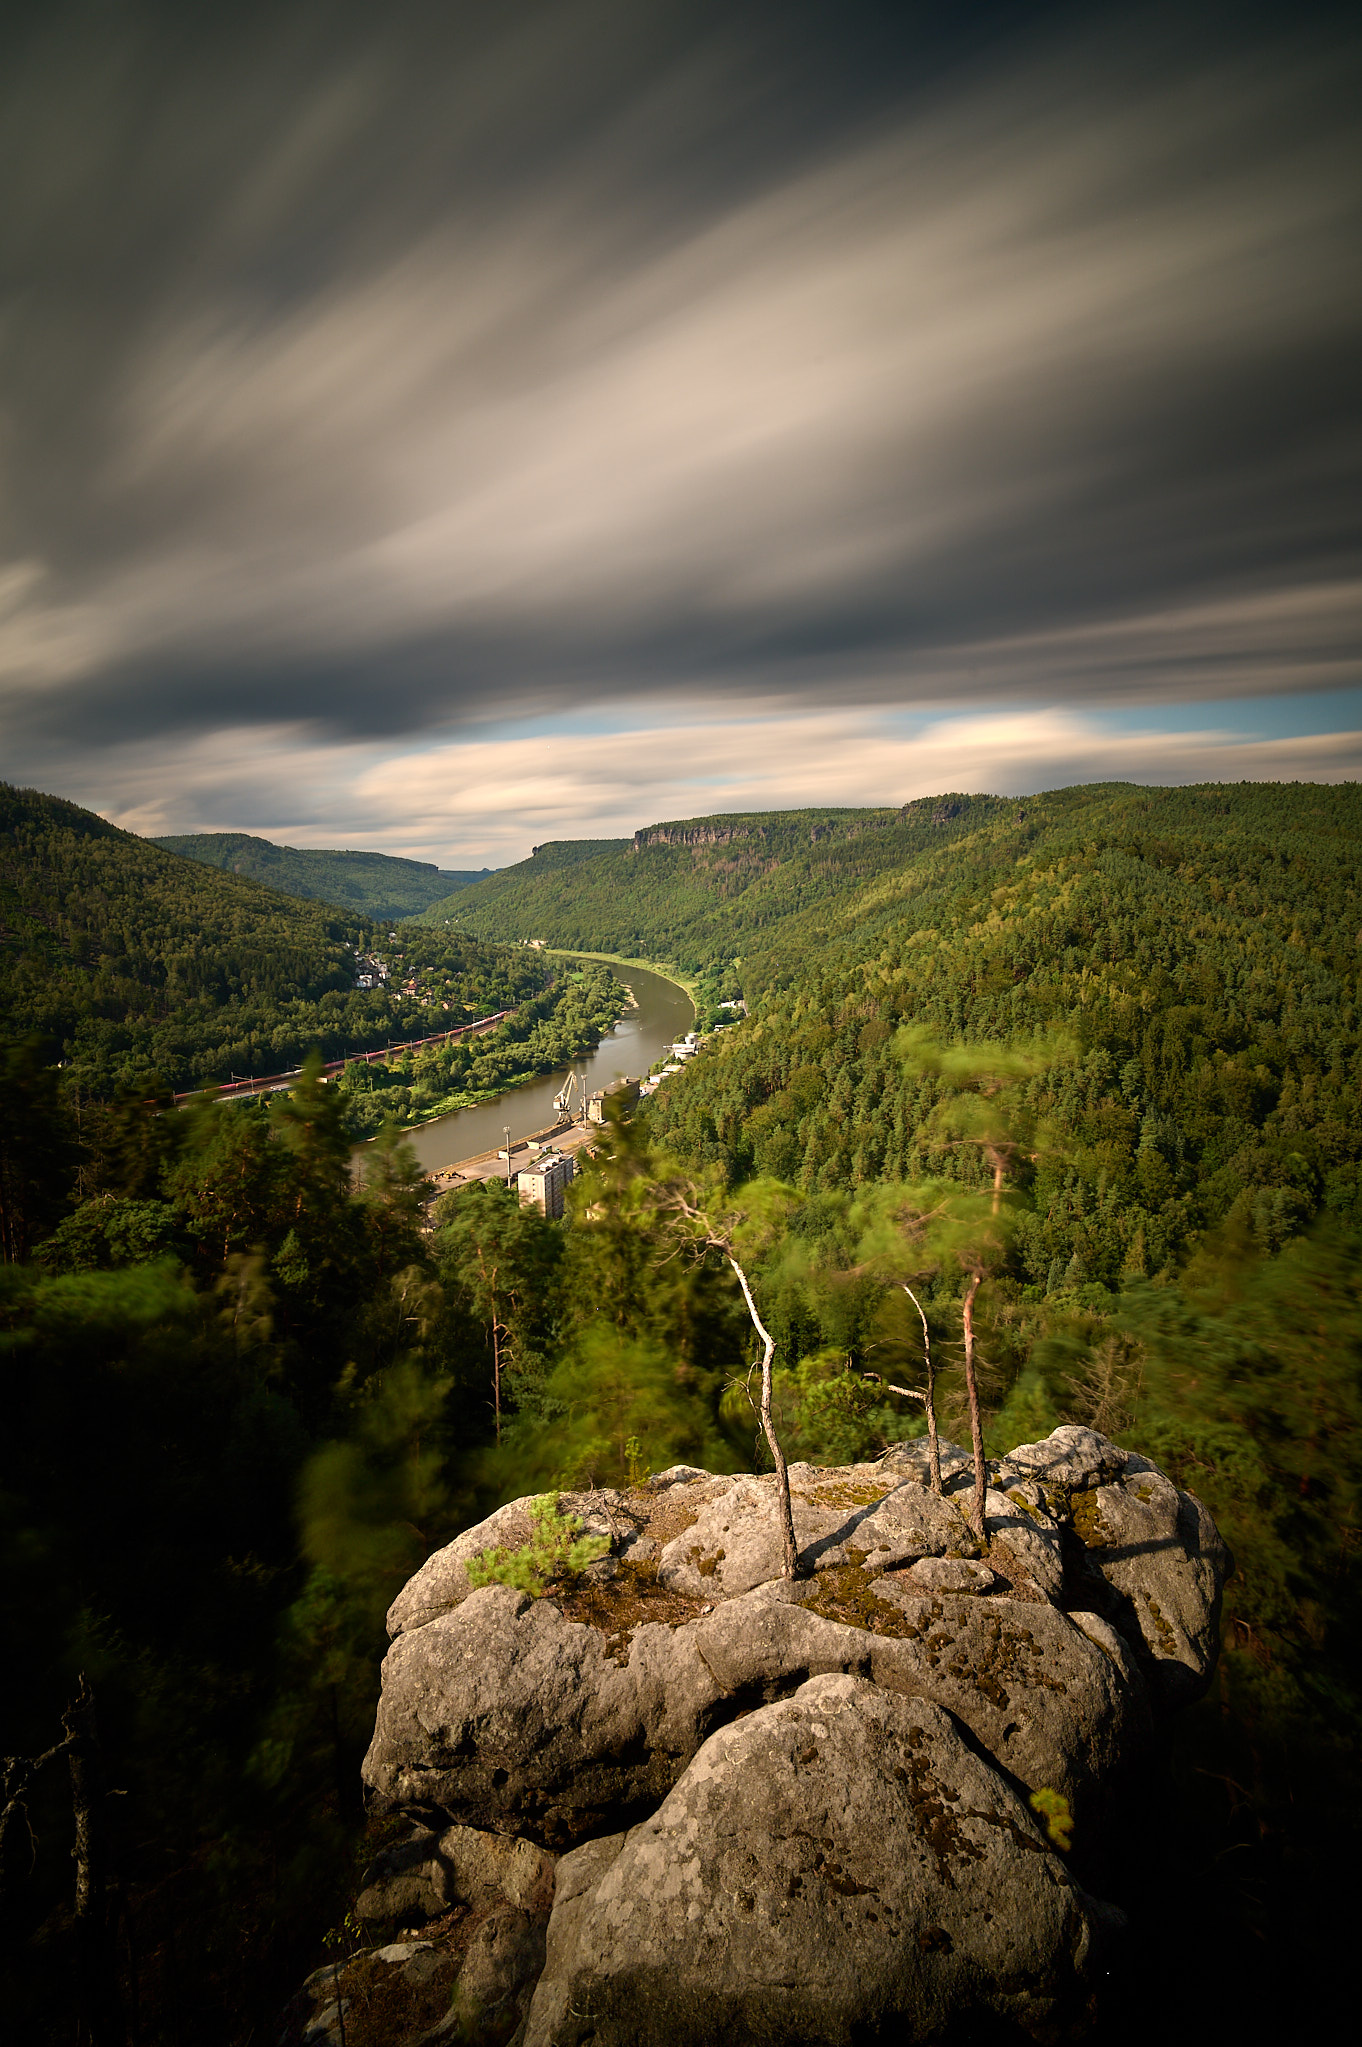
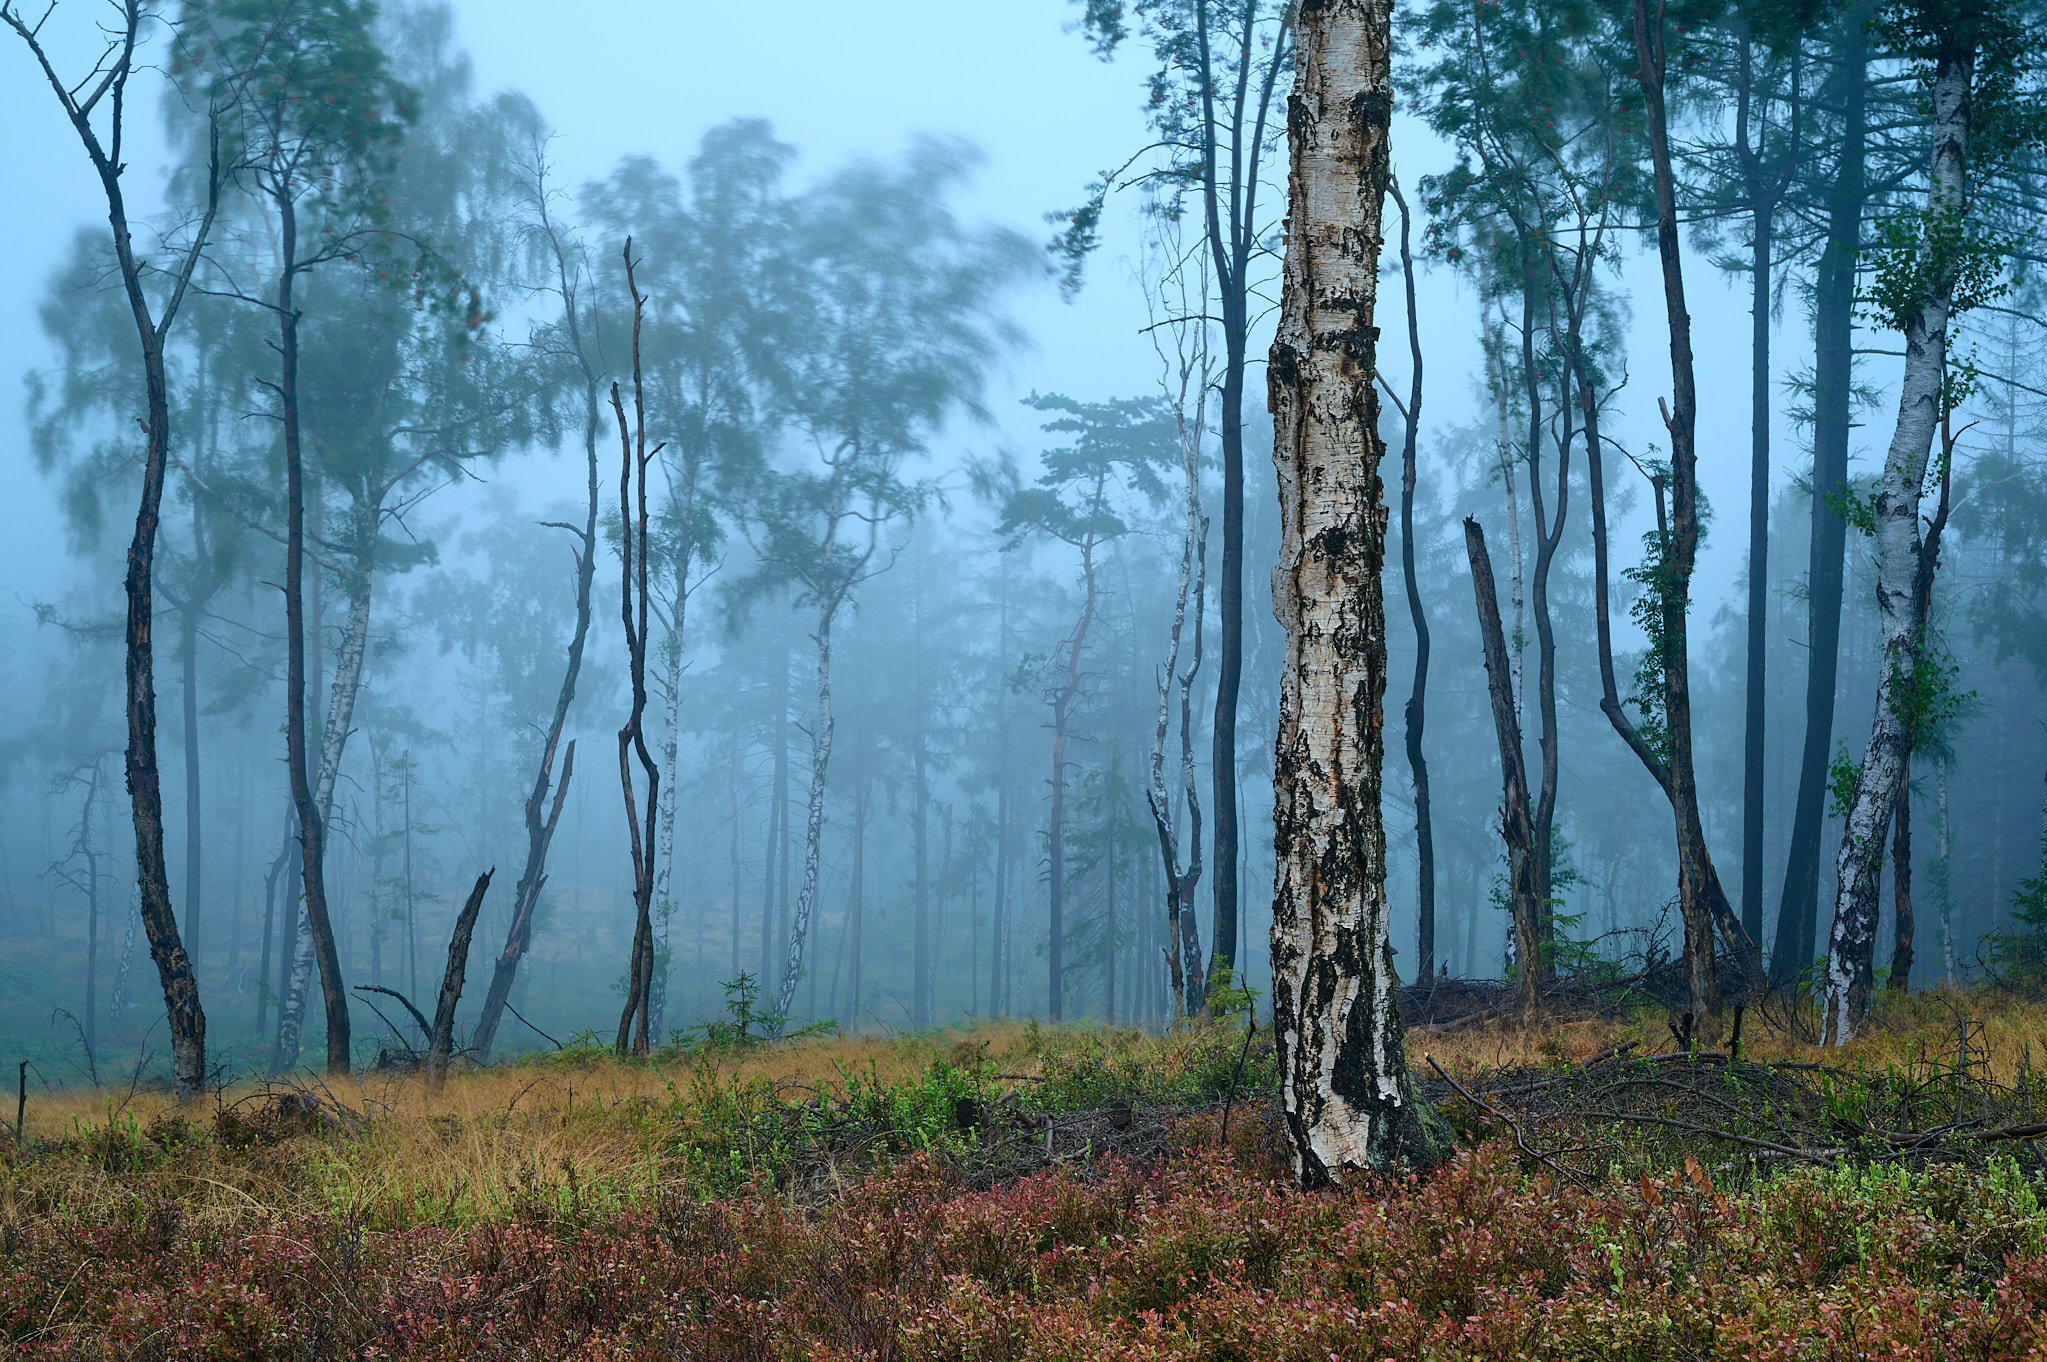
How would you {photograph} the movement of leaves within the breeze? What about clouds galloping throughout the sky like stampeding horses? Or a slithering snail that you simply wish to appear to be a Formulation 1 automotive?
It’s simple. Simply connect an ND filter of enough density, and set nevertheless lengthy of a shutter pace you need. Even slow-moving topics will present movement blur once you do.
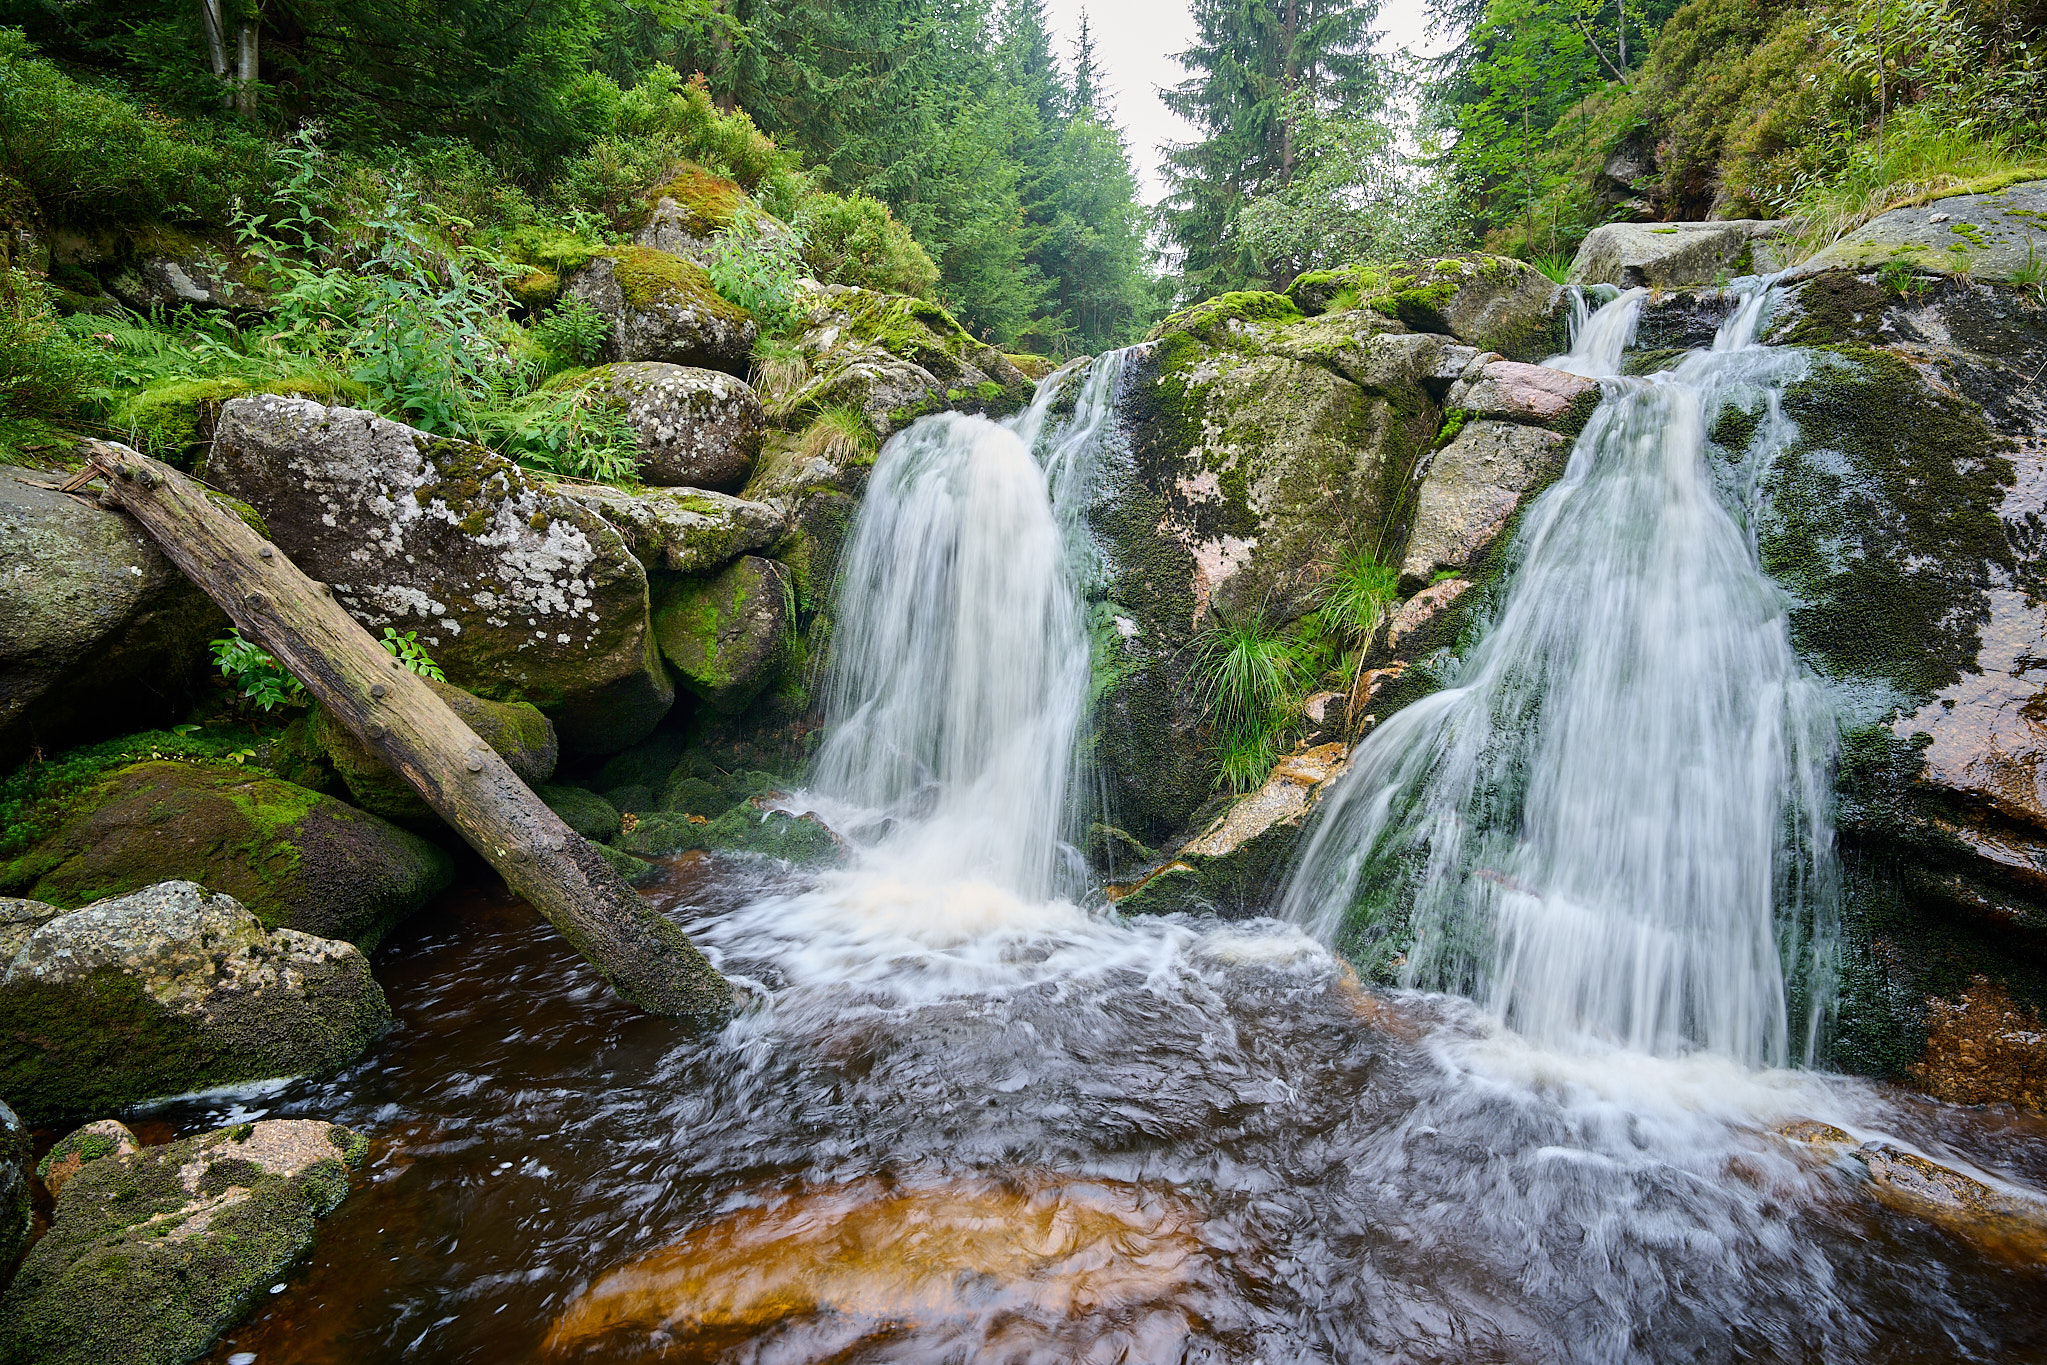
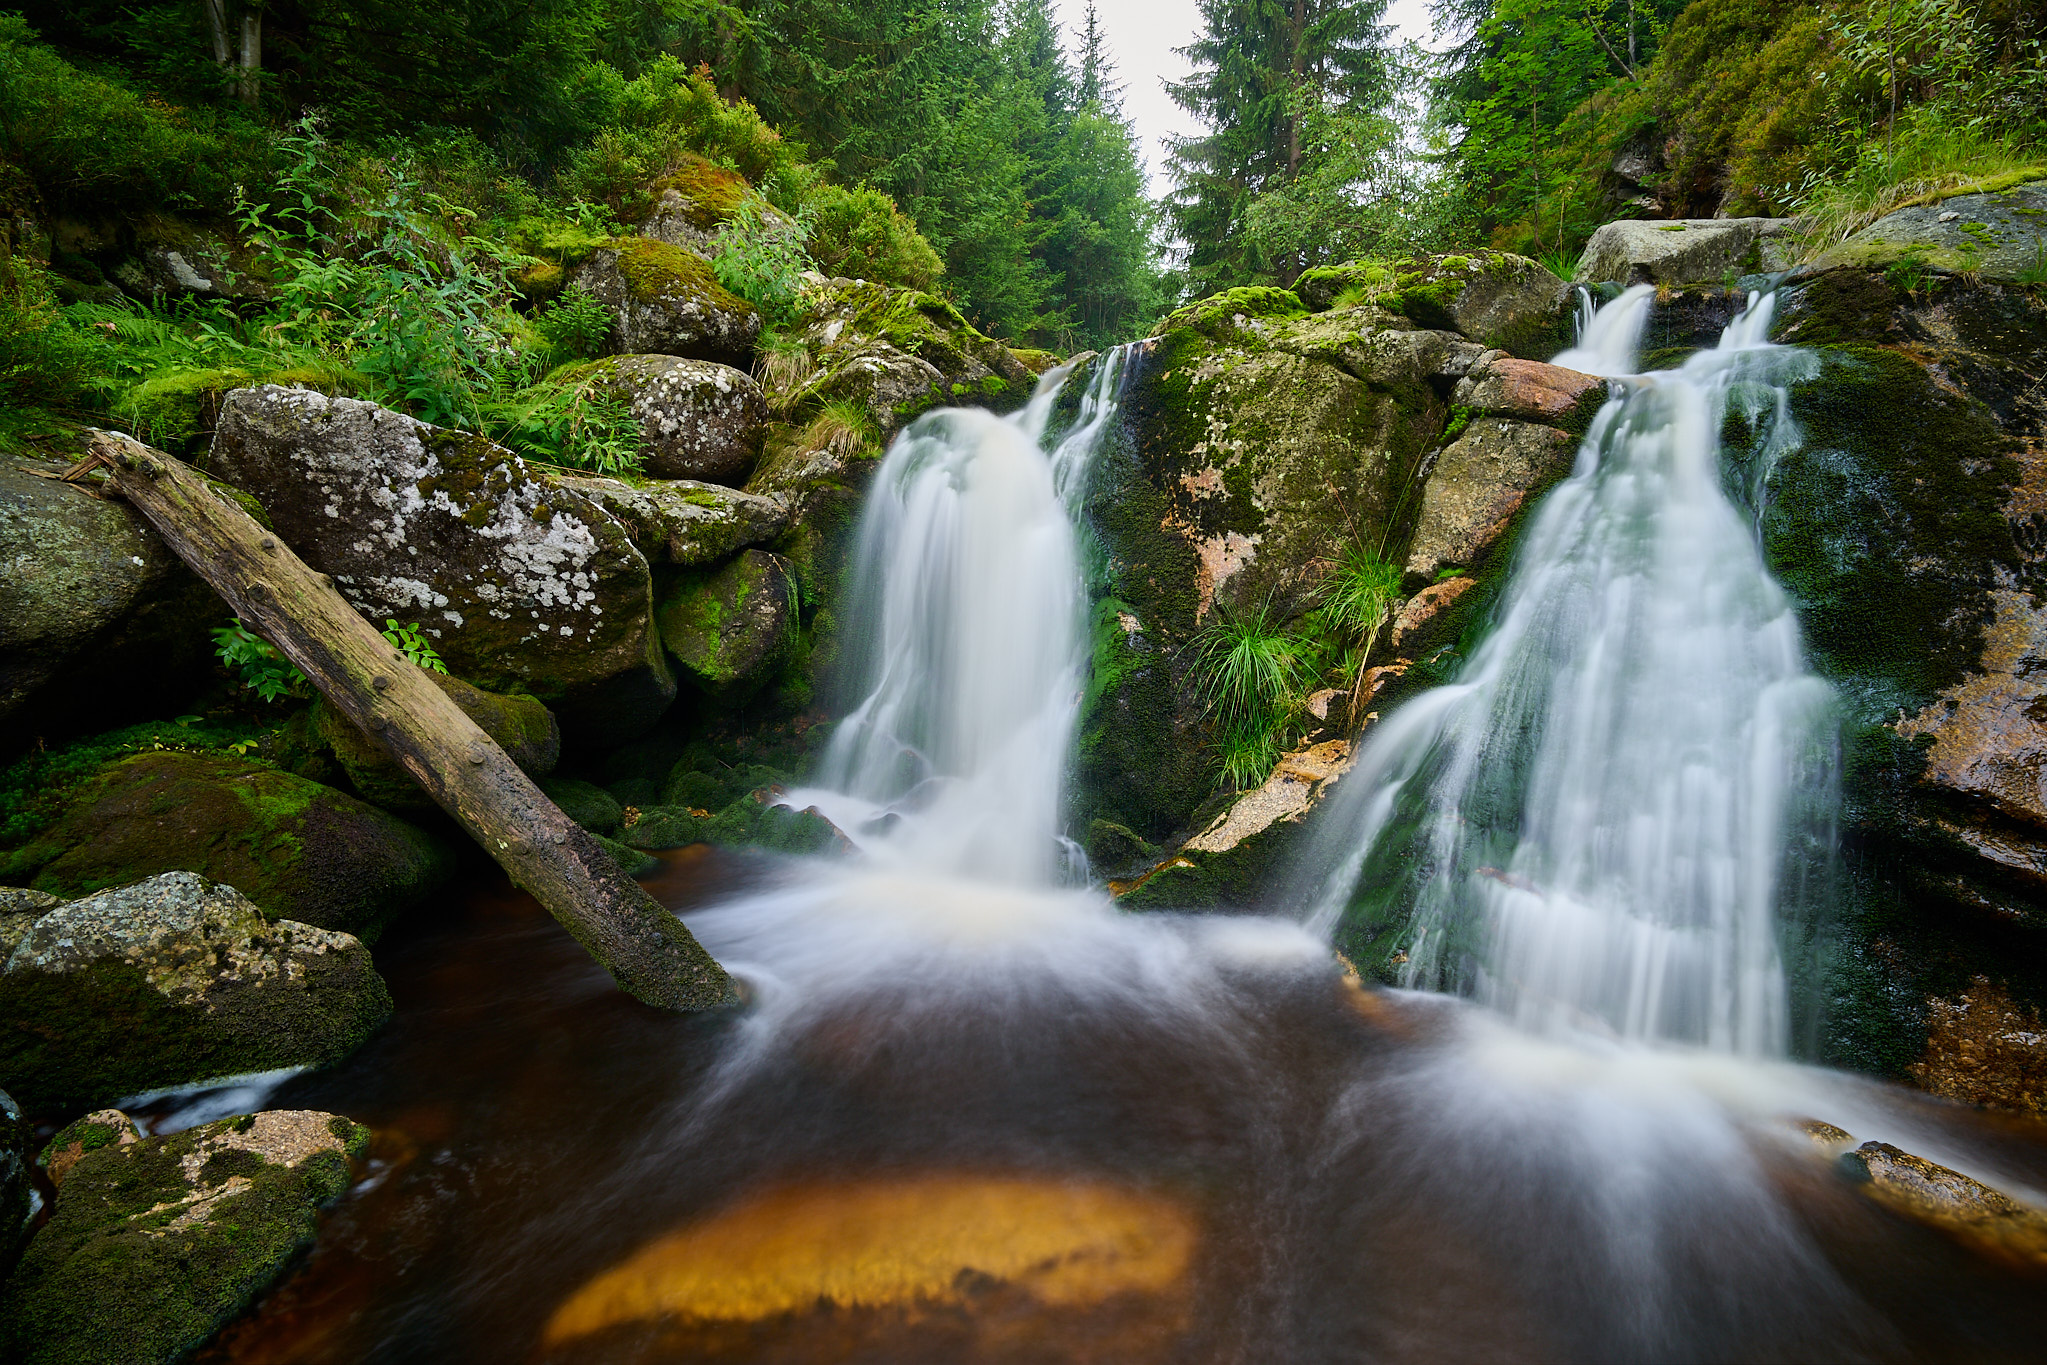
The motion of water
That is simply one other instance of a transferring topic, like I simply mentioned. Nonetheless, transferring water is the commonest use of ND filters, so I’ve devoted a particular class to it.
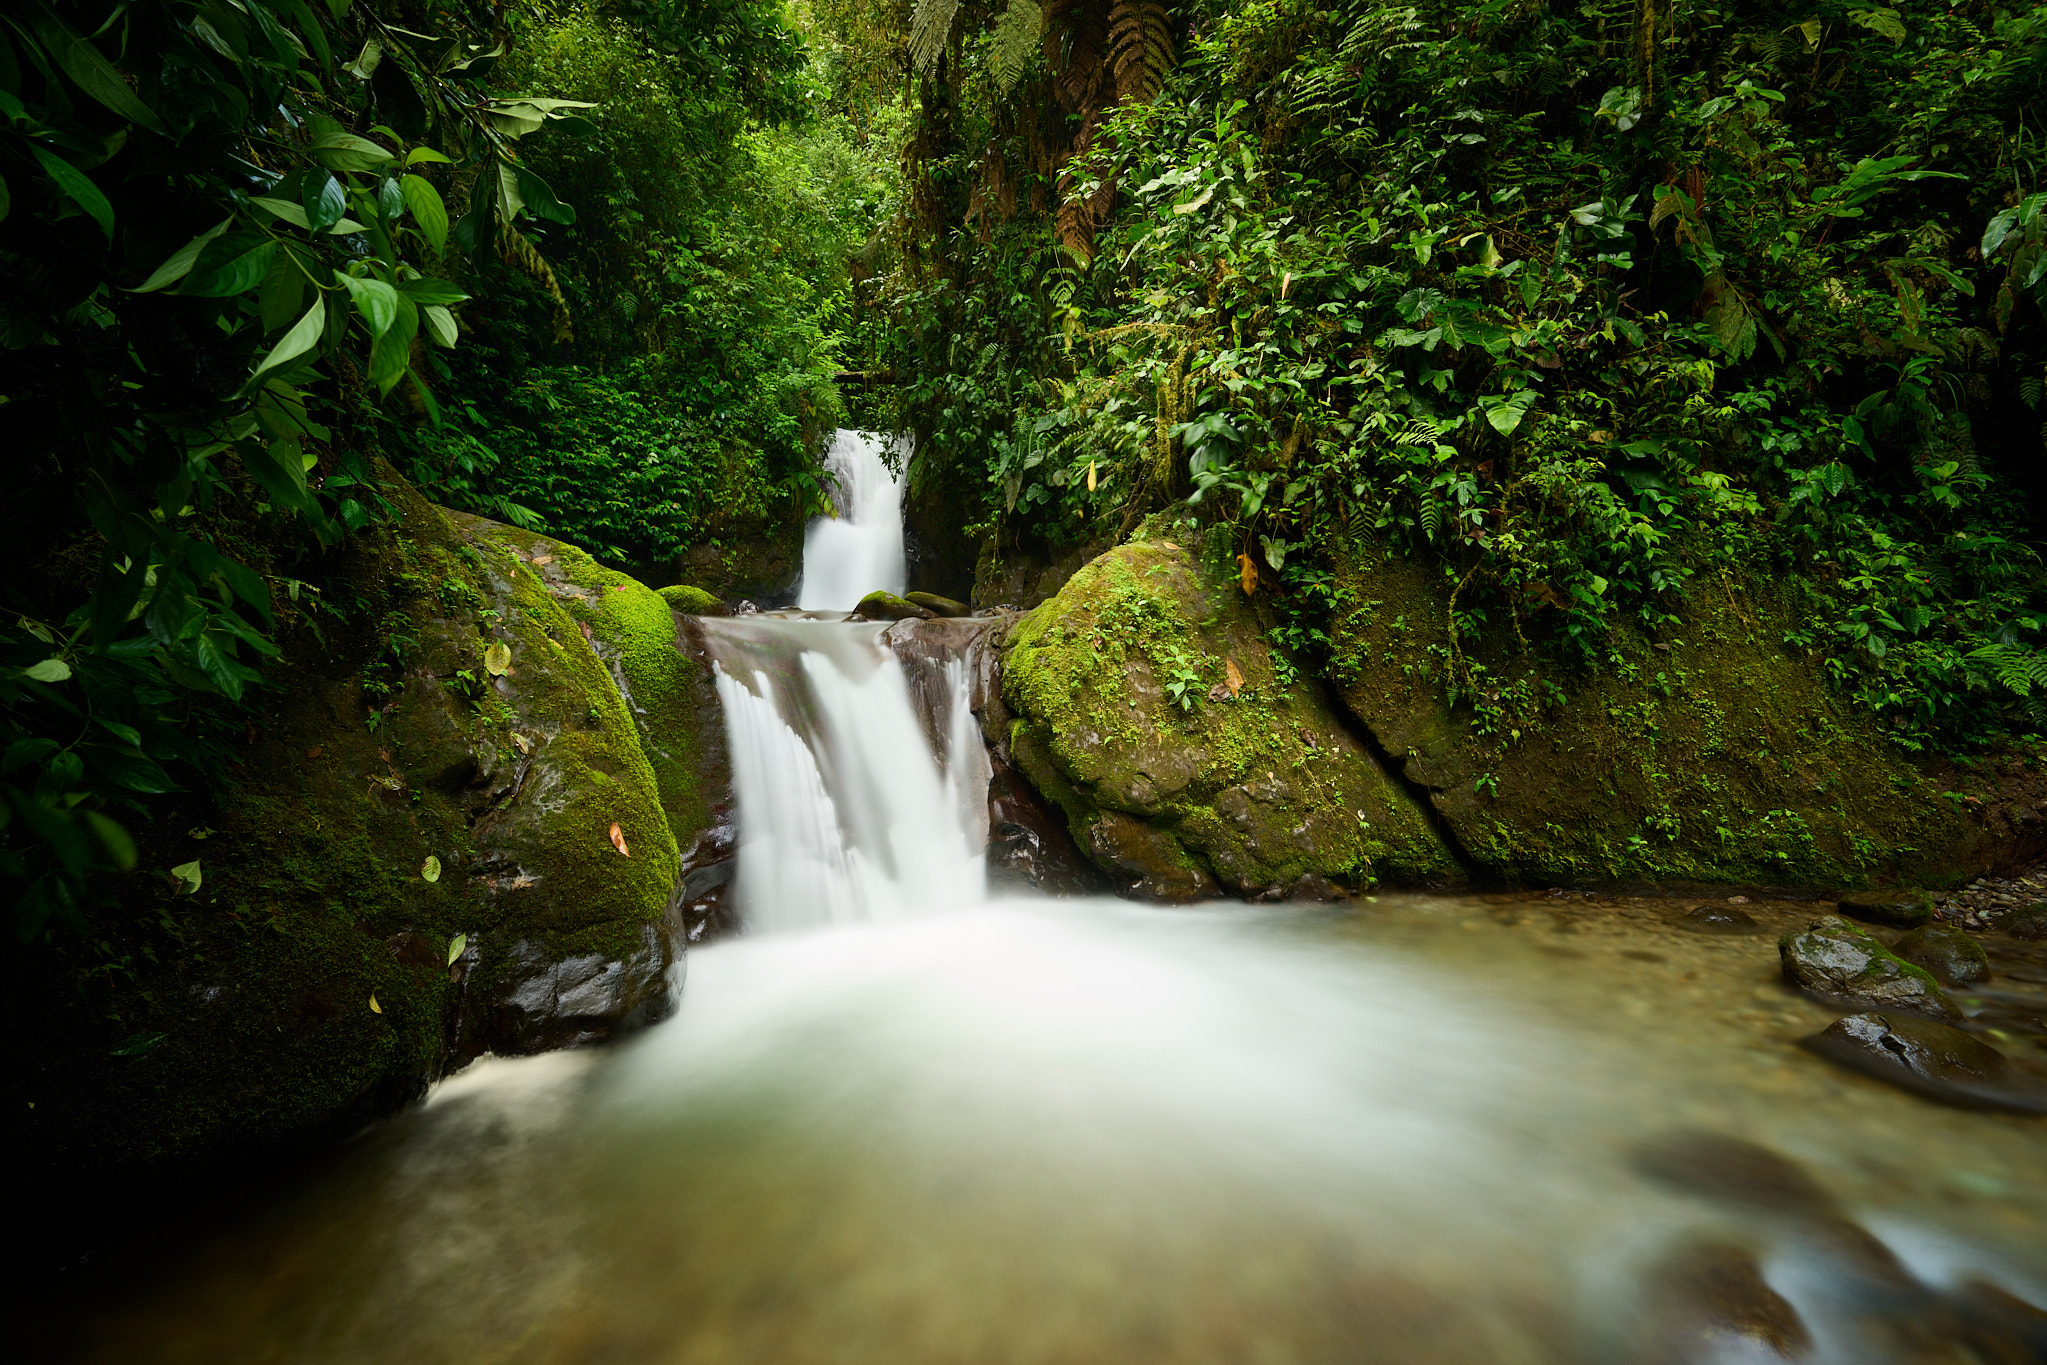
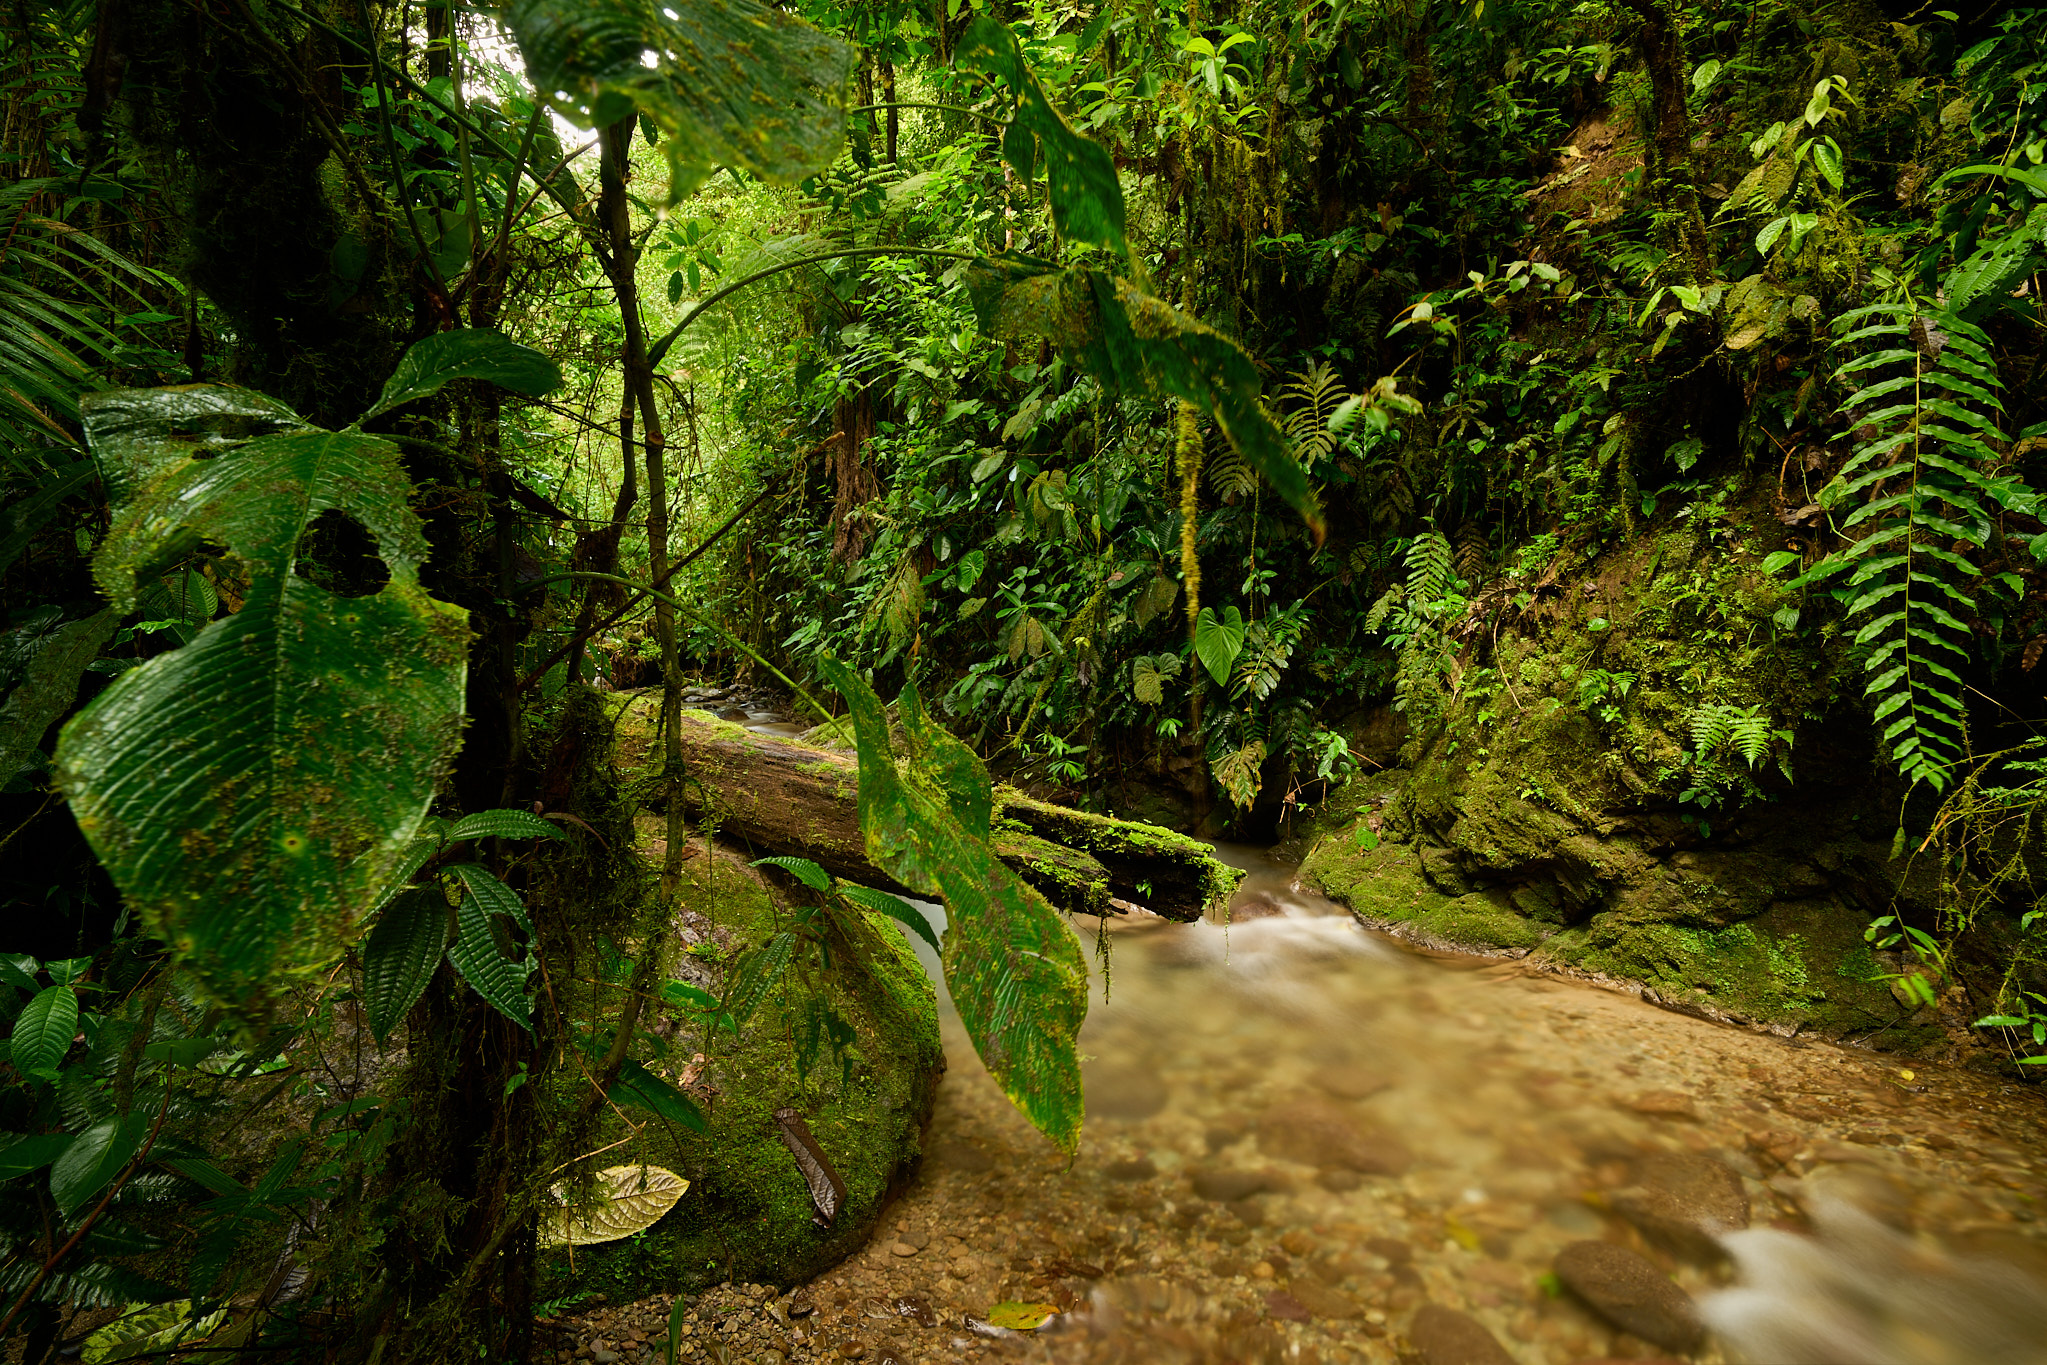
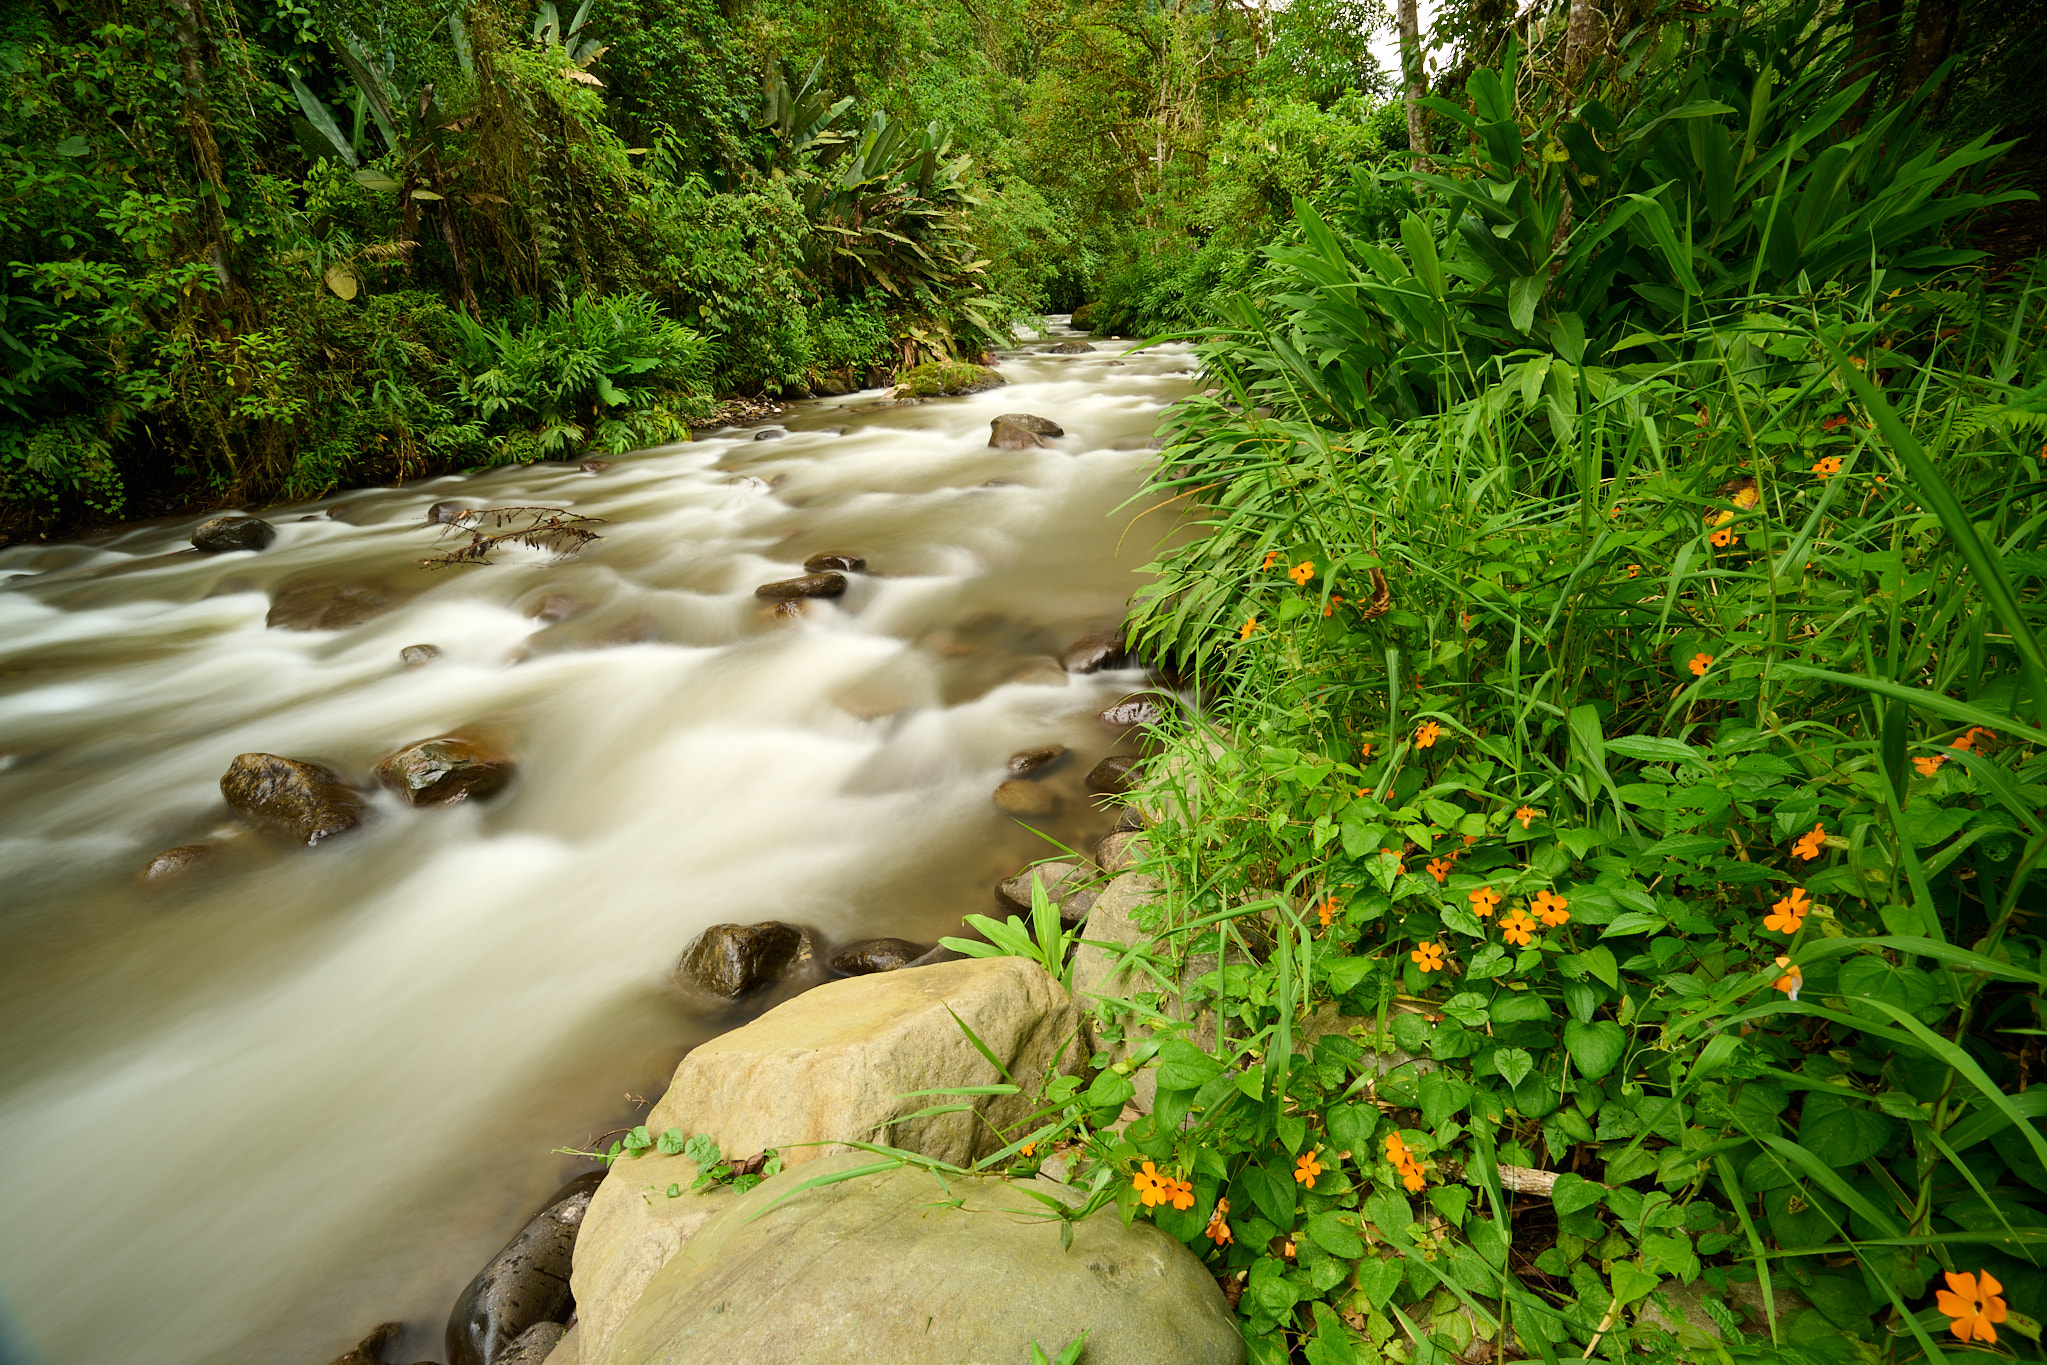
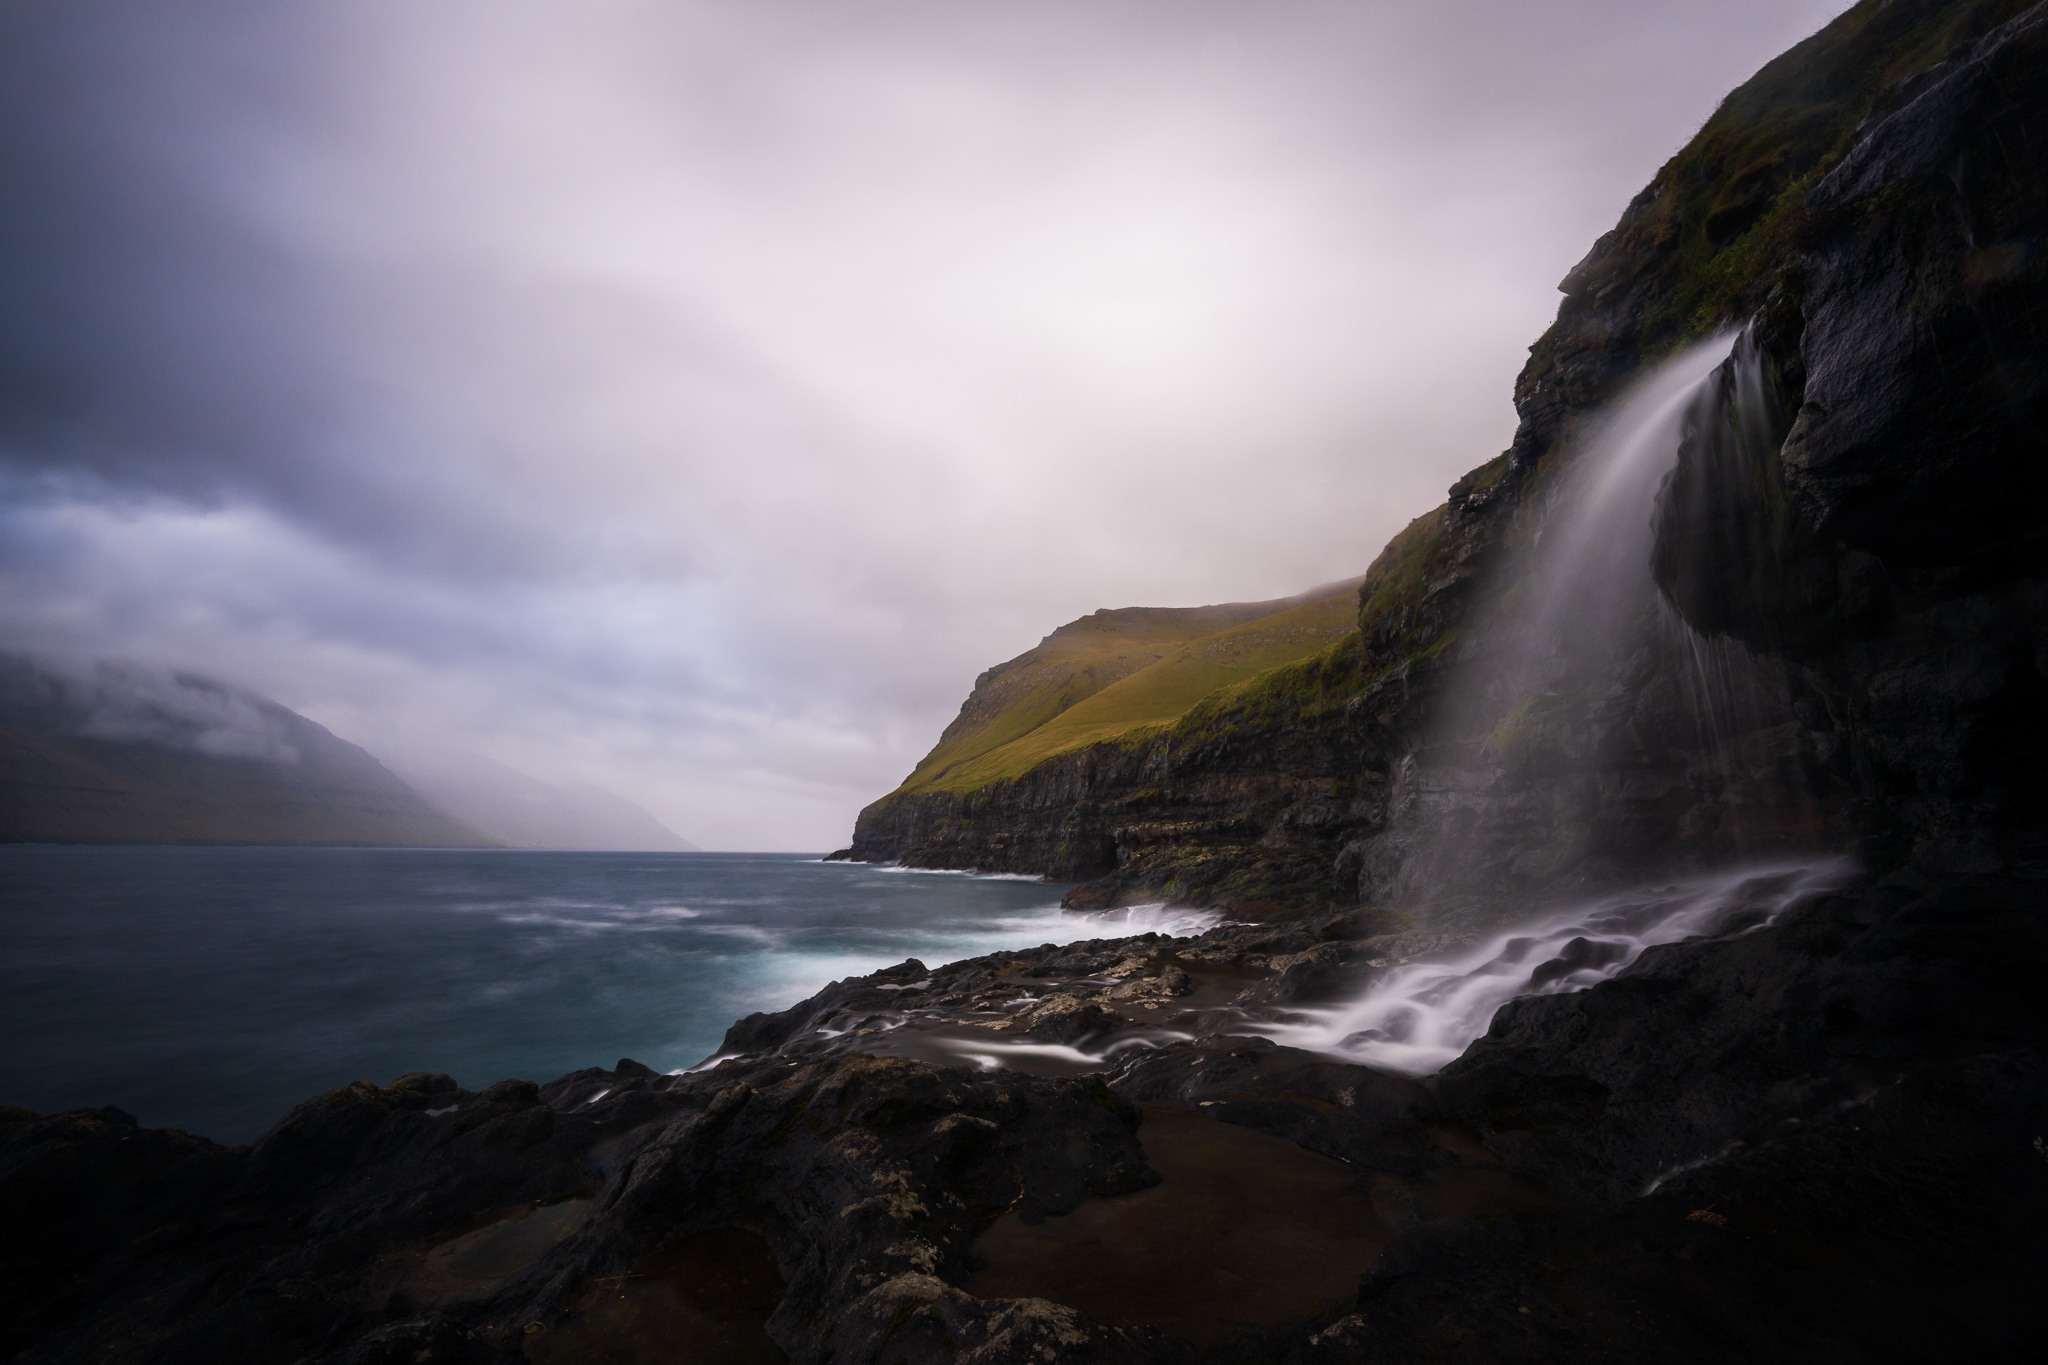
Essentially the most traditional use is when photographing waterfalls or mountain streams working over rocks. The rippled floor of a mountain stream could be smoothed by an ND filter like combing the silky hair of a water nymph.
In autumn, temperate streams carry not solely water but in addition colourful leaves falling from the timber. An occasional leaf flicking throughout the floor of the water doesn’t do a lot. Nonetheless, if you happen to get extra of them within the shot because of the lengthy shutter pace, they will beautify the river with colourful ribbons.
ND filters additionally create fascinating results with the undulating floor of seas and oceans. Particularly when mixed with a stationary object, reminiscent of a cliff, a lighthouse, or a Sri Lankan fisherman catching fish from a pole protruding of the seabed. The ocean photographed with a protracted shutter pace appears to be like as whether it is boiling, or as if mist is rolling on the calm floor. The diploma of “misty” really feel is dependent upon the density of the utilized filter (and particularly the size of your publicity that outcomes).
Eradicating crowds from busy locations
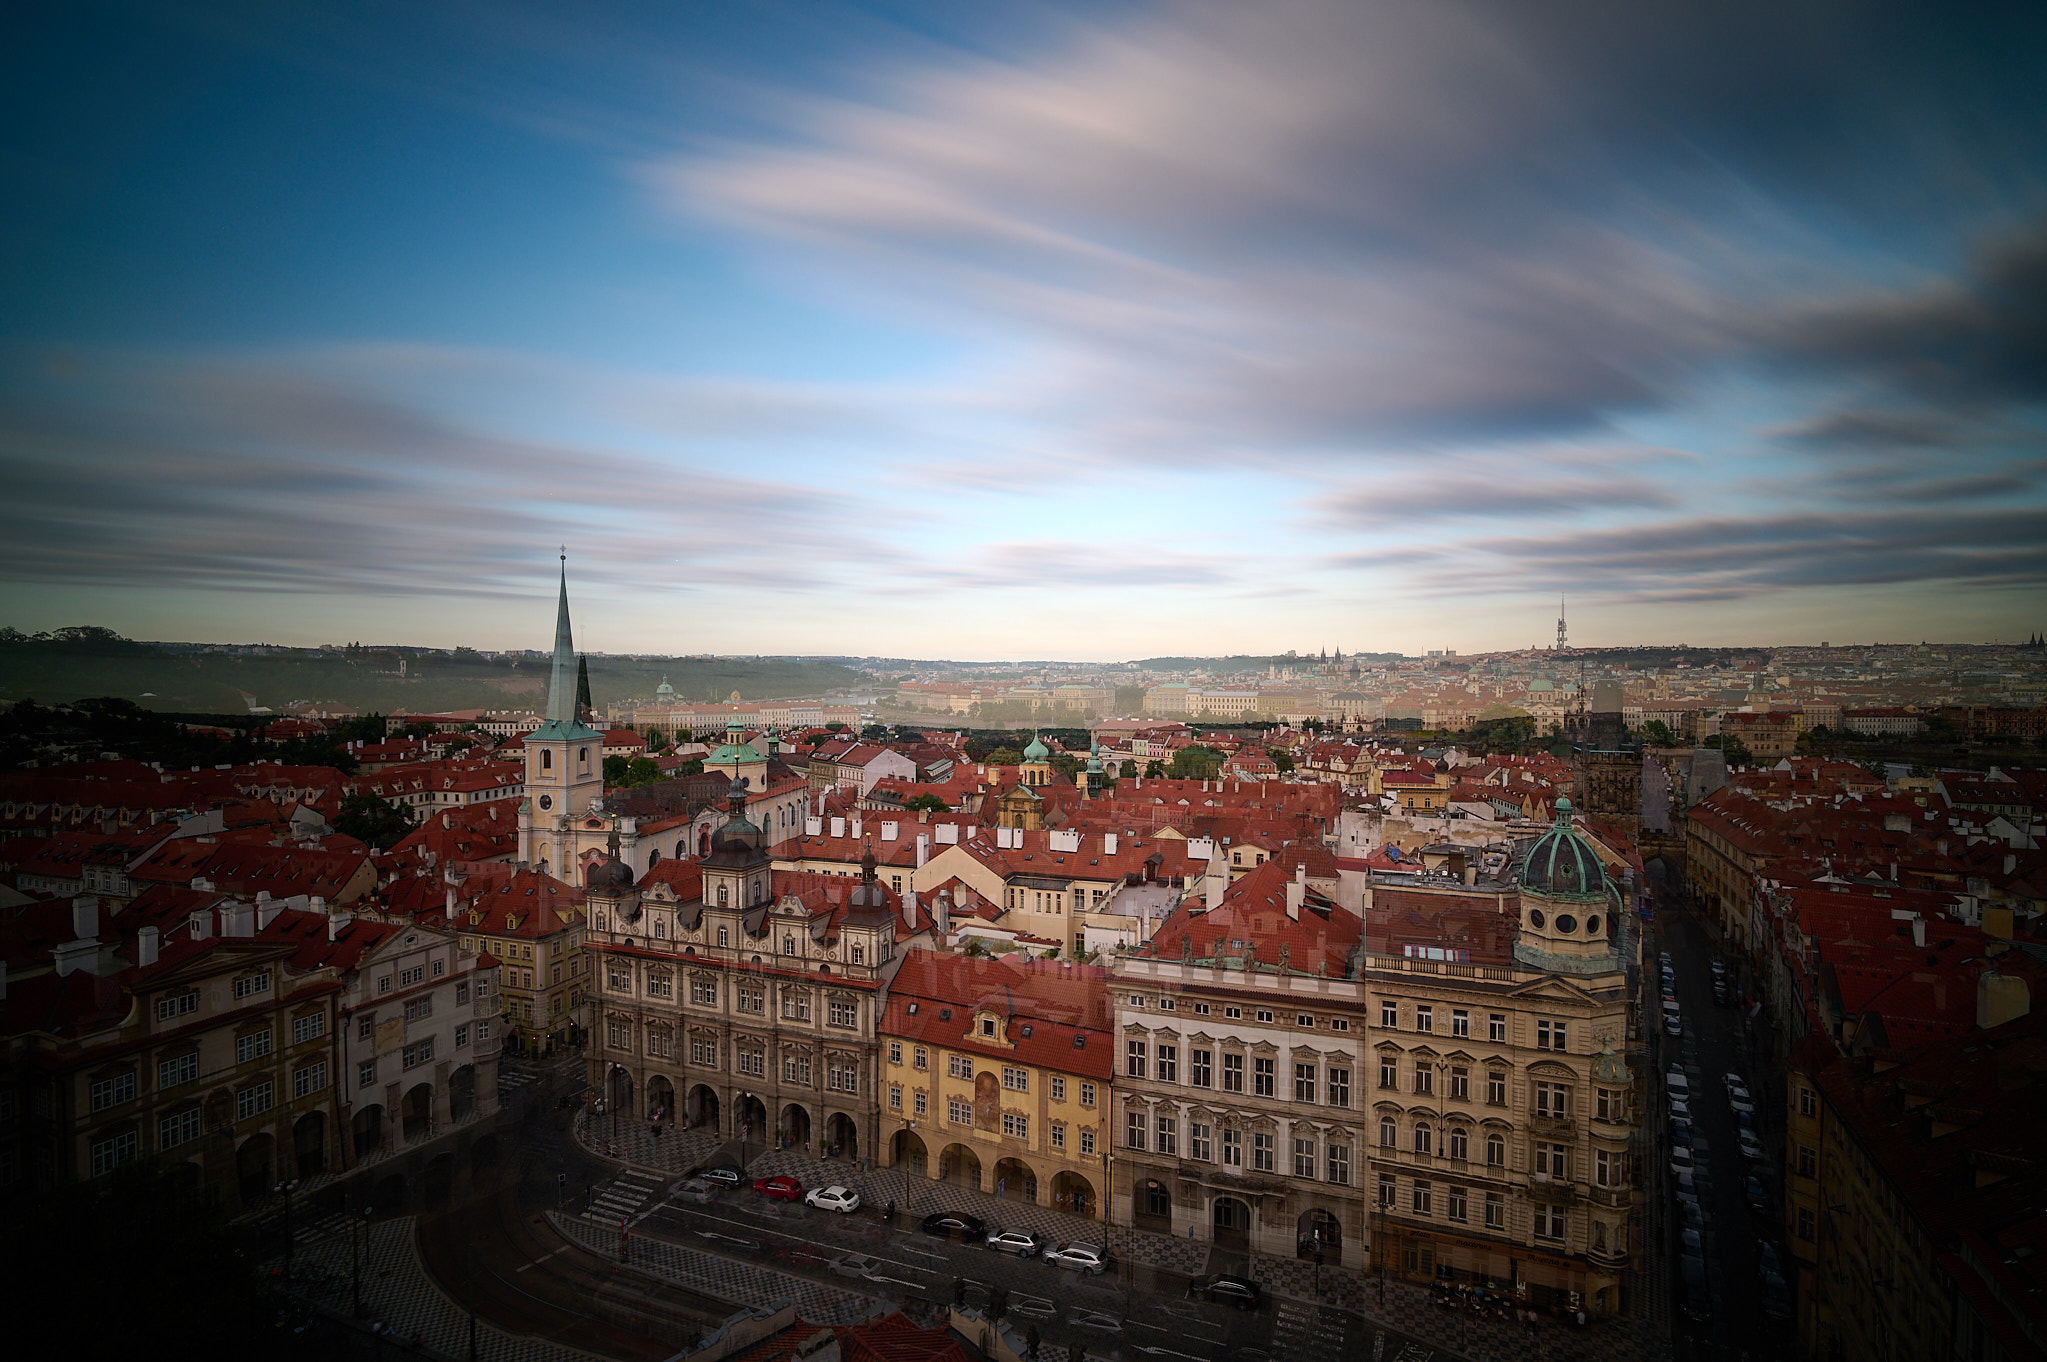
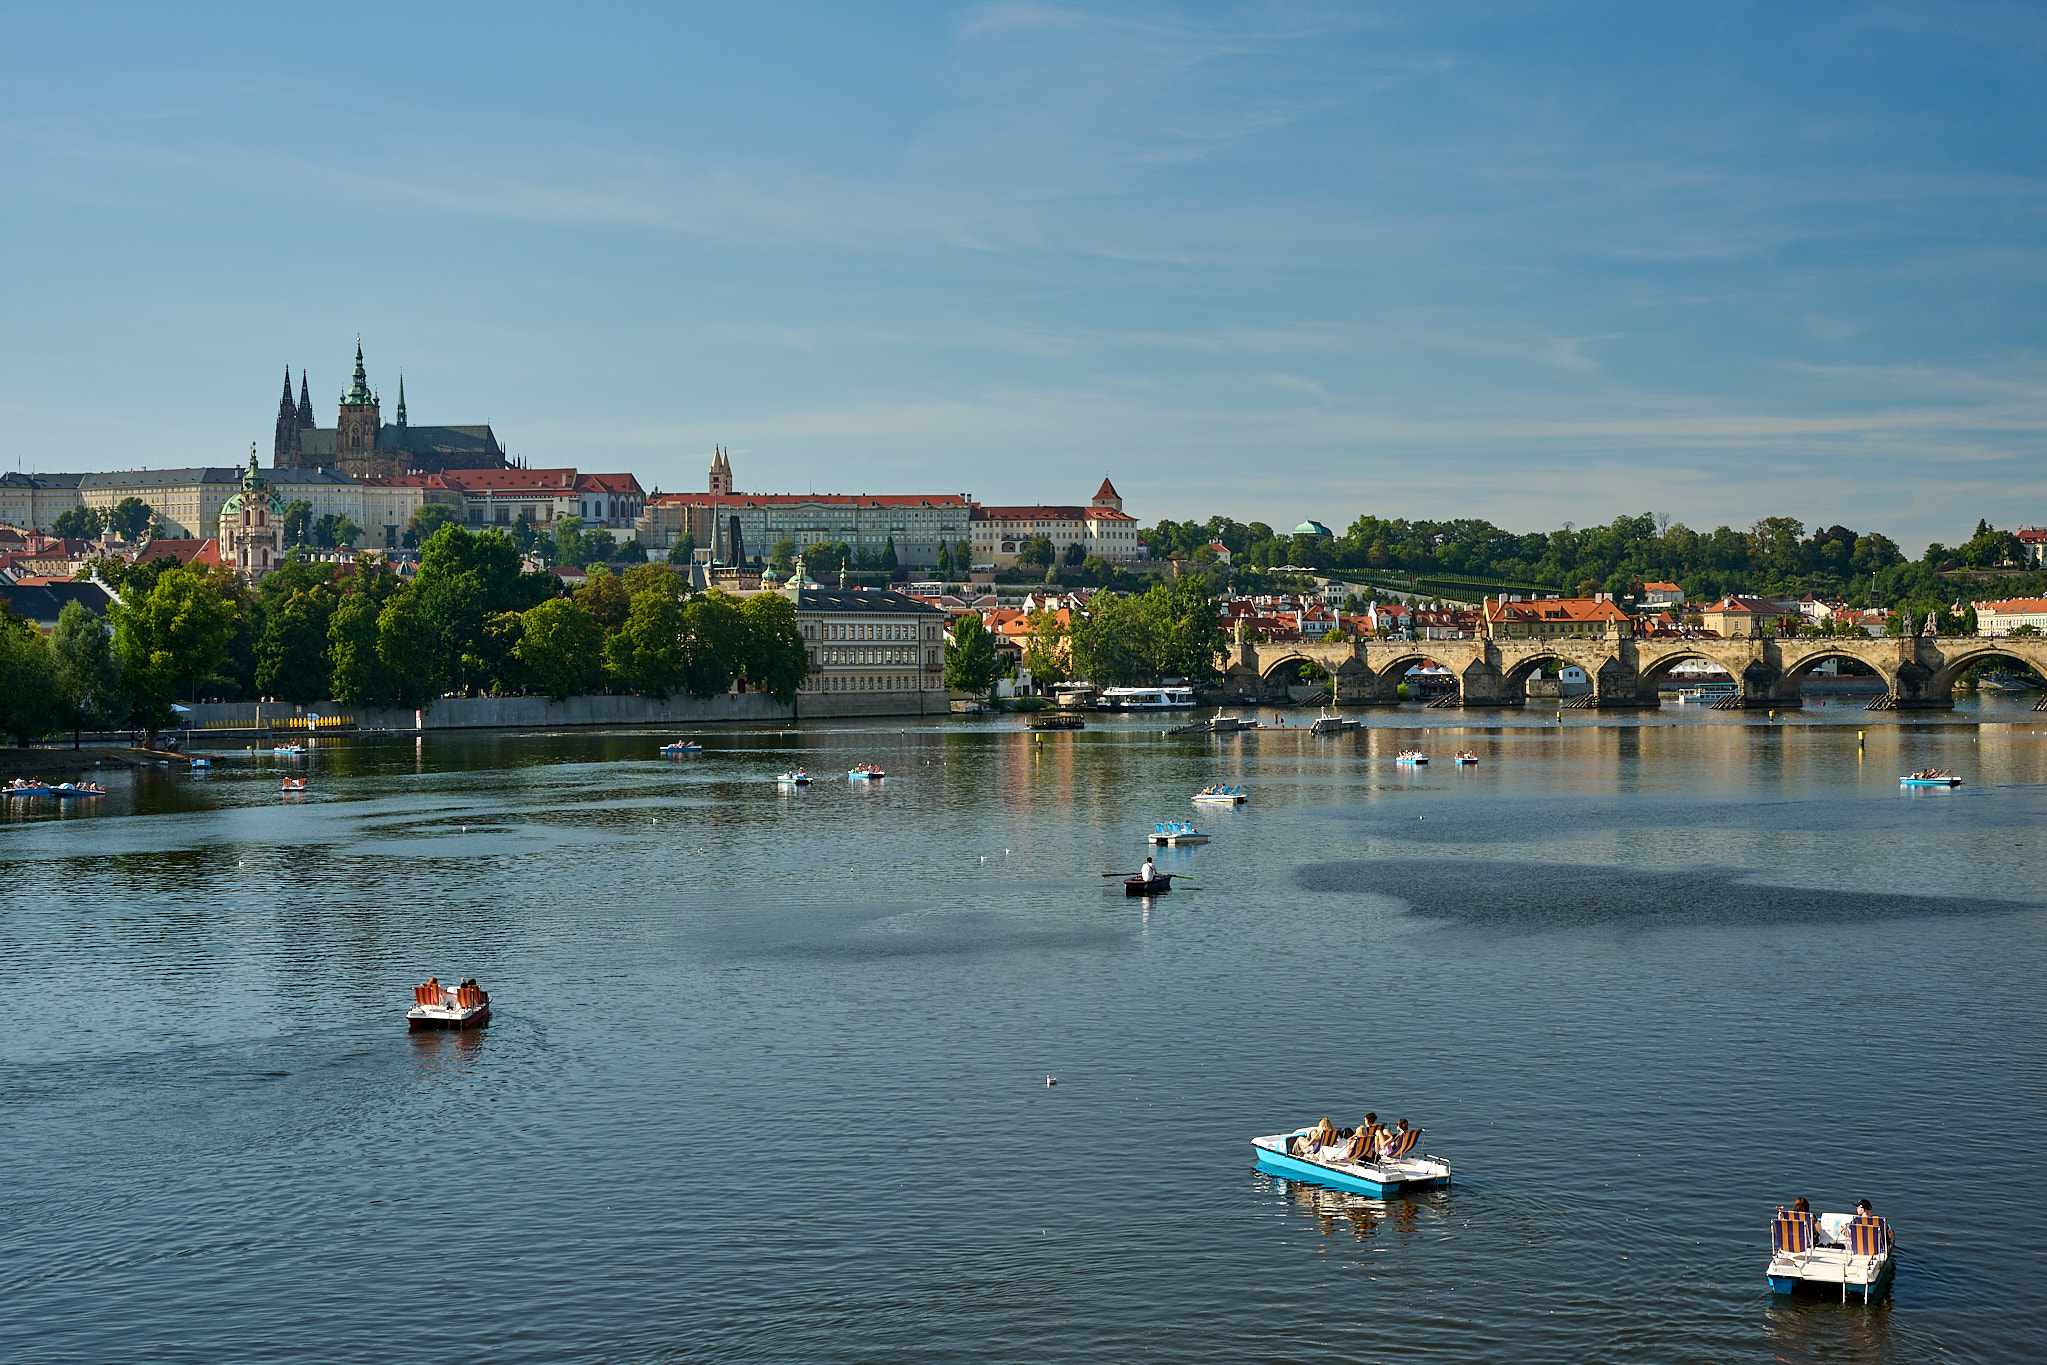
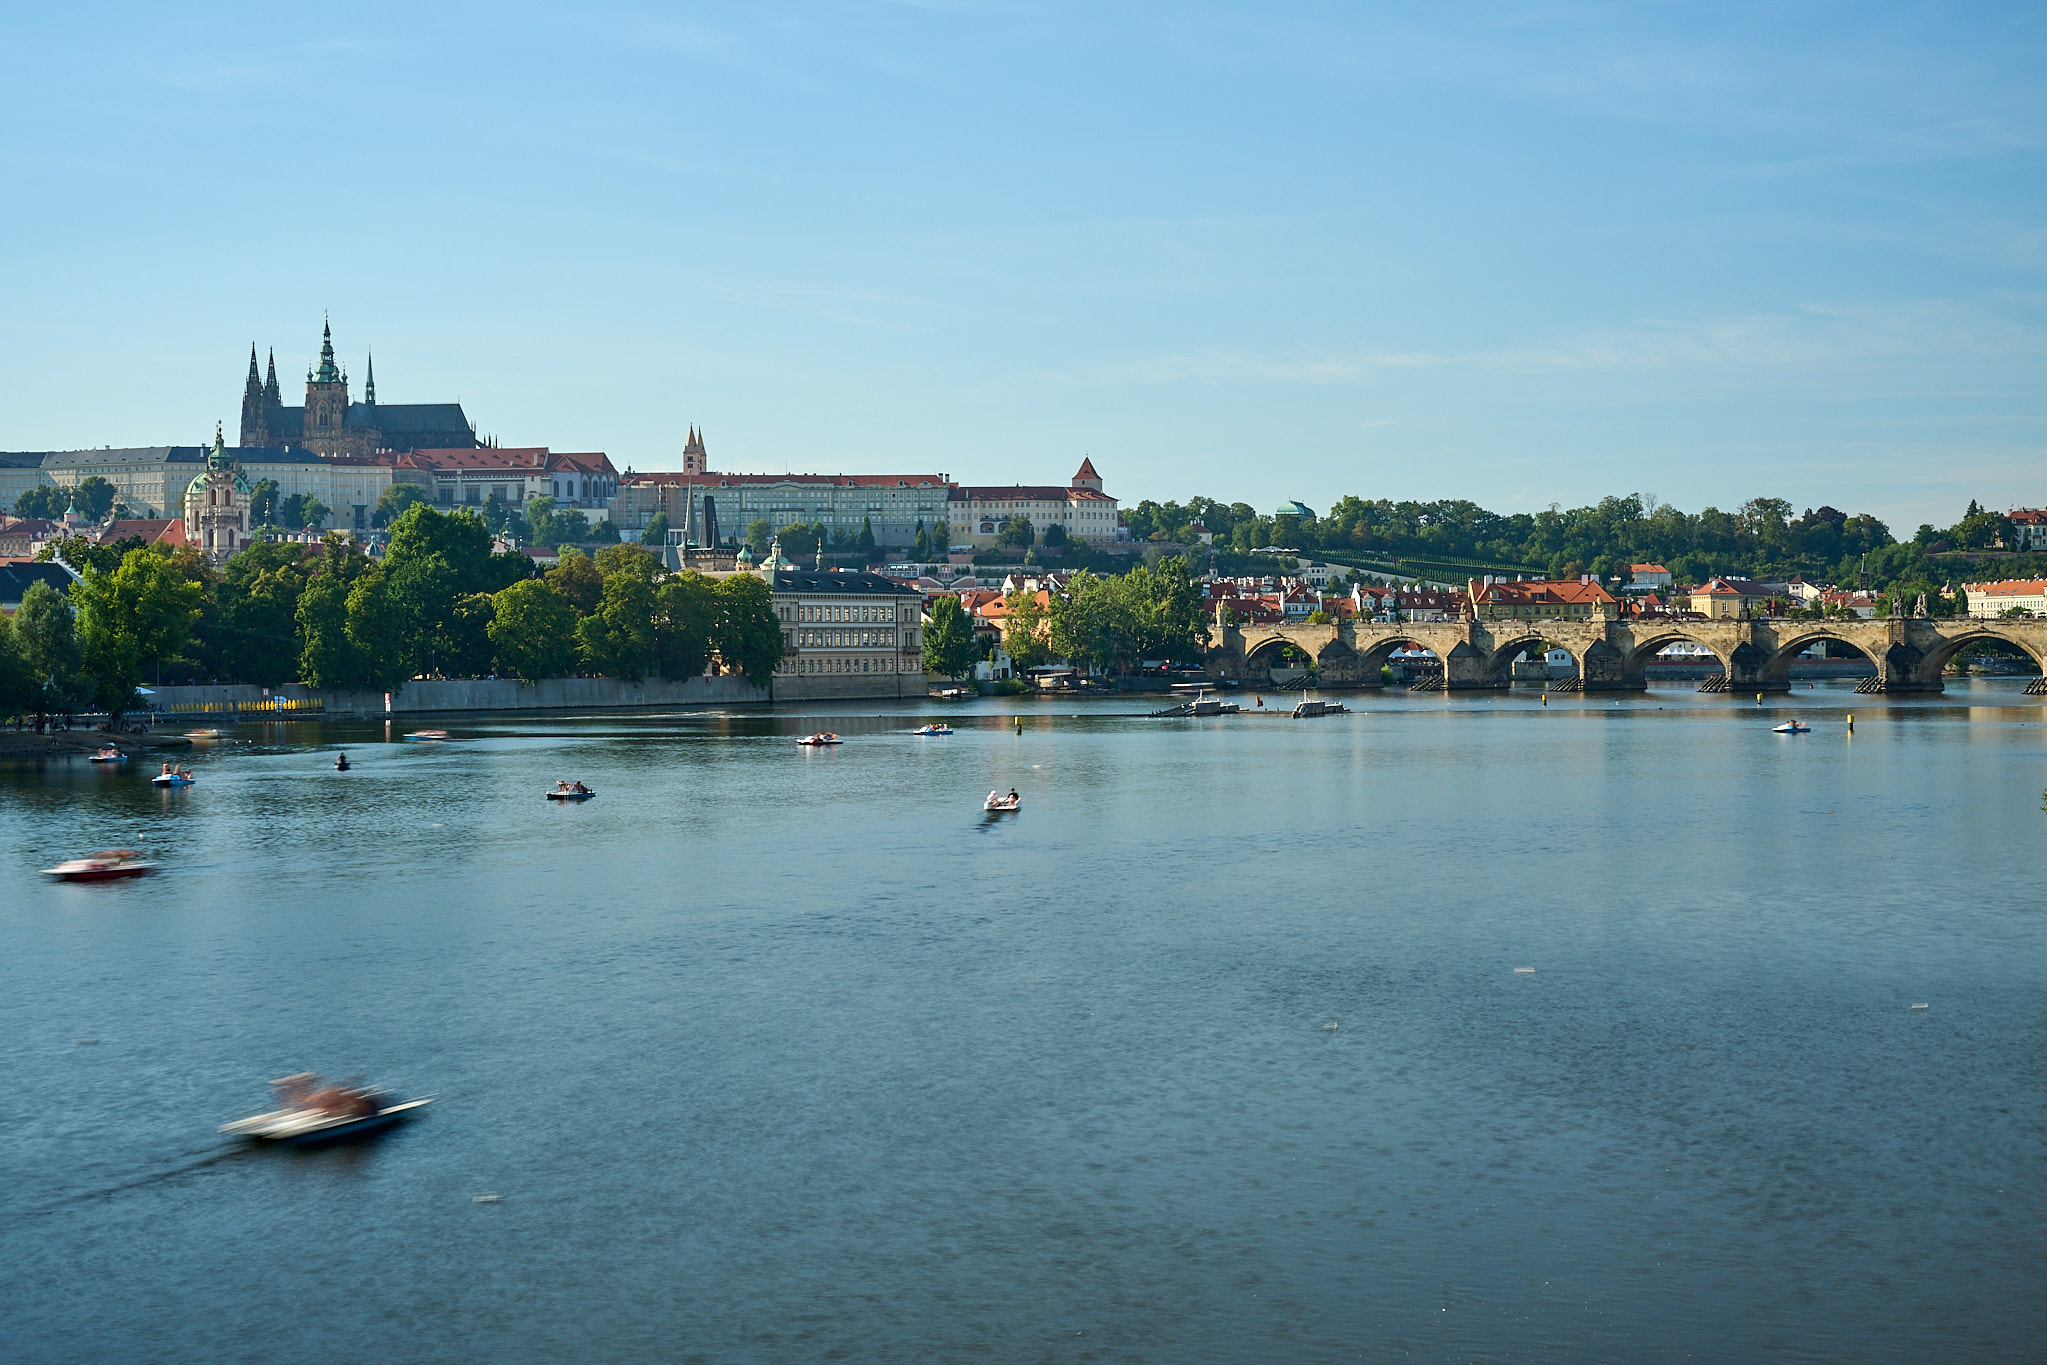
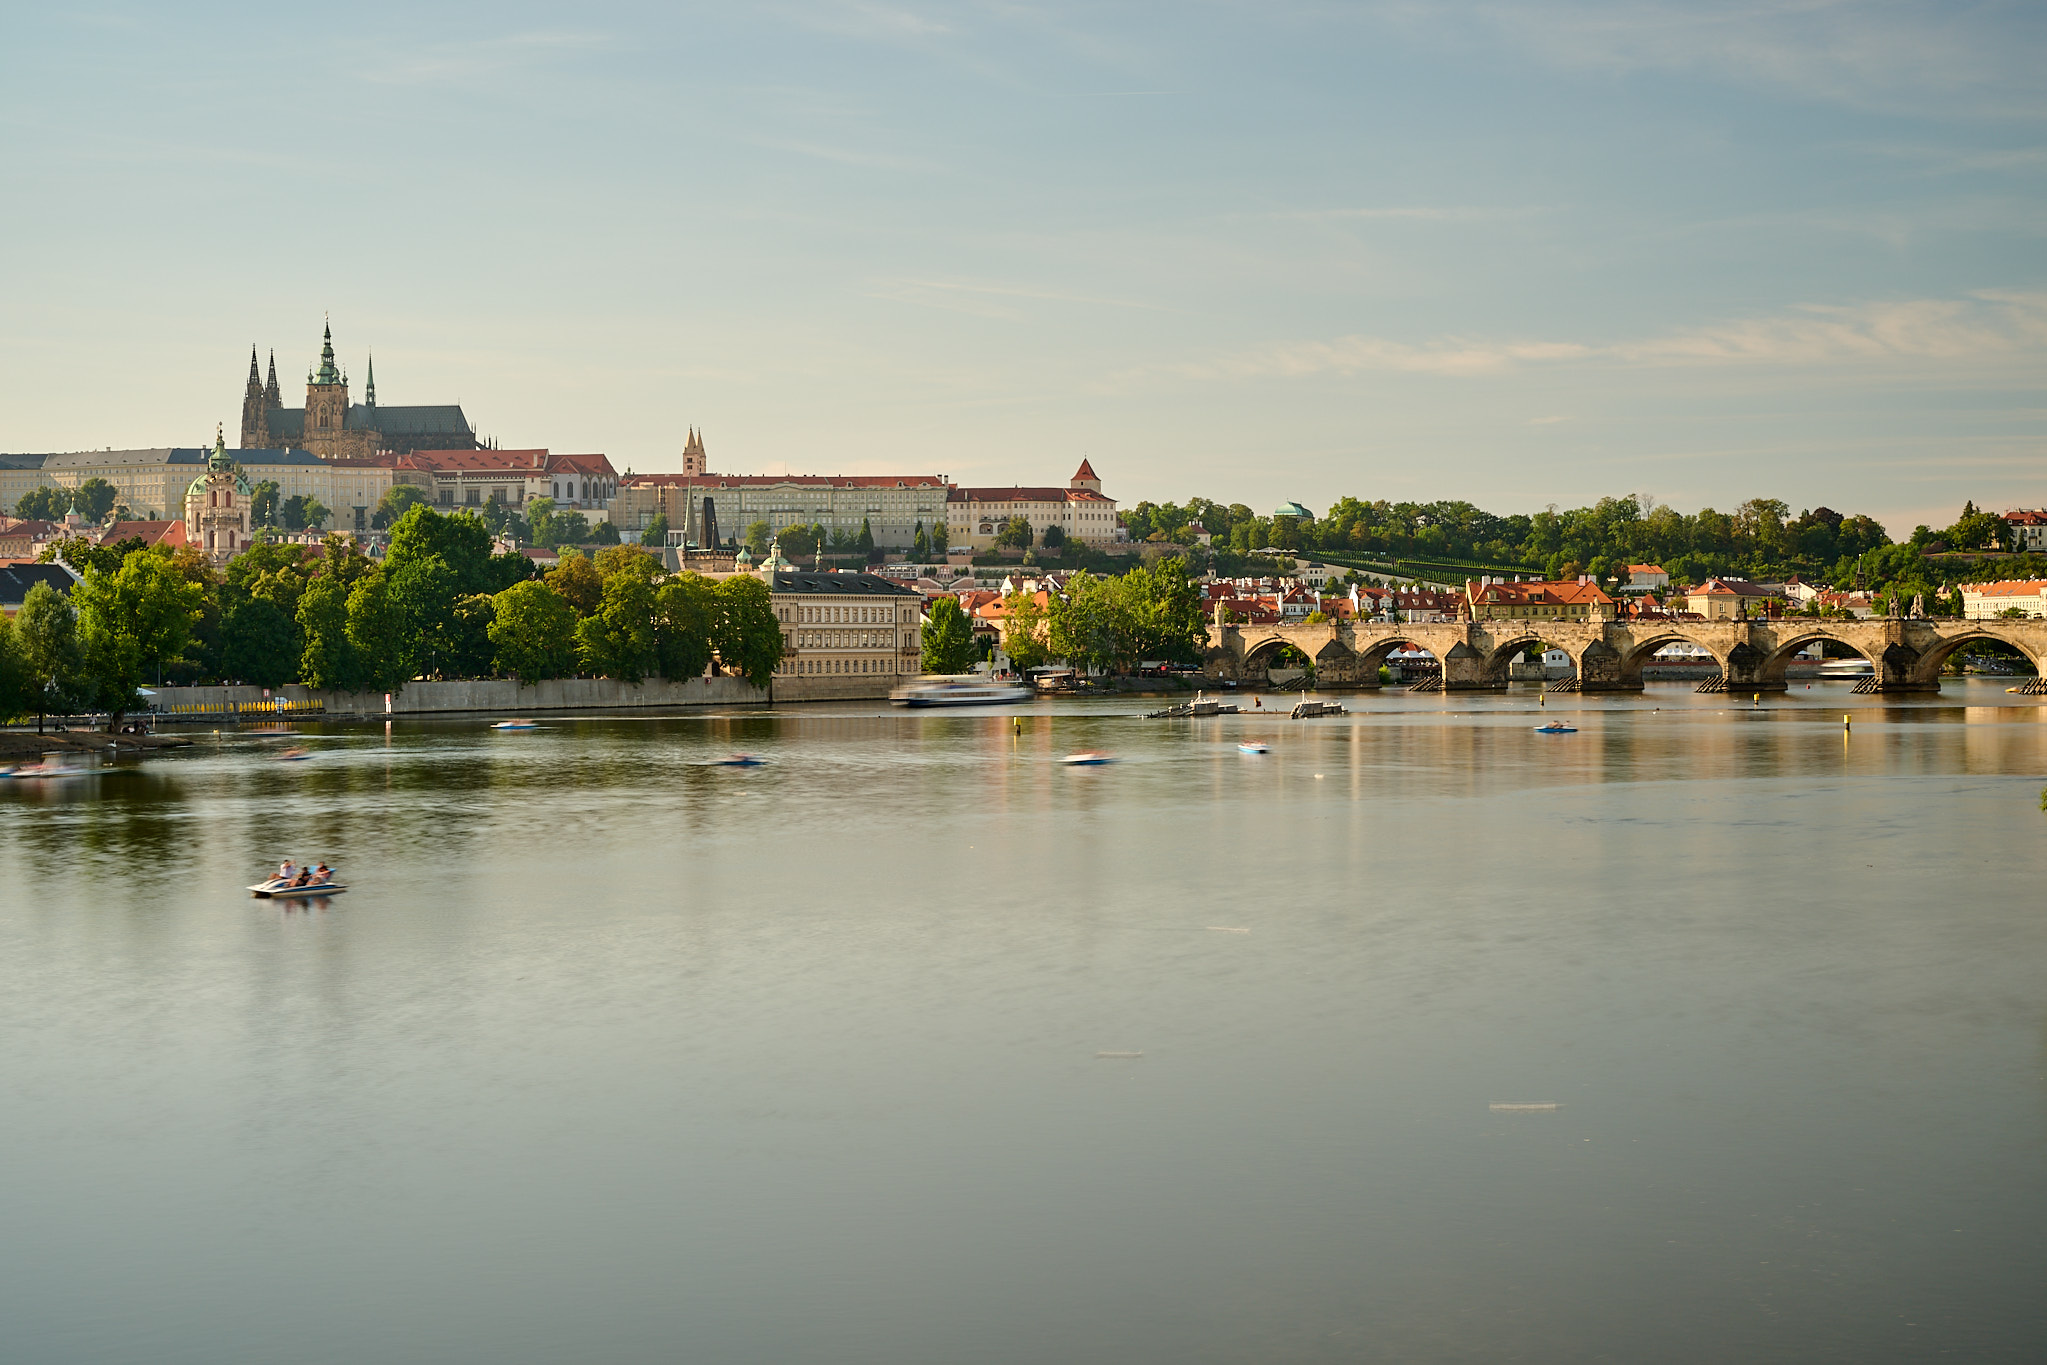
Some locations are unimaginable with out the speeding stream of vacationers. Solely the Covid-19 pandemic confirmed me what the Prague Astronomical Clock on the Outdated City Sq. or the Charles Bridge appears to be like like with out folks. In order that we don’t must depend on such occasions, which (hopefully) gained’t occur once more any time quickly, we are able to use very dense ND filters.
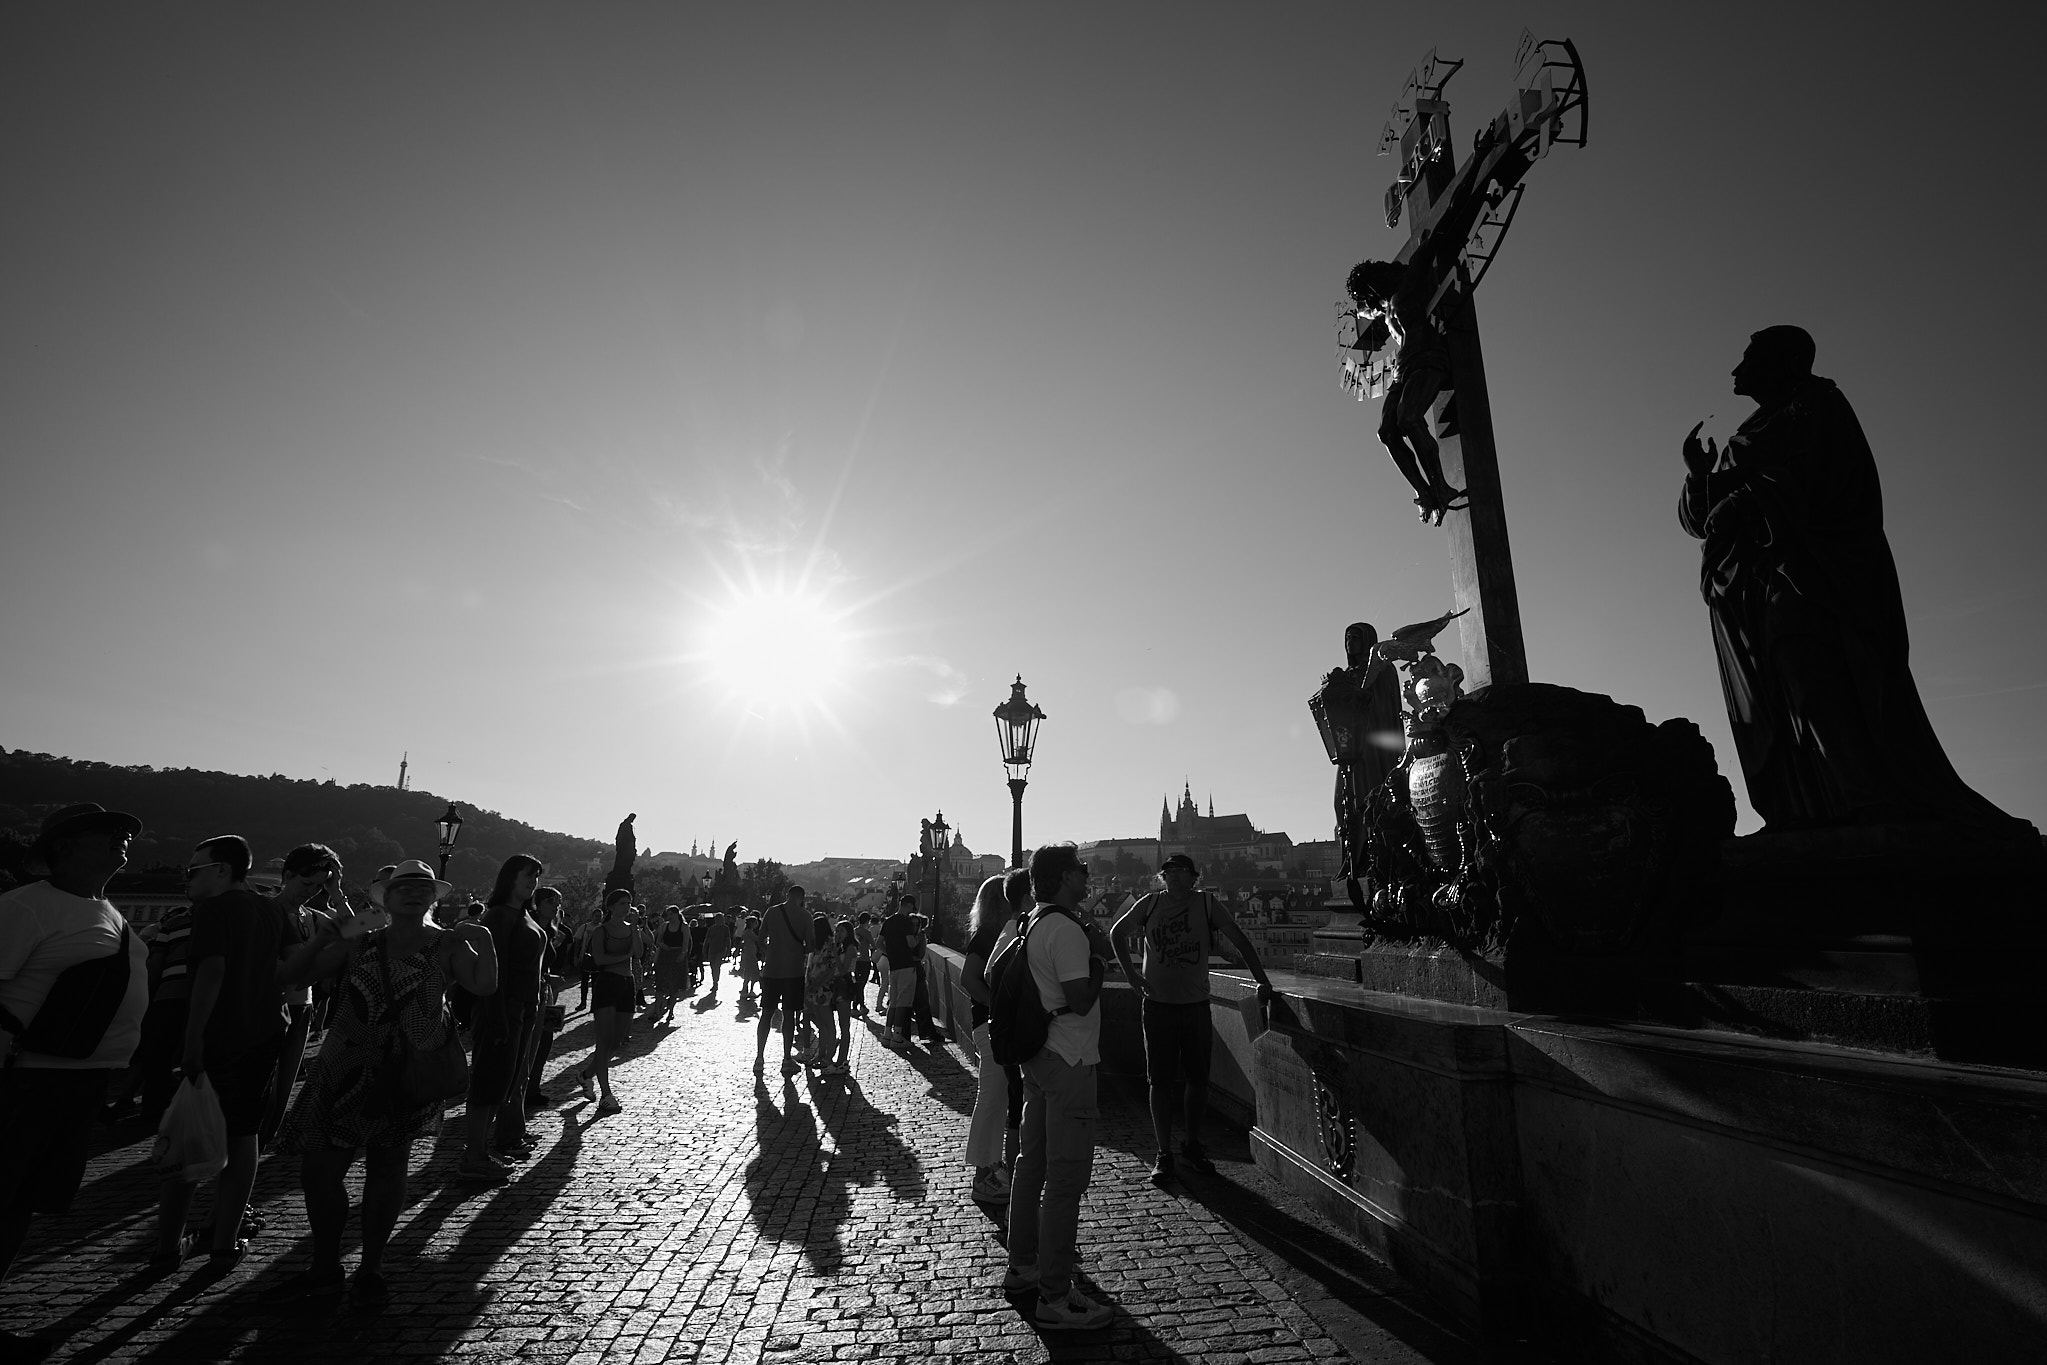
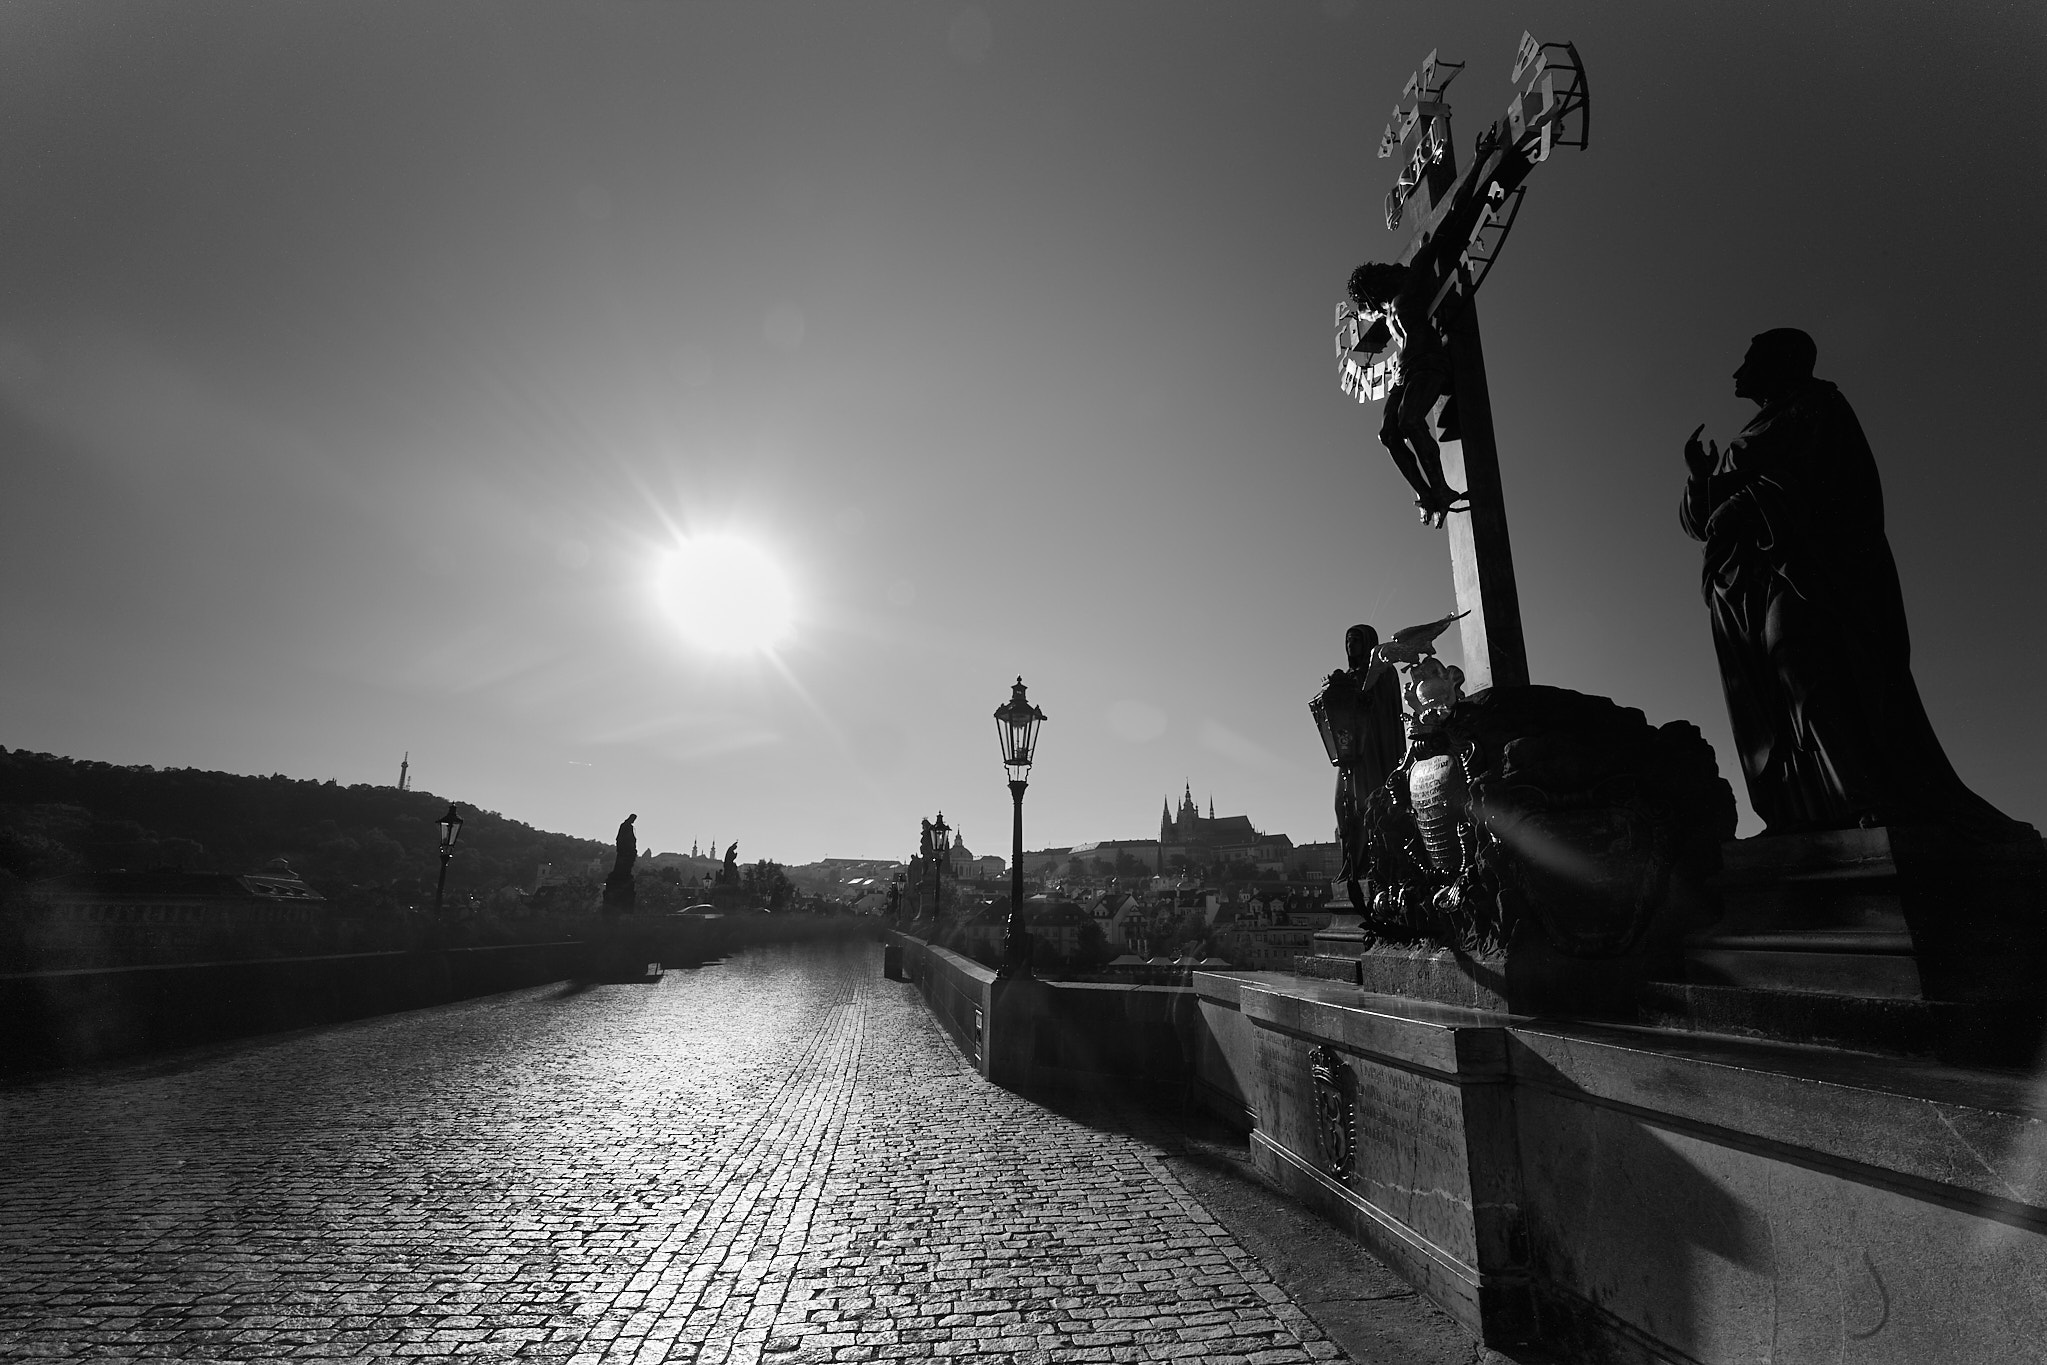
When the crowds transfer, which is probably going with publicity instances over 10 minutes, the ND filter will flip them into mere fog. If a pedestrian passes in entrance of the lens at times throughout that point, the folks will disappear out of your picture nearly with no hint. Thus, for architectural images, ND filters are a godsend.
Portraits in shiny mild
The cruel daylight solar may end up in overexposure even on the digital camera’s base ISO and quickest shutter pace – particularly with very shiny apertures of f/1.2 or f/1.4. And if you happen to’re utilizing a flash in broad daylight? The pedestrian 1/200-second flash sync pace on most cameras is a fast recipe for overexposure. Nonetheless, even a comparatively weak ND filter is sufficient to convey the shutter pace all the way down to playable values.

Intentional movement blur
Landscapes, folks, and animals could be free of photographic descriptiveness by blurring them. With an publicity time of just some seconds, you’ll be able to reveal new worlds in your pictures. With impartial density filters, the lens turns into a brush and the digital camera sensor a canvas on which you’ll be able to “paint” particular person components of the picture, layer upon layer.
Videography
In contrast to most pictures, movies are very delicate to your particular selection of shutter pace. Footage shot at 1/60 second feels rather a lot smoother than footage shot at 1/500 second! Videographers typically carry a set of ND filters to permit them to movie at precisely the correct shutter pace for the shot at hand.
Use ND Filters or Cease Down?
The traditional solution to cut back the quantity of sunshine falling on the digital camera sensor is to cease down your aperture, not resort to an ND filter straight away. Let’s say we now have a lens with a most aperture of f/1.4. If the lens’s minimal aperture is f/22, that’s a distinction of 8 full stops of sunshine. Plenty of room to stop overexposure!
However we should not neglect that the aperture will not be solely a technical system for lowering mild, however above all, a artistic instrument. Every new aperture step will increase the depth of subject – typically a fascinating factor, however not all the time, reminiscent of many portrait pictures. As well as, slender apertures are accompanied by a lack of pixel-level sharpness because of diffraction– so even panorama photographers will are likely to keep away from apertures as slender as f/22
Subsequently, use the aperture as a pure “mild depth management” solely once you hit a wall within the variables of shutter pace and ISO first. In actual fact, on the level the place you’re contemplating a narrower aperture to cut back extra mild, it’s often time for the suitable ND filter as an alternative.
Kinds of ND filters
Magnetic filters
At first look, these filters appear to be typical screw-in filters. They’re hooked up to the lens with a magnetic adapter that appears like a step-up ring. After screwing the adapter into the lens thread, you merely connect the magnetic filter. It’s simple and quick.
Benefits:
- A lot sooner and probably safer dealing with than screw-on filters.
- Simple layering of a number of filters (e.g. polarizing, graduated and ND).
- Simpler focusing with larger density filters (over ND 64x). Focus first, then connect filter shortly.
Disadvantages:
- The mix of adapter and ND filter could cause vignetting on very extensive angle lenses (20mm and wider). This could typically be prevented by utilizing a step-up ring.
- The filters have to be faraway from the lens earlier than placing the digital camera within the bag. In comparison with screw-on filters, they maintain much less strongly and are liable to falling off and being destroyed.
- Usually prevents the usage of a lens hood (and lens hoods are particularly vital when doing lengthy exposures on sunny days).
Round screw-in filters
Glass filters in a threaded metallic body. A traditional that has been in use for many years.
Benefits:
- Even with out the step-up ring, the slim filters are appropriate for wide-angle lenses (typically even ultra-wides).
- As soon as screwed on, they maintain tight (typically too tight). They will subsequently be safely saved in a bag hooked up to the lens.
Disadvantages:
- Tougher and fiddly dealing with related to screwing them in (particularly in tougher situations with moist or frozen fingers). Danger of the filter getting caught within the thread.
- Elevated danger of dropping and breaking the filter.
- Takes extra time to swap the identical filter between completely different lenses.
- Tougher to focus the darkest ND filters. After focusing, the filter have to be screwed onto the lens with out bumping the focusing ring.
Sq. or rectangular flat filters
These are glass or resin plates which can be inserted into the grooves of a particular holder that’s hooked up to the threads of the lens.
Benefits:
- Due to their dimension, they will often be used on any lens, together with ultra-wide angle lenses.
- Fast to swap the identical filter between lenses or stack a number of filters.
Disadvantages:
- The entire filter system is bigger. It subsequently takes up more room in your bag than earlier alternate options.
- Incapability to mount a regular lens hood.
- The filters themselves are sometimes extra fragile because of dimension and lack of metallic body.
- Flat ND filters are typically dearer than comparable high quality magnetic or screw-on choices.
Summing up the professionals and cons of all three ideas, I discover magnetic filters to be the perfect choice for taking pictures with ND filters. Particularly for the very addictive ease and pace of dealing with, which is on an entire different stage in comparison with typical screw-on filters. Nonetheless, in case you are already utilizing a filter holding system as an alternative, getting an oblong ND filter could be a really logical various.
Which ND filter to decide on?
An important parameter of any ND filter is its ND issue. It tells us how a lot mild the filter absorbs, or how a lot mild it lets into the lens. Producers mainly specify it in two methods. For instance, a filter labeled ND 64x allows 64 instances much less mild than a unadorned lens. It is a little bit of an summary concept for many individuals. That’s why it’s typically expressed by way of how a lot the shutter pace is elevated. On this case, it’s 6 stops of sunshine.
Which filter you select is dependent upon what you wish to use it for. To increase the shutter pace for portrait images with a quick lens, filters with an ND issue of about ND8x (-3 EV) are enough. For a romantically blurred waterfall or river, select a stronger filter. Often an ND issue of 64x (-6 EV) is enough. The ensuing shutter pace ought to be about 15 to 30 seconds. If you wish to emphasize cloud motion, flip the ocean to mist, or take away folks from the picture, you’ll want even stronger filters, as much as ND 20,000 (-11 EV) or extra. There are additionally filters with variable ND components. Nonetheless, their optical complexity makes them extra appropriate for video, the place sharpness will not be as crucial.
When you go along with magnetic filters, choose a filter diameter that matches the lens of yours with the most important thread. Smaller lenses could be simply accommodated with a step-up ring. If you’re going to use the filter on a lens wider than 20mm, it’s higher to decide on a barely bigger diameter to keep away from vignetting, together with a step-up ring for that lens as nicely.
The filters we’re speaking about are known as impartial density filters. They need to subsequently transmit all wavelengths of sunshine to the sensor in the identical proportion as a lens with no filter. Nonetheless, actuality is a bit completely different. Particularly for filters with the next ND issue, it’s best to anticipate that the colours is not going to precisely match the picture with out the filter. With prime quality filters, the distinction might solely be just a few hundred Kelvin, however it may be as a lot as hundreds of Kelvin. Decide for your self how completely different the colour rendering is between KF Idea and B+W filters.
Since ND filters are sometimes used with no lens hood, high-quality anti-reflective coatings play an vital position as nicely. Prime quality optical glass can be essential. I wouldn’t shoot with resin filters more often than not anyway, however particularly not for ND filters. You don’t wish to compromise the sharpness and distinction of your costly lens.
My favourite magnetic ND filters are the Ok&F Idea ones right here — it is a common affiliate hyperlink to Amazon, however I’ve no relationship with Ok&F particularly and am not being requested to advertise their filters. I additionally belief the standard of the manufacturers NiSi, B+W (aside from my historic one 🙂 and plenty of others, though most of them don’t make magnetic filters. I haven’t examined Maven’s magnetic filters however have heard good issues about them as nicely. Let me know within the feedback if in case you have suggestions!
A Fast Information to Utilizing the ND Filter
- Attempt to think about what the scene will appear to be once you “animate” it with the ND filter.
- Discover a primary topic within the scene that continues to be stationary (tree, rock, constructing). Concentrate on it, flip off the autofocus, and watch out to not by chance transfer the main target ring.
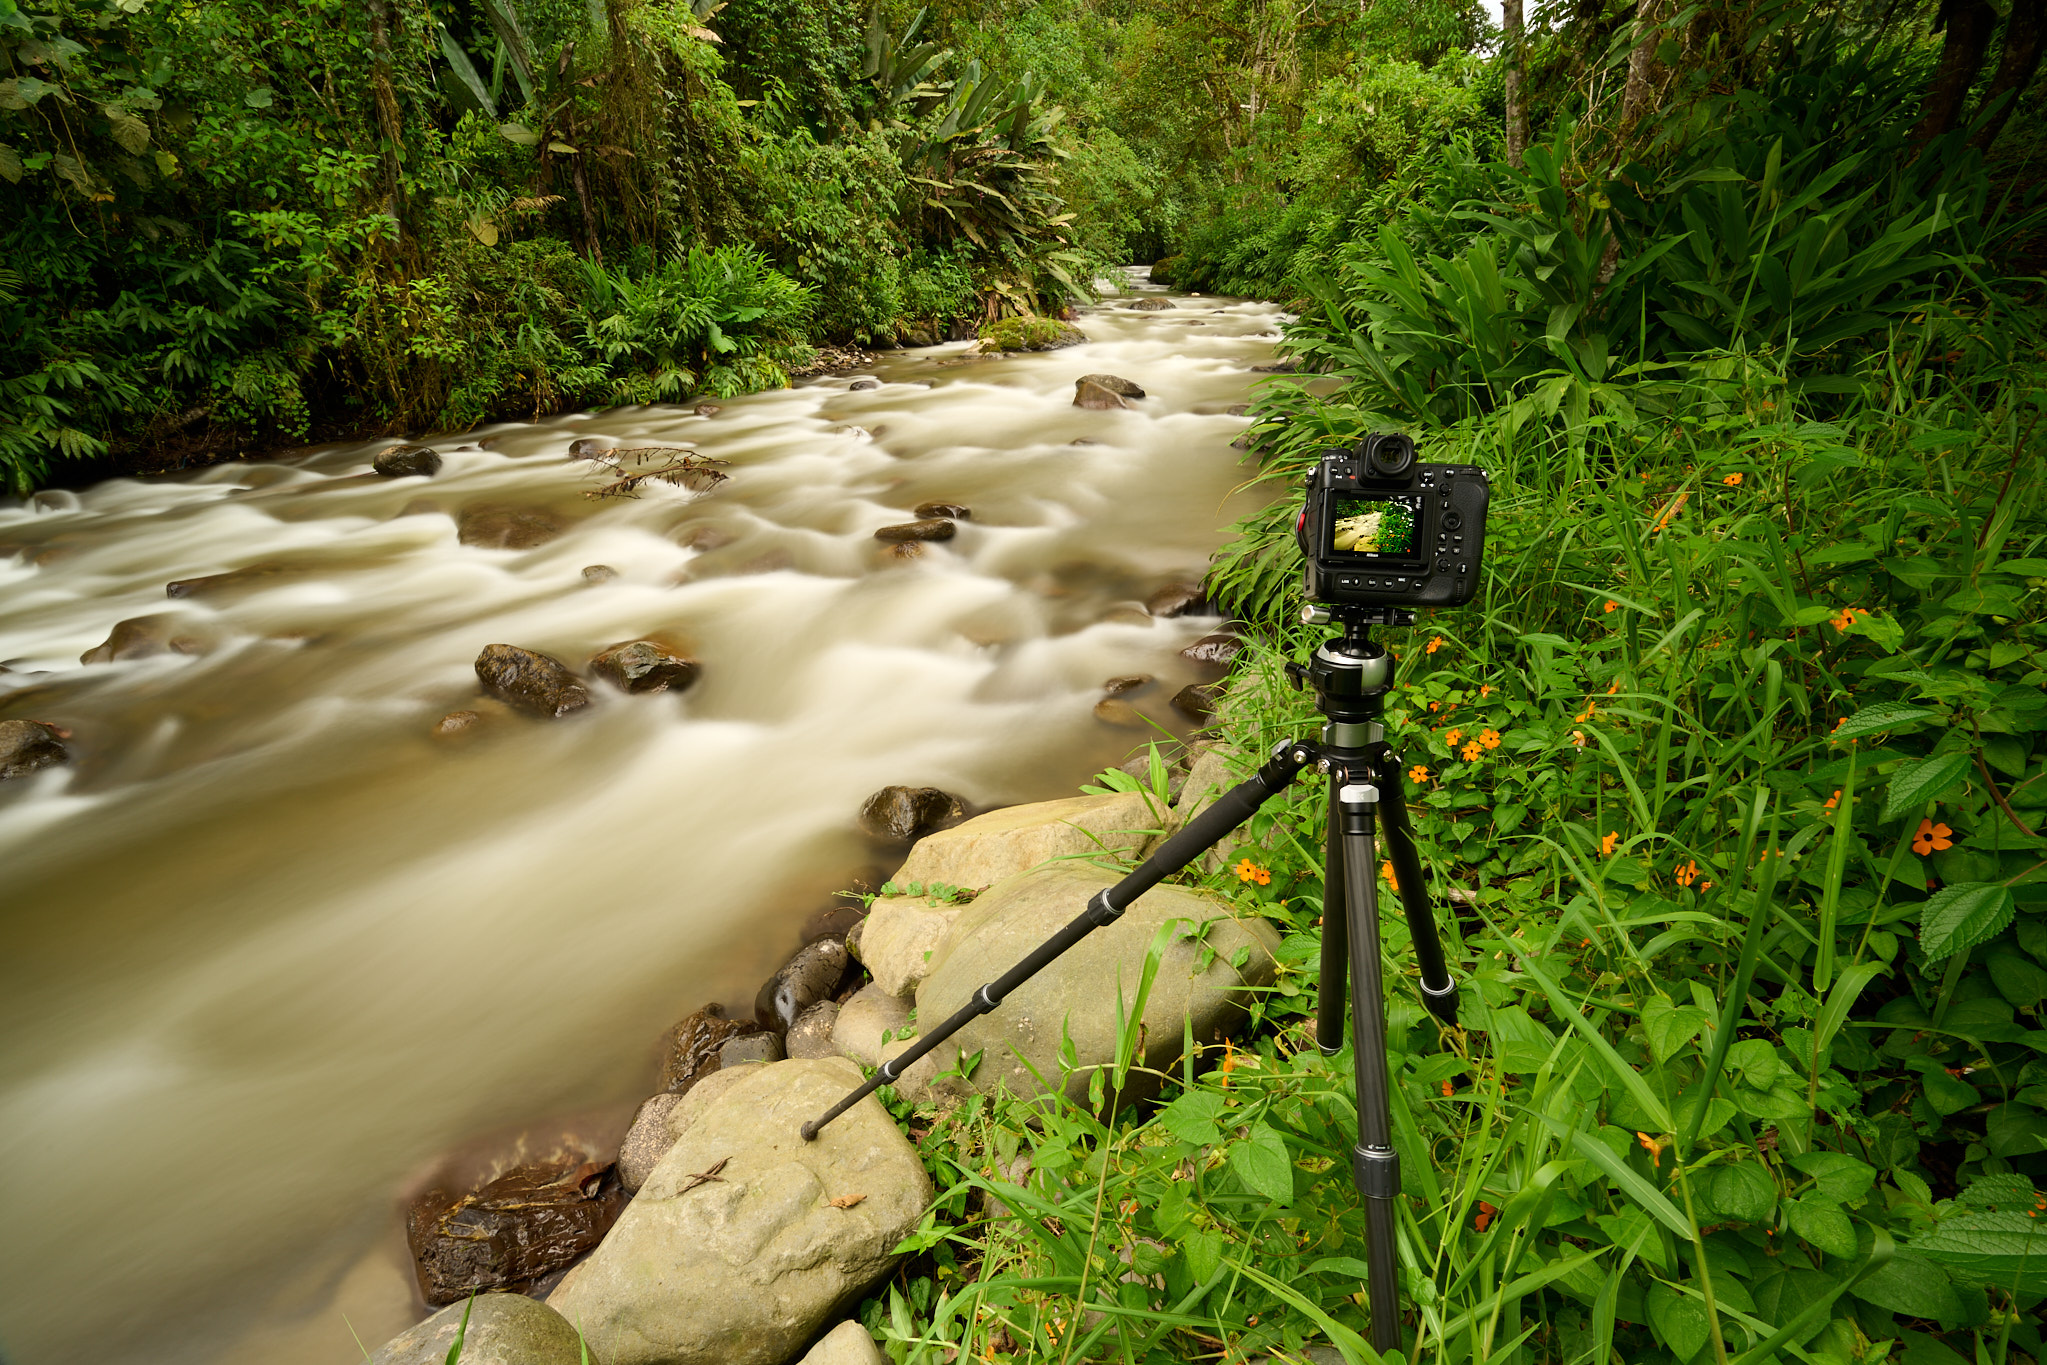
- With the digital camera on a strong tripod, take a check shot with out the ND filter.
- Verify the publicity and bear in mind the shutter pace you used.
- Select the suitable ND filter for the state of affairs – take into consideration how lengthy of a shutter pace you need and the way dense of an ND filter shall be essential. That is one thing you’ll be able to calculate, or just know by training.
- With the digital camera in handbook mode, set the shutter pace (from step 4) prolonged by the ND issue. For instance, if in case you have a six-stop ND filter and your shutter pace dial progresses 1/3 of a cease per click on, then improve the shutter pace 18 clicks of the wheel. You might additionally use a smartphone app to let you know what shutter pace to set in your ND filter. I’ve discovered the free VF Foto app to be a sensible choice (I additionally don’t have any relationship with them).
- Some Nikon cameras permit you to set shutter speeds as much as 900 seconds, however most cameras solely permit 30 seconds. When you want longer shutter speeds than your digital camera’s vary permits, set the shutter pace dial to “T.” On this case, the publicity will start once you first press the shutter button and finish once you press it once more. In case your digital camera doesn’t have a “T” mode, you have to to make use of a distant (cable) shutter launch and “Bulb” mode as an alternative.
- Connect the ND filter and press the shutter launch button. When you additionally press the beginning button on the above talked about smartphone app, it’ll additionally work as a timer.
- If all went nicely, it’s best to have a pleasant, correctly uncovered picture. When you suppose the picture is simply too darkish (particularly with sturdy ND filters this occurs), improve the shutter pace by 10-15% and make one other publicity variation.
Conclusion
Impartial density filters, together with polarizing filters, are among the many sorts of filters whose outcomes are troublesome to copy in post-production. In fact, not everybody likes blurred water, smudged clouds rolling throughout the sky, or leaves tossed about by gusts of wind. In spite of everything, like some other impact, this one ought to be thought-about extra of a spice, and spice ought to be used sparingly.
However, I imagine there are various conditions the place the usage of ND filters may be very acceptable and plenty of images could be unthinkable with out them. For instance, the crowded Piazza San Pietro within the Vatican or the Charles Bridge in Prague. Or, at a good less complicated stage, portraits with very quick lenses. In these instances, the impact of the ND filter doesn’t draw consideration to itself – it simply lets you take the picture you take into account.