I simply returned from one of many longest hikes I’ve ever performed, the well-known O Circuit in Chile’s Torres del Paine Nationwide Park! This eight-day hike goes across the Paine massif itself, circumnavigating these magnificent peaks and showcasing them from each angle. For panorama images, it’s exhausting to think about a extra thrilling hike.
However planning for images throughout a trek like this may be fairly daunting, particularly given the burden issues. Do you have to deliver a tripod? What focal lengths are obligatory, and what are you able to get away with leaving at house? In as we speak’s article, I’ll undergo a few of the fundamental issues and suggestions that I discover helpful for multi-day hikes like this one.
Though this text is predicated on my experiences in Patagonia particularly, I feel that the teachings right here will apply for nearly any multi-day climbing.
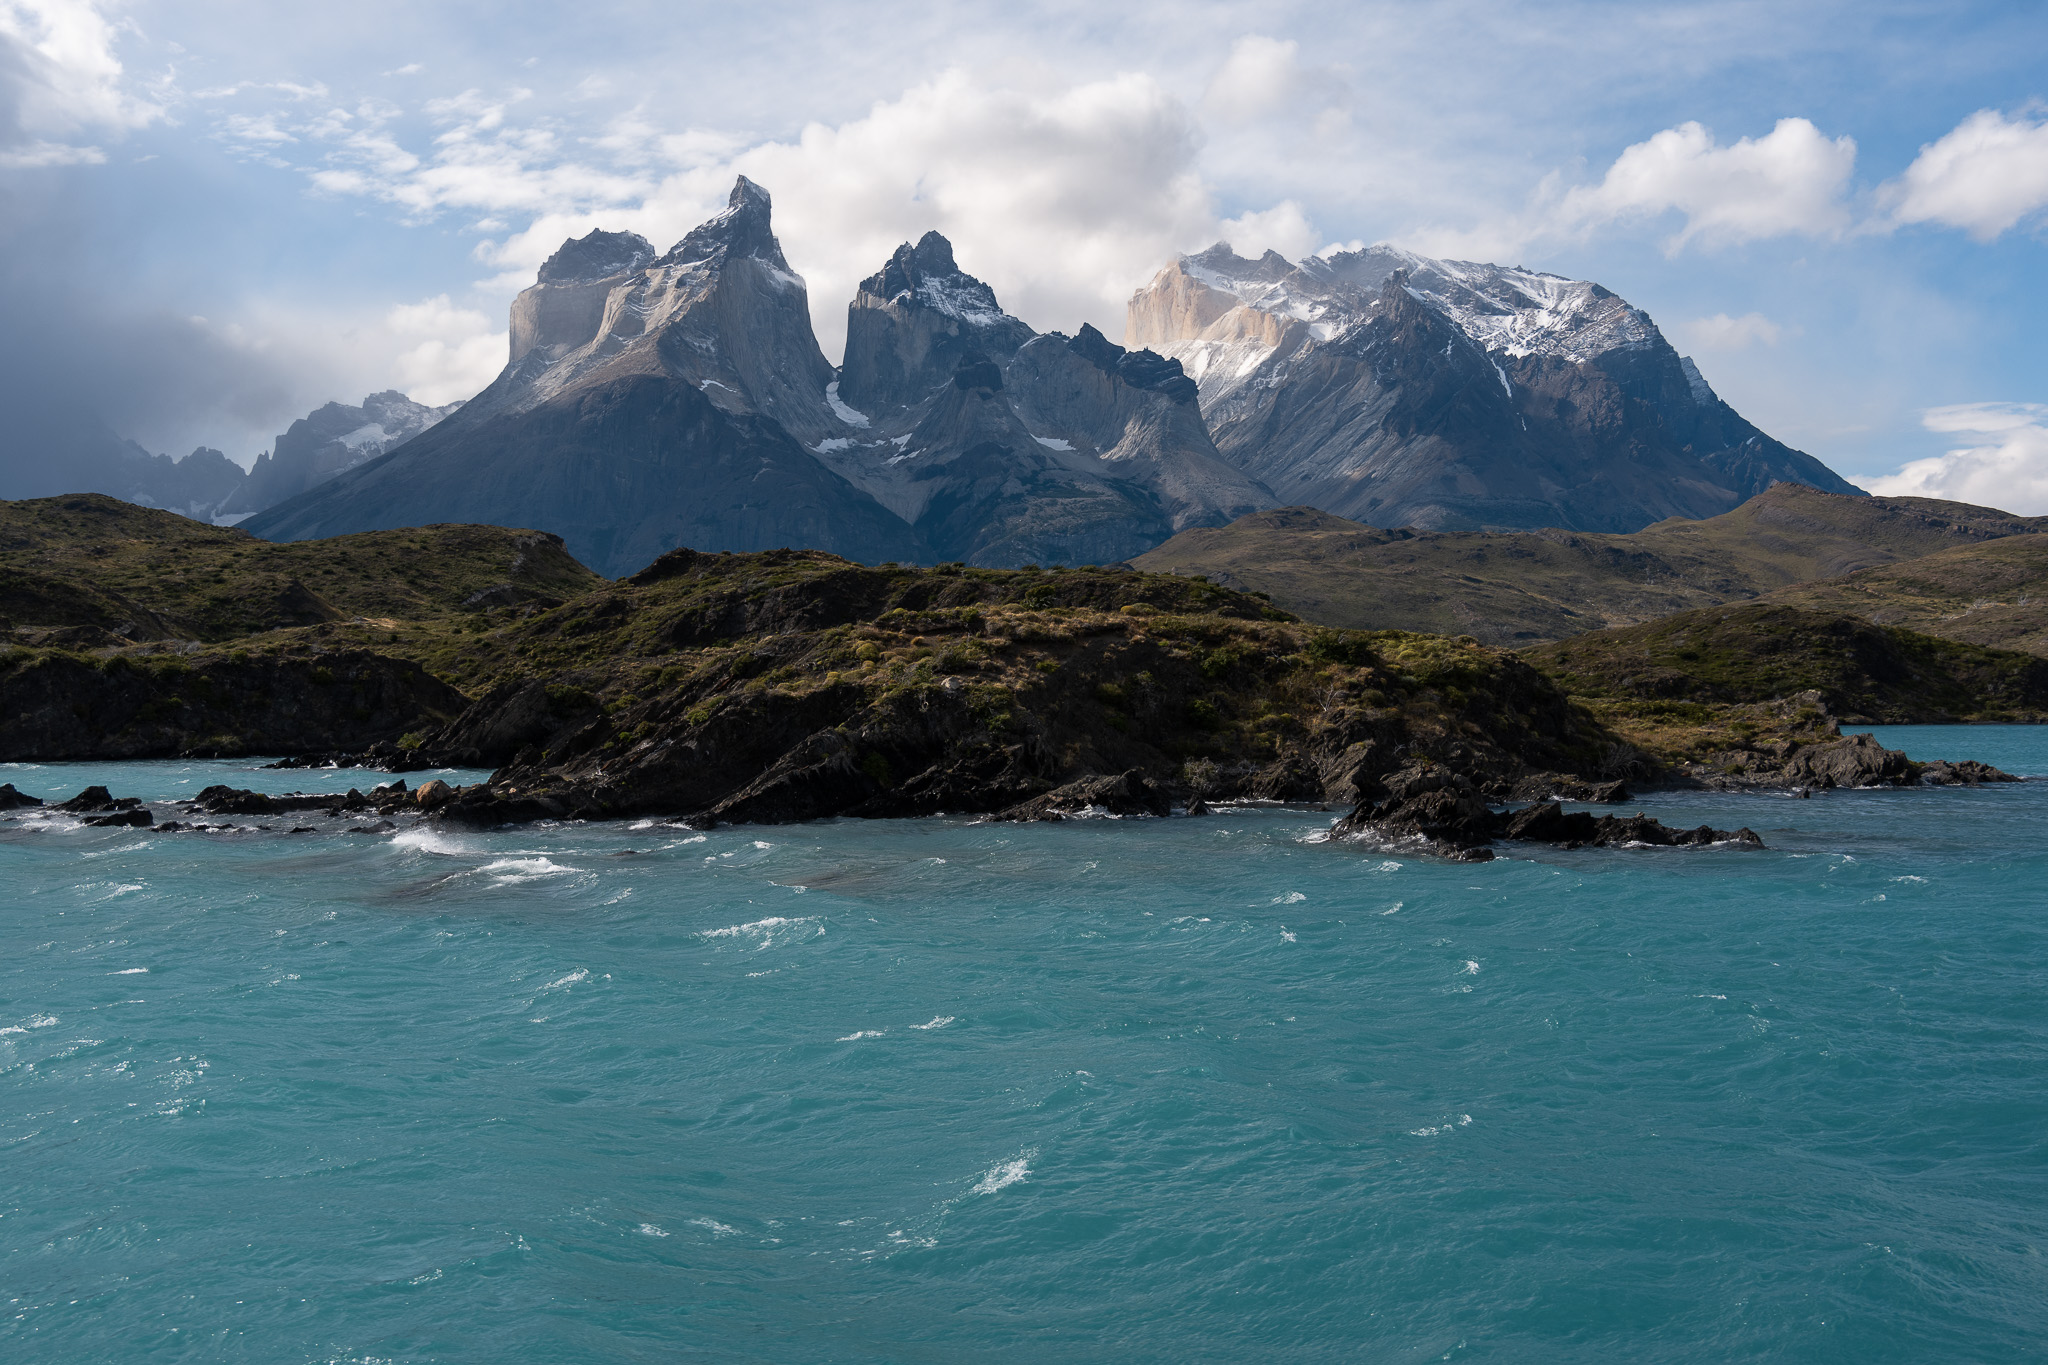
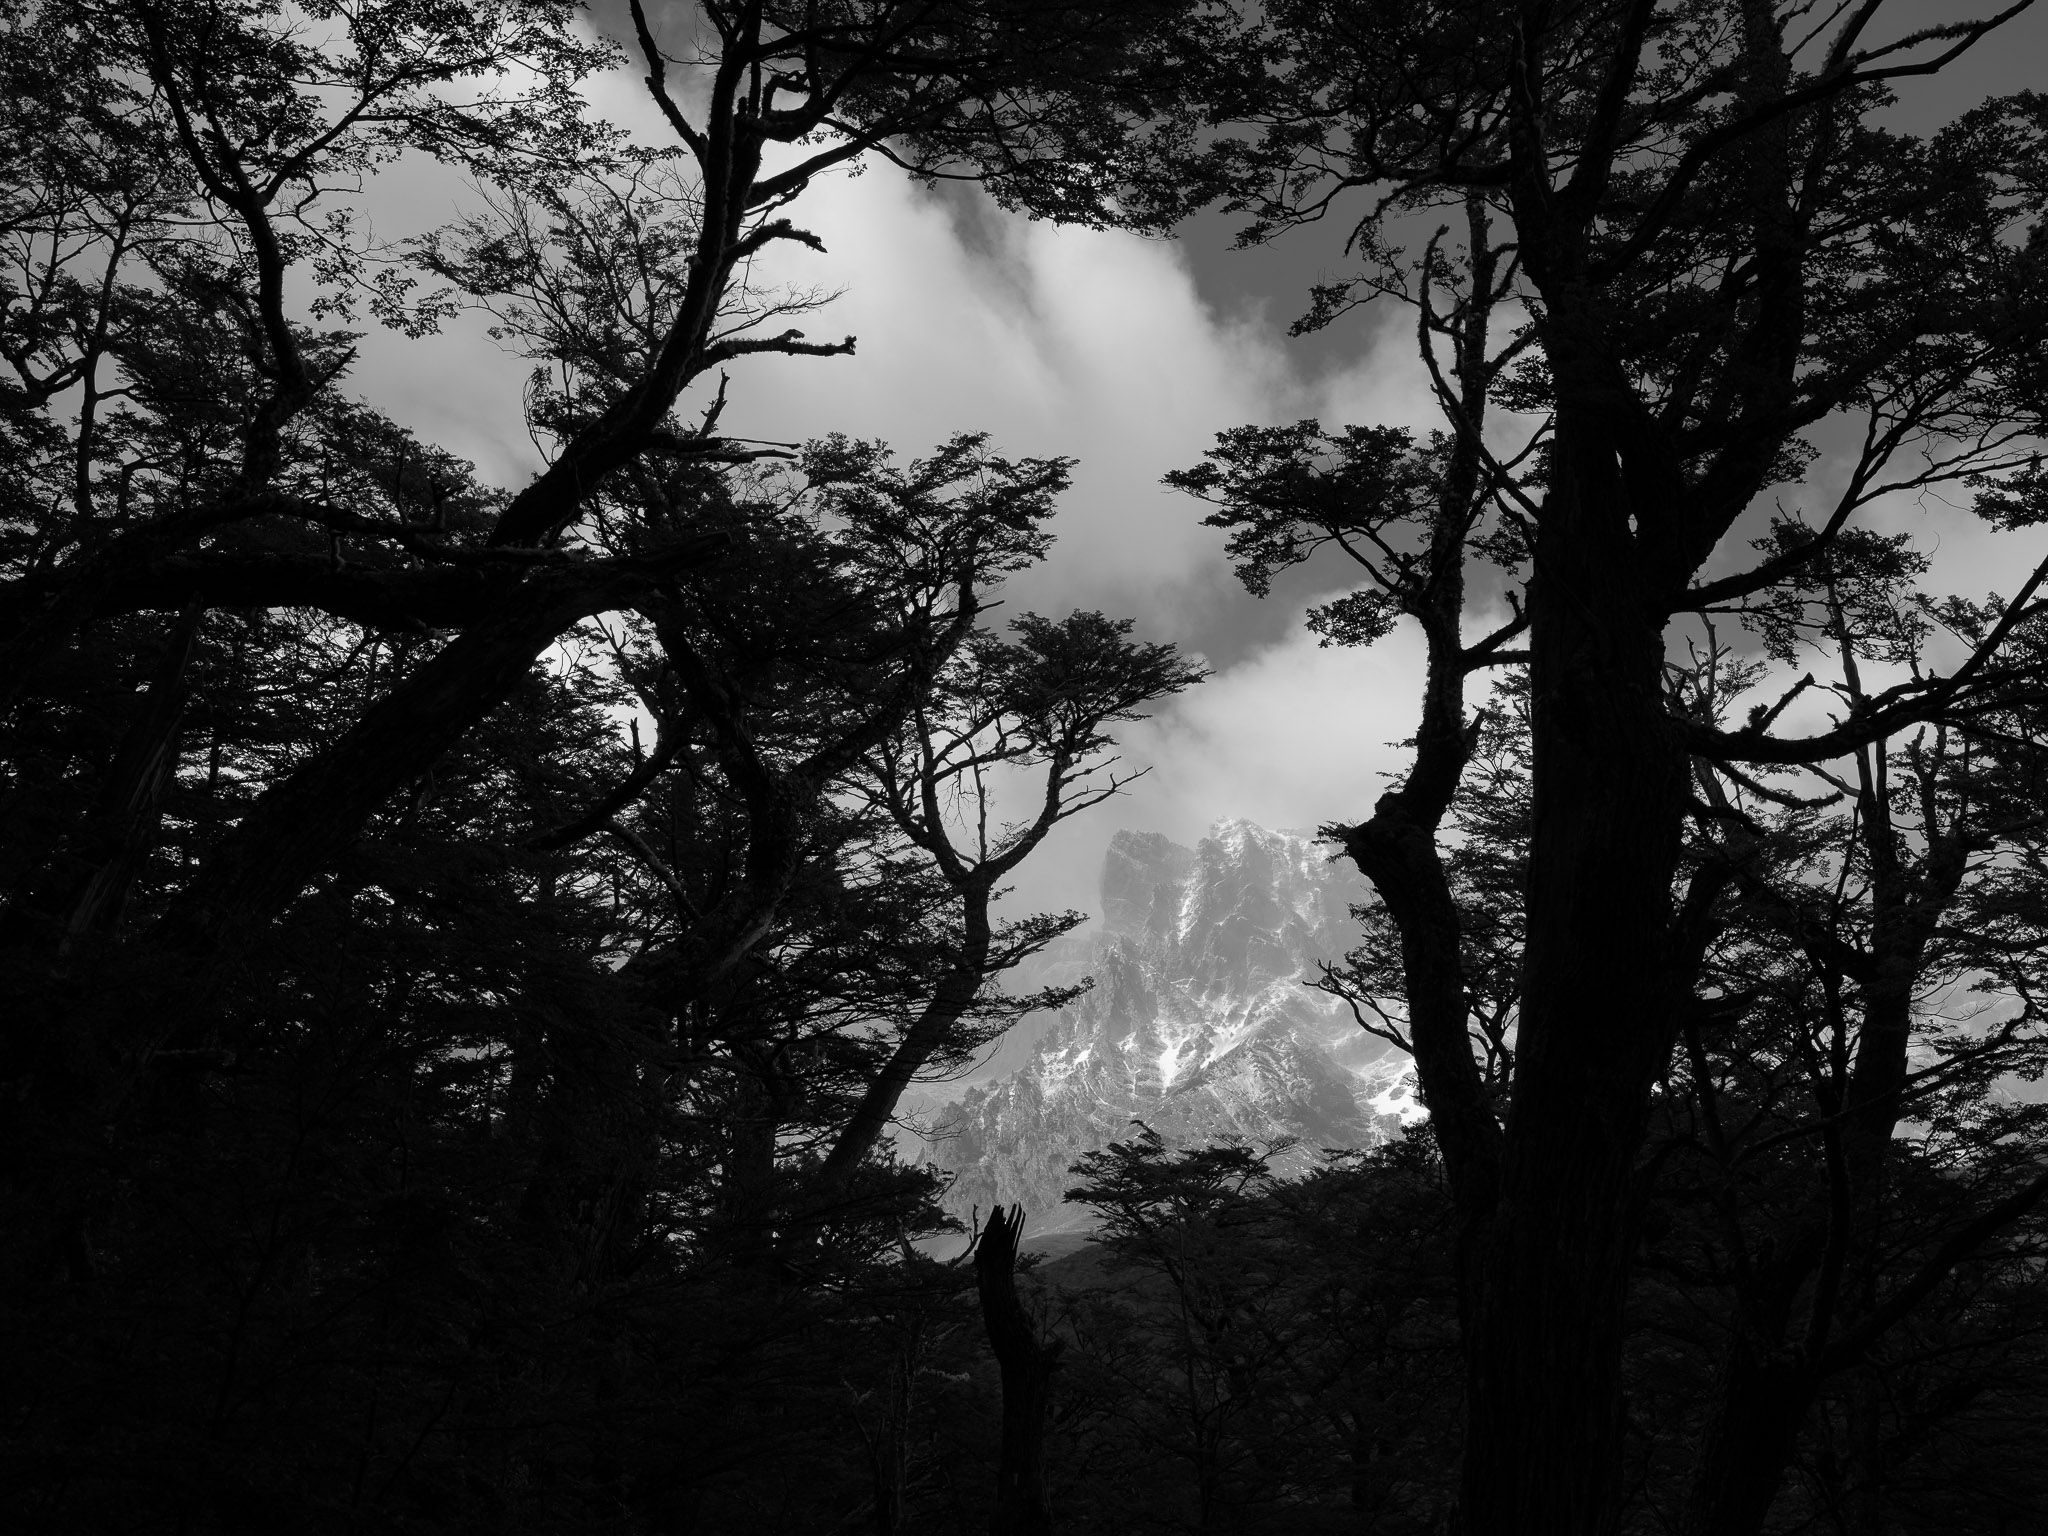
NIKON Z 7 + NIKKOR Z 28-400mm f/4-8 VR @ 32mm, ISO 64, 1/250, f/8.0
The Digital camera Gear I Introduced
The digital camera package that I introduced with me on the O Circuit was removed from optimum – I intentionally overpacked in order that I might take a look at as many lenses as potential for upcoming opinions on Images Life. This meant two cameras, seven lenses, and my common tripod. You possibly can see what I do for our opinions! My package regarded like this:
- Nikon Z7 (675g with battery and card)
- Hasselblad X2D (895g with battery and card)
- Voigtlander 15mm f/4.5 Heliar (294g)
- Voigtlander 50mm f/2 APO-Lanthar (370g)
- Voigtlander 75mm f/1.5 Nokton (530g)
- Nikon Z 28-400mm f/4-8 VR (725g)
- Hasselblad 28mm f/4 P (245g)
- Hasselblad 55mm f/2.5 V (372g)
- Hasselblad 35-75mm f/3.5-4.5 (1115g)
- RRS TVC-24 tripod (1500g)
- Markins Q3i-Tr ballhead (374g)
- Arca-Swiss Fast Hyperlink set for tripod and head (139g)
- Whole weight: 7234 grams or 15.9 kilos
I additionally introduced alongside another equipment, consisting of:
- RRS L-bracket for Nikon Z7
- Arca-Swiss fashion base plate for Hasselblad X2D
- A small Allen wrench to tighten tripod plates
- USB-C charging twine and adapter
- Additional Nikon EN-EL15 battery
- Small microfiber lens fabric
- Sensor gel stick
- F-Cease Gear giant inside digital camera unit
Right here, the primary supply of weight was the F-Cease Gear inside digital camera unit, which held all of the gear and stored it protected and accessible throughout the hike. I measure it as weighting 752 grams. The opposite equipment had been very gentle individually however add as much as an additional ~200 grams or so. This places the full weight of digital camera tools round 8.2 kilos / 18 kilos.
It ought to go with out saying you could, and virtually actually ought to, pack a lot lighter than that for multi-day hikes. However I depart the checklist right here for you for reference and to reply any questions on what I introduced.
Suggestions for Multi-Day Images Hikes
1. Distribute the Weight
I didn’t pack gentle in any respect for this hike. But my bag wasn’t actually uncomfortable, and I used to be in a position to maintain my climbing velocity affordable with out being depressing the entire time.
A part of that’s due to how I distributed the burden of the objects in my pack. My recommendation is to maintain the heaviest (or actually, the densest) objects in your backpack as shut as potential to your physique. That means, they don’t drag you backwards and really feel heavier than they are surely. Additionally, don’t put the densest objects on the very backside of the backpack or the very prime, however as a substitute, close to the center or a bit of increased.
As a photographer, that is prone to embrace your digital camera, lenses, and batteries. Sadly, one of the best spot for weight distribution can be going to be a bit of tougher to entry shortly, so there’s a little bit of a tradeoff. However I discover that it’s value distributing the burden higher regardless – you in all probability don’t wish to make the entire hike tougher in change for barely faster digital camera entry.
There’s additionally the matter of balancing the burden from left to proper. When you deliver alongside a tripod, it’s frequent to strap it to the facet of your pack. However in the event you don’t counterbalance it with one thing on the opposite facet, you’ll find yourself placing extra weight on both your left or proper shoulder, which may develop into an enormous drawback over the course of many days. The best solution to steadiness it’s with a water bottle on the alternative facet – though it really works greatest when the bottle is comparatively full. Personally, I additionally shifted the inner contents of the backpack a bit of to compensate.
2. Each Ounce Issues
The little choices that you just make actually add up when doing such an extended hike. It would really feel loopy to chop your toothbrush in half, pour all of your path combine into the identical plastic bag, re-use as a lot clothes as potential, and spend $50 extra for a sleeping bag that’s one ounce lighter. However in the event you do all this stuff, abruptly your pack is noticeably lighter.
This is applicable to digital camera gear as effectively. Go along with only a base plate as a substitute of an L-bracket. Depart your UV filters and your digital camera strap at house. Deliver simply 1-2 additional batteries as a substitute of 3-4 (it’s wonderful how far considered battery utilization can get you). Congratulations – you’ve now lowered the burden of your bag considerably!
In truth, one factor I’d do in a different way on a future multi-day hike is to depart my F-Cease Gear inside digital camera unit behind. It made some sense to hold it on the O Circuit given my extra of digital camera tools, however in the event you solely have one digital camera and 2-3 lenses, you possibly can defend them simply nice utilizing the clothes in your backpack as a substitute of a devoted digital camera unit.
Lastly, relying on the trek, there could also be huts alongside the best way with snacks, meals, and even beds. These are prone to be fairly costly, and it’s tempting to economize by bringing your personal gear as a substitute. Nonetheless, I’d say that for photographers, it’s higher to make the most of these creature comforts if in any respect potential. Your bag is already going to weigh greater than that of most hikers; in the event you can scale back the burden considerably by spending more cash throughout the hike, consider it as a obligatory evil.
Minimizing weight isn’t my major aim on multi-day hikes; getting good panorama images is. However for quite a lot of causes, a lighter bag does result in higher images!
3. Cease Incessantly for Pictures
It’s simple to get in your personal head a bit of bit when doing a multi-day hike. Particularly on a few of the later days of the trek, it will probably really feel like your fundamental focus is way away from images – it’s on issues like meals, sleep, and the place to put your subsequent footstep. Additionally, I discover that new surroundings can really feel much less and fewer “new” because the hike goes on. You possibly can lose the motivation to cease and pull out your digital camera once more.
However I encourage you to attempt to not fall into this mindset. Day seven of the trek might really feel much like days 1-6, however I believe it’s nonetheless very totally different from what you usually see in your every day life. Don’t be happy by pulling out your cellphone and taking a snapshot, or solely taking footage on the most dramatic spots. When you had been prepared to hold all of your heavy digital camera gear this far, cease and use it typically.
When you’re even barely on the fence about stopping, cease! Take some correct images, even when it slows you down a bit. Until you exit of your solution to do your entire multi-day hike once more, there’s an excellent likelihood you’ll by no means be again to this spot, and also you don’t wish to remorse lacking out on taking a photograph.
4. Do You Want a Tripod?
I’m an enormous proponent of tripods. And I don’t assume that simply any tripod can do the job, particularly in windy circumstances. I knew how windy the O Circuit can get, so I finally introduced my middleweight tripod (the RRS TVC-24) as a substitute of my lightest journey tripod.
This ended up being the incorrect alternative. I might have saved about 800 grams / 1.76 kilos by bringing my lighter tripod package as a substitute (the Gitzo GIGT1545T with the RRS BH-25 head). It’s not that I completely remorse bringing the sturdier tripod, however I feel I’d do it in a different way in hindsight. Granted, that’s partly as a result of it ended up being much less windy than anticipated, which isn’t one thing that may be predicted forward of time.
However apart from the distinctive circumstances of my specific hike, it’s merely potential to push your gear additional as of late and not using a tripod, or with a lighter tripod. You possibly can go a great distance via a mixture of upper ISOs, picture stabilization, and cautious depth of area placement.
In truth, for sooner or later throughout the hike (the toughest day, an out-and-back climb totaling 18 miles / 29 km), I left my tripod and numerous gear at one of many huts to lighten my pack. I used to be trepidatious about it, since I knew there can be some attention-grabbing waterfall images that day, and I anticipated a tripod to turn out to be useful. Nevertheless it ended up being simply nice. In-body picture stabilization, together with taking a burst of images to pick the sharpest later, labored flawlessly. I managed to take numerous sharp handheld images round 1/15 second, which even allowed me to make use of base ISO 64.
Once more, I’m nonetheless glad I introduced a tripod, however I’m in all probability going to make use of the lighter one subsequent time. And different photographers aren’t as spiritual about tripod utilization as I’m, so that you’ll have to make that call for your self. It hurts a bit of to confess it, however I feel that multi-day hikes are one of many uncommon occasions when the cons may outweigh the professionals – no less than relying on the extent of picture high quality that you just’re prepared to just accept, and the way a lot low-light images you’re planning on doing.
5. Don’t Compromise on Focal Lengths
It’s not a foul concept to make some compromises on digital camera tools for a multi-day hike. The tripod scenario is one instance; so is your alternative of lens. As an example, selecting one thing like a variable-aperture zoom as a substitute of an f/2.8 or f/4 zoom is cheap, even when it comes with some picture high quality drawbacks. I feel it’s okay to decrease your picture high quality requirements considerably on a multi-day hike.
What I don’t assume it’s best to compromise on, nevertheless, is focal size. I think about it very important to hold alongside the total vary of focal lengths that you just anticipate to be helpful for the journey. You positively don’t want the sharpest or brightest lens at a given focal size, however leaving huge gaps in your package is one other matter.
Of the seven lenses that I introduced with me to the O Circuit, I used to be solely reviewing six of them. My seventh lens – the Nikon Z 28-400mm f/4-8 – lined focal lengths that the others missed, particularly on the telephoto finish. I’ve already reviewed this lens and didn’t want any pattern images from it throughout the hike. However I carried it with me anyway, since I didn’t wish to be left and not using a telephoto throughout a once-in-a-lifetime trek. The choice paid off, and I took a few of my favourite images throughout the O Circuit within the 300-400mm vary.

Conclusion
I hope the following tips gave you some concepts and inspiration in the event you’re planning an extended hike as a photographer. I’ll have much more images and articles to share from my journey to Patagonia quickly, however within the meantime, let me know within the feedback if in case you have any questions! This text solely scratches the floor of multi-day climbing as a photographer, however within the remark part, I’d be completely happy to reply any questions in regards to the O Circuit particularly or backpacking typically.